- Building Supplies
- Electrical
- Smart Home, Security, Wi-Fi
- TV & Home Theater
- Extension Cords & Surge Protectors
- Electrical Wire & Cable
- Service Entrance Cables
- Primary Wire
- Sprinkler Wire
- Security Cables
- Armored Cable
- Power Cord
- Thermostat Wire
- Network & Data Cables
- XHHW Wire
- Specialty Wire & Cables
- Ground Wire
- Cable & Wire Holders
- Electrical Whips & Whip Kits
- Dual Armored Cable
- Non-Metallic Wire
- Landscape Lighting Cables & Connectors
- UF Wire
- TFFN & THHN Wire
- Speaker Wire
- Submersible Pump Cables
- Cable & Wire Connectors
- Wall Plates & Inserts
- Conduit & Conduit Fittings
- Generators
- Electronics
- Light Sockets & Adapters
- Electrical Outlets & Plugs
- Electrical Testers & Tools
- Batteries
- Fire Safety
- Light Switches & Dimmers
- Electrical Boxes & Covers
- Solar Power
- Doorbells
- Power Distribution & Circuit Protection
- Electrical Tape
- Lawn & Garden
- Garden Hoses & Accessories
- Landscaping & Hardscaping
- Outdoor Tools & Equipment
- Snow Blowers, Parts & Accessories
- Lawn & Garden Hand Tools
- Chainsaws & Pole Saws
- Spreaders & Sprayers
- Power Equipment Combo Kits
- Trimmers & Edgers
- Power Equipment Parts
- Lawn Aerators
- Engine Oil
- Wheelbarrows & Yard Carts
- Pressure Washers
- Snow Plows & Accessories
- Leaf Blowers
- Log Splitters
- Tillers & Cultivators
- Mulchers & Wood Chippers
- Axes & Mauls
- Power Equipment Fuel
- Garden Decor
- Outdoor Fountains
- Ponds
- Weathervanes
- Bird & Wildlife
- Garden Bridges
- Garden Arbors & Trellises
- Garden Fencing
- Well Pump Covers
- Garden Stakes & Shepherds Hooks
- Flags & Banners
- Outdoor Decorative Lanterns
- Garden Statues & Sculptures
- Outdoor Torches & Candles
- Thermometers, Clocks & Gauges
- Garden Stools
- Wind Chimes & Twisters
- Insect & Pest Control
- Pots & Planters
- Grills & Outdoor Cooking
- Irrigation & Outdoor Drainage
- Lawn Mowers
- Plant Care
- Storage & Organization
- Plumbing
- Water Heater Parts & Accessories
- Pipe & Fittings
- CPVC Pipe & Fittings
- Push to Connect Fittings
- Polyethylene Pipe, Fittings & Accessories
- Pipe Support & Clamps
- PEX Pipe, Fittings & Specialty Tools
- Tubing & Hoses
- Sewage Pipe & Fittings
- Structural Pipe & Fittings
- ABS DWV Pipe & Fittings
- Copper Pipe & Fittings
- CSST Pipe & Fittings
- Galvanized Pipe & Fittings
- Brass Fittings
- Pipe Insulation
- Black Pipe & Fittings
- PVC DWV Pipe & Fittings
- PVC Pipe & Fittings
- Water Filtration & Water Softeners
- Supply Lines
- Utility Sinks & Faucets
- Water Pumps & Tanks
- Valves & Valve Repair
- Water Heaters
- Plumbing Parts & Repair
- Augers, Plungers & Drain Openers
- Plumbing Tools & Cements
- Tools
- Air Tools & Compressors
- Hand Tools
- Clamps & Vises
- Hand Saws & Blades
- Taps & Dies
- Cutting & Crimping Tools
- Staple Guns & Riveters
- Multi-Tools
- Pliers & Plier Sets
- Punches & Knockout Punch Sets
- Sockets & Socket Adapters
- Maintenance Tools
- Powder Actuated Tools & Fasteners
- Ratchets & Breaker Bars
- Chisels & Pry Bars
- Mechanics Tool Sets
- Household Tool Sets
- Nut Drivers & Keys
- Files & Planes
- Grease Guns & Fittings
- Wrenches & Wrench Sets
- Hammers
- Screwdrivers
- Levels & Measuring Tools
- Drills & Drivers
- Clothing
- Ladders & Scaffolding
- Power Tools
- Safety
- Tool Storage & Work Benches
- Shop Vacuums & Accessories
- Flashlights
- Welding & Soldering
- Jobsite Radios
- Paint
- Heating & Cooling
- Furnaces & Furnace Accessories
- HVAC Duct & Fittings
- Registers & Grilles
- Thermostats
- Fireplaces & Stoves
- Humidifiers & Dehumidifiers
- Air Conditioners & Fans
- Through Wall Fans
- Whole House Fan Shutters
- Ductless Mini Splits
- Blower Fans
- Portable Air Conditioners
- Evaporative Coolers
- Evaporative Cooler Accessories
- Whole House Fans
- Window Air Conditioners
- Wall Air Conditioners
- Wall Mounted Fans
- Central Air Conditioners
- Air Conditioner Parts & Accessories
- Portable Fans
- Whole House Fan Timers
- Air Filters & Accessories
- Air Purifiers & Accessories
- Portable & Space Heaters
- HVAC Components
- Heat Pumps
- Underfloor Heating
- Heating Fuel Tanks
- Radiator Covers
- Boilers
- Cleaning Supplies
- Hardware
- Cabinet Hardware
- Door Hardware
- Door Latch Hardware
- Door Security
- Closet Door Hardware
- Door Jamb Security & Repair Kits
- Pocket Door Hardware
- Screen & Storm Door Hardware
- Door Knockers
- Deadbolts
- Barn Door Hardware
- Door Sweeps
- Bathtub & Shower Door Hardware
- Sliding Patio Door Hardware
- Screen & Storm Door Handles
- Door Closers
- Door Handles
- Door Knobs
- Door Hinges
- Electronic Door Locks
- Door Kick Plates
- Door Stops
- Handlesets
- Picture Hangers
- Window Hardware
- Metal Rods, Shapes & Sheets
- Specialty Hardware
- Safes
- Furniture Hardware
- Fasteners
- Chains, Ropes & Tie-Downs
- Signs, Letters & Numbers
- Keys & Key Safes
- Locks
- Hooks
- Marine Hardware
- Automotive
- Lighting
- Flooring
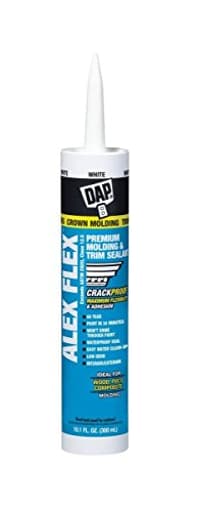
Paint & Trim Caulk helps you create crisp, long‑lasting finishes around baseboards, crown molding, windows, doors, and cabinetry. By sealing gaps and hairline cracks before painting, it improves adhesion, blocks drafts, boosts energy efficiency, and delivers that seamless, shadow-free look pros demand. Choose paintable caulk to blend repairs into walls and trim without flash-through.
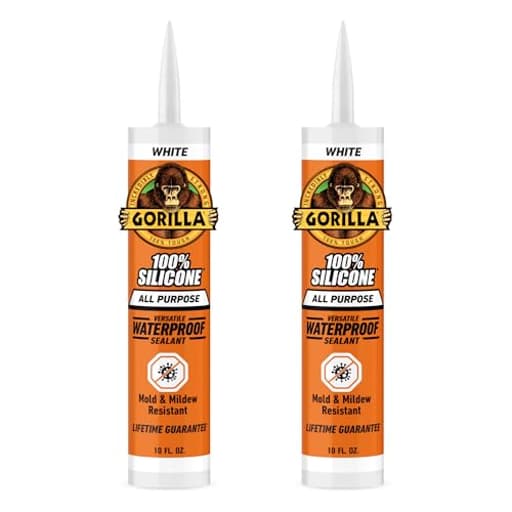
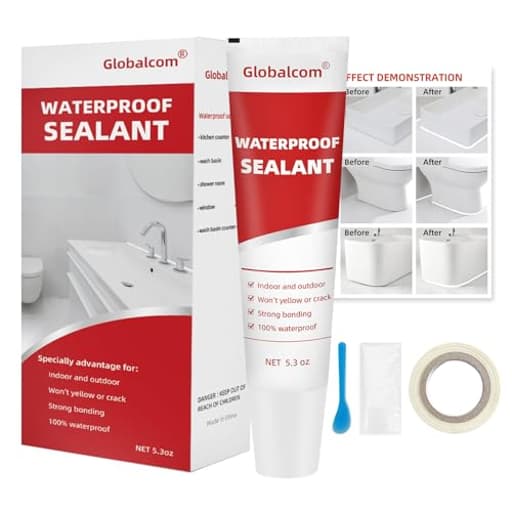
Acrylic latex caulk is a go-to for interior paint projects thanks to easy water cleanup, low odor, and fast tooling time. Silicone or hybrid formulations offer superior flexibility and weatherproofing for exterior joints exposed to movement, UV, and temperature swings. For bathrooms and kitchens, look for mildew-resistant options. If your project spans both interior and exterior, select an elastomeric or advanced polymer trim caulk that resists shrink and crack while remaining paintable.
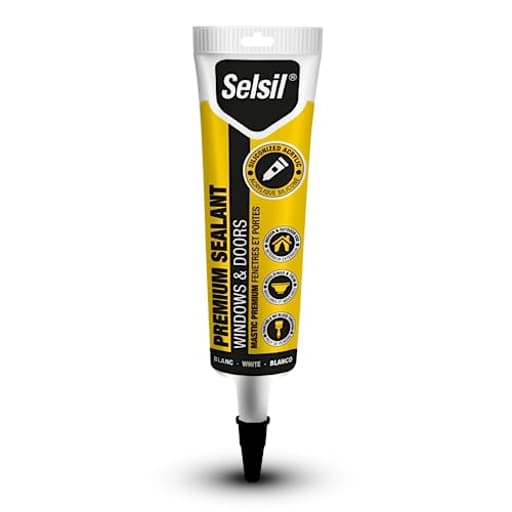
Application is straightforward: cut the nozzle at a 45° angle, puncture the seal, and apply a smooth bead with a caulking gun or squeeze tube. Tool the bead within the stated open time using a damp finger or finishing tool, then allow proper curing before sanding, priming, and painting. Check label guidance for humidity, temperature, and curing time; most water-based acrylics accept latex or acrylic paint in 30–60 minutes, while silicone and some hybrids require longer and may need specific primers or compatible coatings. Aim for clean, dry, dust-free surfaces for best adhesion.
Pro tips: mask edges for razor-sharp lines, use color-matched trim caulk where paint is not planned, and choose low-shrink formulas for wider gaps. For exterior siding and window casings, opt for high-movement joints rated for +/- 25% expansion and contraction. Keep spare tips for different bead sizes, cap tubes tightly to prevent skinning, and store at moderate temperatures to extend shelf life. DIY homeowners and pros can choose squeeze tubes for touch-ups or cartridges for guns to tackle finishing and sealing.