Want to work faster and safer in your workshop? Start with smarter tool placement. Studies show that organizing tools correctly can reduce wasted movements by up to 30%, improve safety, and even cut fatigue. Whether you're a DIYer or a professional, a cluttered, inefficient workspace costs time and energy. Here's the good news: small, practical changes can make a big difference.
Key Takeaways:
- Keep tools within reach: Frequently used tools should stay within 18–24 inches to minimize extra movements.
- Use the "golden zone": Store tools at waist-to-shoulder height to reduce bending and stretching.
- Create task-specific zones: Dedicate areas for cutting, assembly, finishing, and storage to stay organized.
- Try visual systems: Shadow boards, color-coding, and clear labeling make finding and returning tools easier.
- Leverage digital tools: Platforms like Toolstash track inventory, suggest optimal storage, and manage lending.
By combining thoughtful layouts with digital management, you can save time, reduce strain, and improve workflow - whether you're in a small garage or a busy workshop.
11 Simple Ways to Organize Any Workshop
Research Findings: How Tool Placement Affects Efficiency
Research shows that placing tools thoughtfully not only saves time but also promotes a smoother and safer workflow in workshops. By keeping frequently used tools close to the worker, tasks can be completed faster and with fewer interruptions [1][2]. Further studies dive into how specific placement zones and ergonomic considerations can amplify these benefits.
How Accessibility and Reach Distance Matter
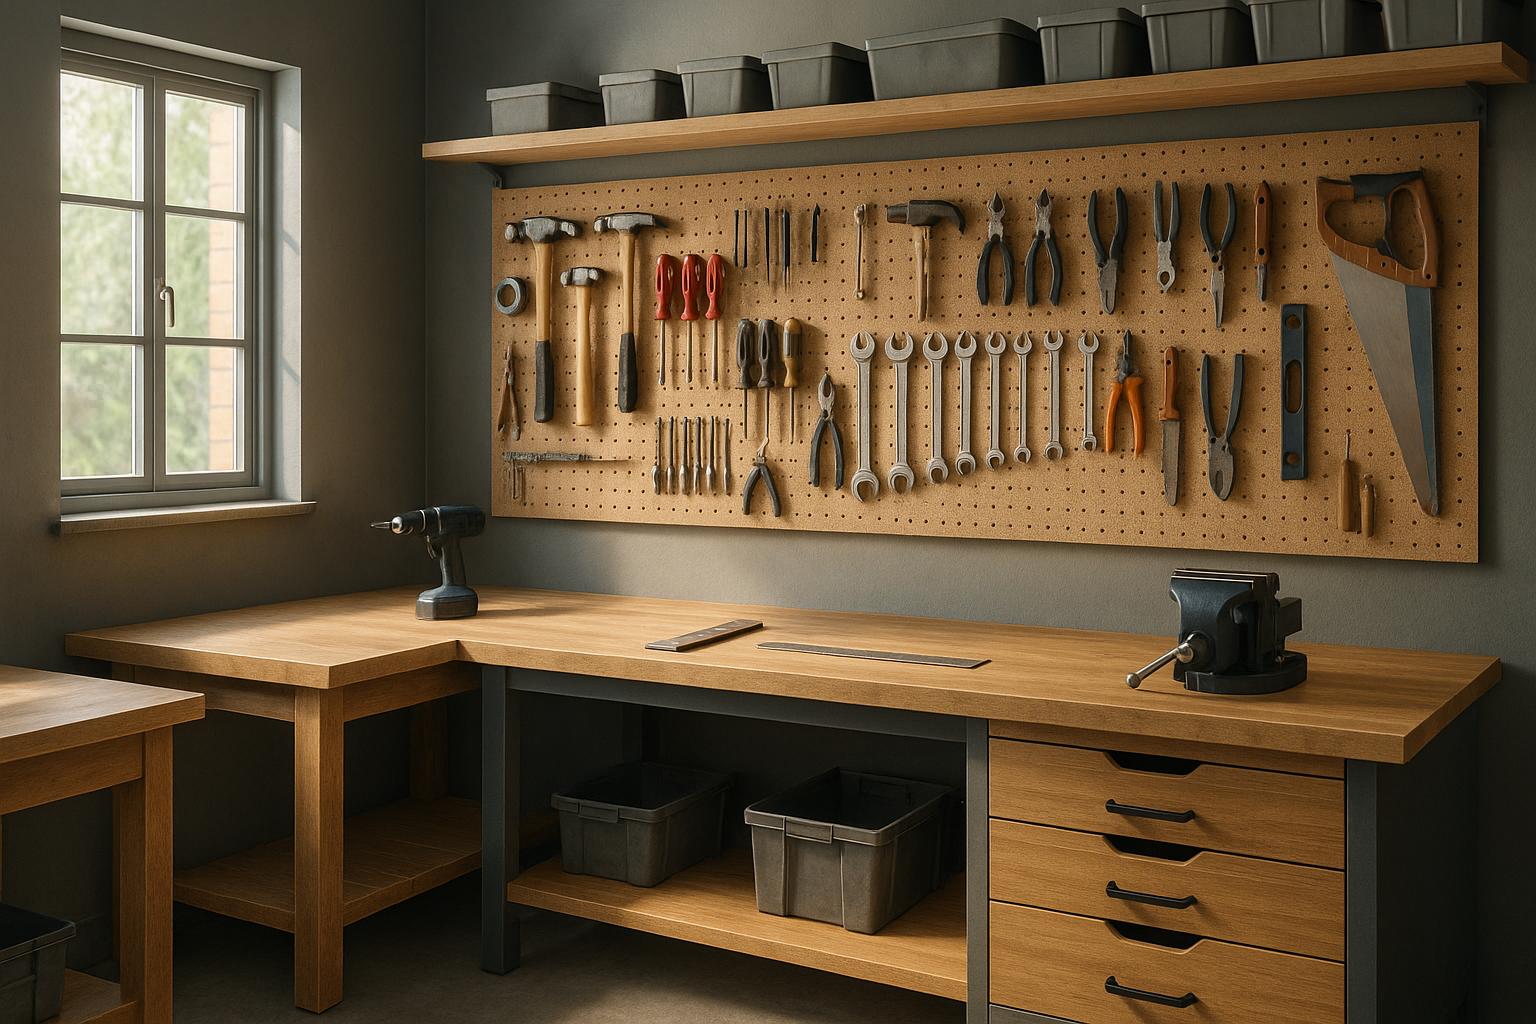
The key to effective tool placement lies in the primary reach zone - an area typically defined as being within 18 to 24 inches from the worker’s position. Storing commonly used tools in this zone minimizes unnecessary movements like stretching or walking, which can disrupt workflow and even pose safety risks [1]. For example, wall-mounted racks or pegboards installed at chest height provide easy access to hand tools, allowing workers to focus on their tasks without added strain [5].
Effects on User Fatigue and Safety
Poor tool placement often leads to repetitive bending, stretching, or twisting, which increases physical strain and fatigue [1][6]. To counter this, ergonomic guidelines recommend storing heavy or frequently used tools within a height range of 24 to 60 inches - roughly between knee and shoulder height [1][6]. Additionally, cluttered workspaces caused by misplaced tools can block pathways and emergency exits, creating safety hazards. Workers are more likely to stay focused and experience less fatigue when tools are consistently organized within the "golden zone", which spans from waist to shoulder height.
Case Studies: Workflow Improvements Through Better Tool Placement
Real-world examples highlight how these principles can transform workflows. Shadow boards - where every tool has a designated, visible spot - can cut tool search time by as much as 30%, reducing interruptions [2]. At a US automotive shop, relocating high-use tools to mobile carts within arm’s reach boosted turnaround times by 20% and lowered technician fatigue. Similarly, workshops that establish clear zones for specific tasks often see notable improvements in productivity and work quality. Manufacturing facilities that adopt strategic tool placement, particularly when combined with lean manufacturing methods, report significant gains in efficiency and overall output [1].
Guidelines for Better Workshop Layout
Transforming your workshop into a more efficient workspace starts with smart layout planning. By focusing on reducing unnecessary movements, creating logical zones, and keeping tools visible and within reach, you can make your workshop more productive and easier to work in. Let’s dive into how the work triangle and zone planning can help you achieve this.
The Work Triangle for Frequently Used Tools
The work triangle is a simple yet effective concept. It involves positioning your three most frequently used workstations - like your workbench, saw, and assembly table - in a triangular layout. This setup minimizes the steps you take while working, saving time and effort.
For the best results, keep each station 4–9 feet apart, with the total perimeter of the triangle ranging between 12 and 26 feet. For example, if your workbench is 6 feet from your miter saw, and your assembly table is 7 feet from the workbench and 8 feet from the saw, you’ve created a 21-foot triangle. This strikes the right balance between accessibility and maintaining a safe, uncluttered workspace.
Design your triangle to match your workflow. If your projects typically involve cutting lumber, drilling at the workbench, and assembling parts, arrange these stations to follow that sequence. This way, you avoid unnecessary backtracking and keep your work flowing smoothly.
Zone Planning for Task-Specific Areas
Organizing your workshop into zones takes efficiency a step further. Dividing the space into dedicated areas for tasks like cutting, assembly, finishing, and storage makes it easier to stay organized and maintain focus. Each zone should include the tools and materials needed for its specific purpose.
Here’s how to set up your zones:
- Cutting Zone: Keep all saws, measuring tools, and cutting guides here, along with bright lighting and a dust collection system.
- Assembly Zone: Stock this area with clamps, fasteners, and joining tools near a sturdy work surface.
- Finishing Zone: Equip this space with brushes, sandpaper, finishing materials, and proper ventilation.
- Storage Area: Use shelves, cabinets, or pegboards to keep tools and materials neatly organized and easily accessible.
For larger workshops, maintain walkways at least 3 feet wide between zones to ensure safety and smooth movement. In smaller spaces, mobile workstations or modular storage solutions can help define zones without permanent barriers. For example, a rolling cart with finishing supplies can temporarily turn any spot into a finishing zone.
To maximize space in compact workshops, consider vertical storage. Wall-mounted cabinets above the cutting zone can hold blades and measuring tools, while pegboards in the assembly area keep clamps and hardware within easy reach.
Using Visual Management Tools
Visual management tools are the perfect complement to zoning. They simplify tool organization, reduce search time, and make it easier to keep everything in its place.
- Shadow Boards: These boards outline where each tool belongs, making it obvious when something is missing. They’re especially useful for hand tools that are used frequently throughout the day.
- Color-Coding: Assign colors to tool categories or zones. For example, red could mark cutting tools, blue for assembly tools, and green for measuring instruments. This system is especially helpful in shared workshops, creating a universal language for organization.
- Clear Labeling: Label every tool and its storage spot. Use large, easy-to-read labels that won’t get covered by the tools themselves. For items that are frequently moved, label both the tool and its designated location.
In 2022, a manufacturing workshop in Ohio introduced shadow boards for all hand and power tools. Within six months, they reported a 23% reduction in tool search time and a 15% boost in productivity. This initiative, led by Operations Manager Lisa Grant, included staff training and regular audits [2].
For a tech-savvy approach, platforms like Toolstash can take visual management to the next level with features like inventory tracking, smart categorization, and QR code-linked records.
Consistency is key to making visual systems work. Regular audits ensure tools return to their proper places, and periodic updates keep the system aligned with your workflow. When everyone uses the same system, the workshop becomes more organized and efficient for all.
How Digital Platforms Help Tool Management
Physical organization lays the groundwork for an efficient workshop, but digital platforms take tool management to a whole new level. Modern technology simplifies tracking, locating, and organizing tools by using data to provide real-time insights. These platforms offer a clear view of your entire inventory and generate actionable data that can help refine your workshop's physical layout.
Inventory Tracking and AI-Powered Recommendations
Keeping track of your inventory is essential, and digital platforms like Toolstash make it easy. They store detailed records of your tools, from purchase history to maintenance schedules and usage frequency. This information helps you decide which tools deserve prime spots in your work area and which can be placed in less accessible storage.
AI-powered tools take it further by analyzing usage patterns. For instance, if certain tools are often used together, the system might suggest storing them in the same area. This eliminates guesswork and ensures that your most frequently used tool combinations are always within arm’s reach.
Smart categorization also plays a role, grouping tools based on their function and how often you use them. For example, tools for cutting might be grouped separately from those for assembly, making it easier to create task-specific zones in your workshop.
Platforms with features like AI Snap streamline the setup process. Instead of manually entering tool details, you can simply snap a photo to add tools to your inventory. This removes a common hurdle to adopting digital systems and makes it easier to get started.
These insights not only help with organizing tools but also improve accountability and location management.
Location Tracking and Lending Management
Digital platforms build on inventory data by tracking tool locations and managing borrowing, which can prevent misplacement and improve accountability. Assigning specific storage spots ensures tools are easy to find and helps maintain your workshop’s organization, even in the busiest environments.
Borrowing and lending features are especially helpful in shared workspaces. Team members can check out tools digitally, and the system tracks who has what and when it’s due back. This prevents tools from going missing or being left in random places.
Usage data from lending records can also highlight trends. For example, if multiple people frequently need the same tool at the same time, it might be worth purchasing an additional unit or moving the tool to a more central location.
In workshops with multiple shifts or rotating staff, location tracking becomes even more critical. Incoming teams can quickly see which tools are available and where to find them, saving time and avoiding confusion.
Combining Digital Data with Physical Layout Changes
The data from digital platforms can directly inform changes to your workshop’s physical layout. For example, usage patterns might reveal that tools you thought were rarely used are actually essential for certain tasks, or that tools stored far apart are frequently used in sequence.
Information about tool usage frequency, peak activity times, and movement patterns can guide adjustments to work zones. If a digital platform shows that measuring tools are most needed during morning hours, you might move them closer to the main workstation or ensure they’re easily accessible during shift changes.
Location analytics can also identify underutilized storage areas. If certain spots aren’t being used much, you could repurpose them for high-demand tools or even convert them into additional workspace.
Digital and physical systems can work hand in hand. For example, digital maps of tool locations can generate printable labels or QR codes for shadow boards. Scanning a QR code can instantly show a tool’s status or return time, keeping your physical organization in sync with your digital records.
Regularly reviewing your digital data allows for ongoing improvements to your layout. As projects and tool needs evolve, these platforms provide the insights necessary to adapt your space. This creates a workshop that stays efficient and organized over time, while also helping track compliance when tools aren’t returned to their proper spots.
Conclusion: Key Points for Better Workshop Workflow
Organizing tools effectively can transform how a workshop operates. Studies show that a well-thought-out layout reduces unnecessary movement, boosts productivity, and fosters a safer working environment. Keeping frequently used tools close to workstations helps workers stay focused by cutting down on time spent searching for what they need[1].
Combining a smart physical setup with digital management tools takes this efficiency to the next level[2][4]. Together, they provide both immediate improvements and ongoing refinement.
Steps for Immediate Action
Here are some practical strategies you can apply right away to improve your workshop's workflow:
- Evaluate your layout: Map out where your tools are located in relation to workstations to identify inefficiencies[1].
- Organize by task or frequency: Group tools based on how often they're used or for specific tasks, and create dedicated zones to avoid bottlenecks[1].
- Use shadow boards: These make it easy to spot missing tools and maintain organization[2].
- Go digital with inventory tracking: Platforms like Toolstash simplify tool management. Features like AI Snap let you catalog tools by snapping a photo, while smart categorization helps you organize them logically. Lending management tools ensure borrowed items are returned to their proper places[4].
- Adjust as needed: Regularly review your setup using both observations and data to adapt to changing project demands and tool usage[1].
Long-Term Benefits of Better Tool Placement
The rewards of proper tool organization extend well into the future. A streamlined workshop not only boosts efficiency but also reduces physical strain and the risk of injuries, leading to higher job satisfaction and better productivity[1][6].
There are also clear financial advantages. Losing fewer tools means spending less on replacements, and improved workflows lead to quicker project turnarounds. For instance, one machining shop increased its process efficiency from 53% to 66% after implementing a systematic layout plan[3].
Safety becomes second nature in a well-organized workspace. Designated spots for tools and clear pathways reduce hazards, while visual management systems make it easy to see if critical safety gear or tools are missing[1][2].
Digital tools add another layer of optimization. By analyzing usage patterns and tracking locations, these platforms create a feedback loop that refines your layout over time. This ensures your workshop stays efficient and adaptable as your needs evolve, supporting both current projects and future growth[4].
FAQs
How do I decide which tools should be within easy reach in my workshop?
To make your workshop more efficient, start by organizing your tools so the ones you use most often are within easy reach - ideally in the area you can access without stretching or moving around too much. Think about the tools you grab daily, like screwdrivers, wrenches, or measuring tapes, and keep them close at hand.
It’s also helpful to group tools by the type of task or project they’re used for. For instance, if you frequently use cutting tools at your workbench, store them nearby to save time. Periodically review your setup and make adjustments as your workflow or needs change. This way, your workspace stays practical and convenient.
How can I create efficient task-specific zones in a small workshop?
To make the most of your small workshop, start by assessing your workflow and pinpointing the tools and equipment you rely on most for specific tasks. Organize your space by grouping related tools and materials together - this reduces unnecessary movement and keeps things efficient. Keep the tools you use most often within easy reach, while storing less frequently used items in designated areas.
Maximize your workspace by utilizing vertical space. Wall-mounted racks, pegboards, or shelves can help keep your tools organized and off your workbench. Labeling storage areas is another simple yet effective way to save time and avoid frustration when searching for tools. For an extra layer of efficiency, consider using a tool management platform like Toolstash to track your tools’ locations and maintain an organized setup.
How can Toolstash help streamline my workshop's organization and workflow?
Toolstash takes the hassle out of managing your workshop by offering a single platform to keep your tools organized and easy to find. With features like AI-assisted tool entry, intelligent categorization, and location tracking, you can pinpoint tools in seconds and keep everything exactly where it belongs.
It also simplifies tool lending and borrowing, letting you track who has what at any given time. These features not only streamline your workflow but also help maintain a tidy and efficient workspace.