Misplacing tools is common, but it wastes time, disrupts projects, and can lead to costly replacements. The solution? Organize your tools effectively, use digital tracking apps, and set up proper storage systems. Here's how you can keep your tools in order:
- Sort and organize tools: Group similar items, discard broken ones, and assign a spot for each.
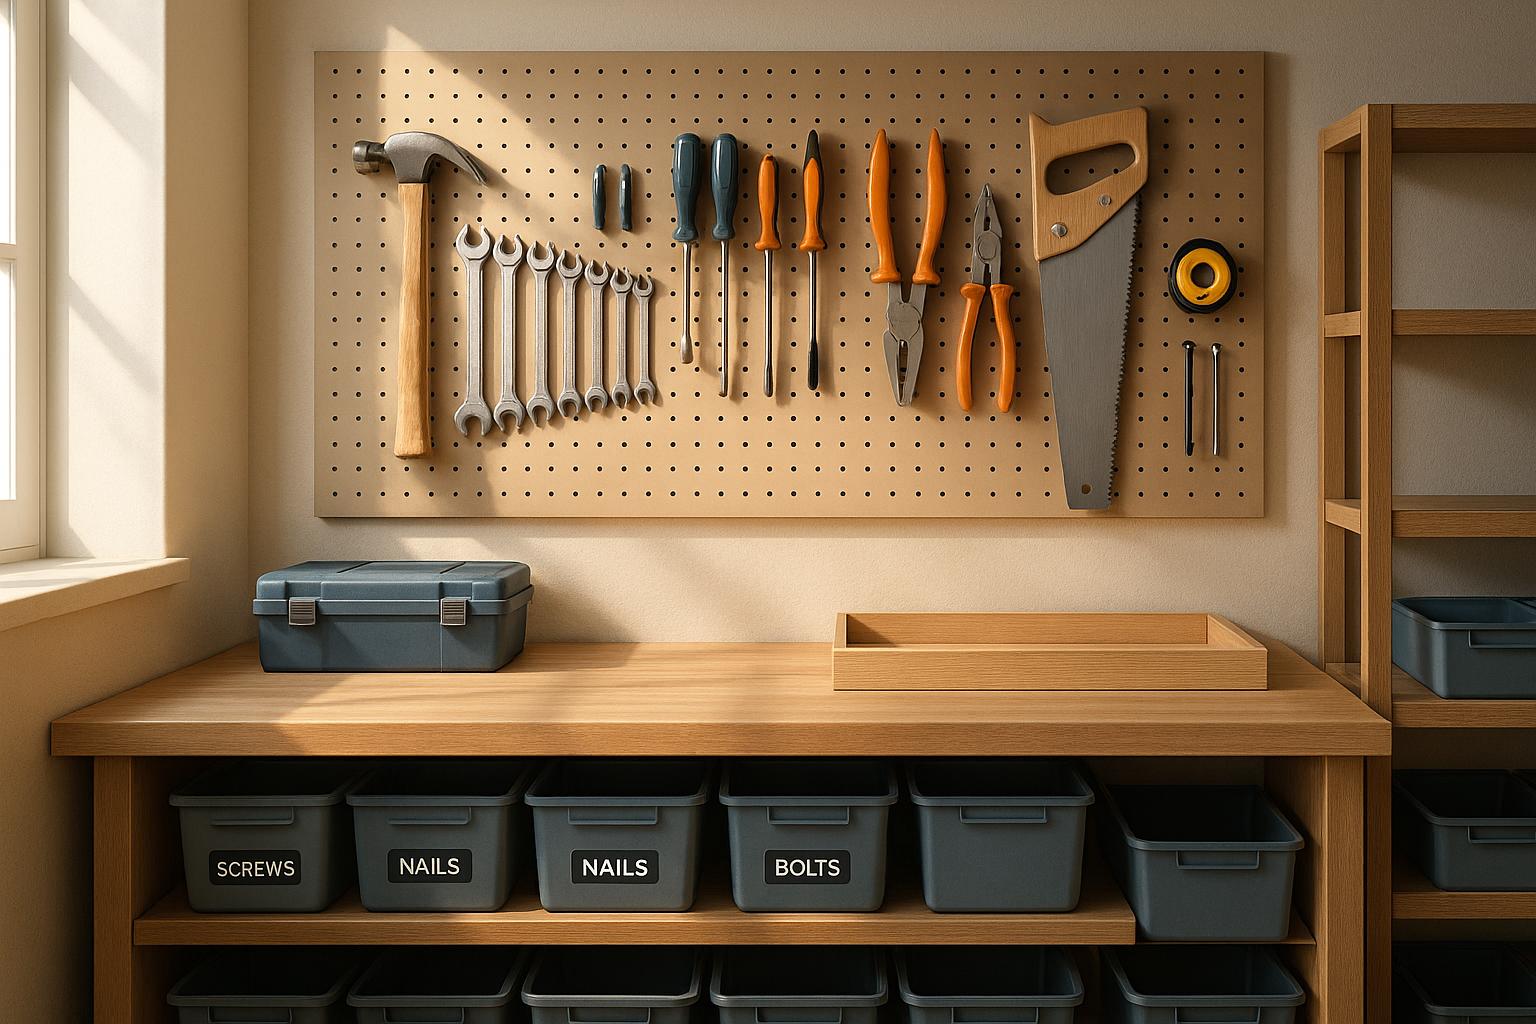
- Set up a storage area: Use pegboards, toolboxes, or wall-mounted systems for easy access.
- Label everything: Use clear labels or color coding for quick identification.
- Try digital tracking: Apps like Toolstash help catalog tools, track loans, and find items faster.
- Maintain regularly: Clean and inspect tools after use, and always return them to their proper place.
These steps save time, reduce frustration, and make DIY projects smoother. Start today by organizing your workspace and exploring digital solutions like Toolstash for smarter tool management.
Tool Organization for People Who Can't Be Organized
Smart Organization Strategies for Tools
Getting your tools in order isn't complicated, but it does take some planning. The goal is to create a system that fits how you actually work - not some idealized version of it. Here are three practical strategies to turn your cluttered tool collection into a well-organized setup. These tips will simplify your workflow and save you from endlessly searching for misplaced tools.
Sort and Group Your Tools
Start by emptying out your entire tool collection. Clear your workspace and take inventory of everything you own.
Group similar tools together and separate the everyday essentials - like a hammer or screwdriver set - from the specialty items you only use occasionally. This process helps you spot any gaps or redundancies in your collection. For instance, you might discover you own five Phillips head screwdrivers but no Robertson bits, or that you have three tape measures when one quality one would do the job.
Next, get rid of anything that’s broken, rusted, or rarely used. That bent screwdriver or rusty wrench is just taking up space. Donate or recycle tools that can’t be repaired, and consider selling duplicates that are still in good shape.
Once everything is sorted and grouped, assign a specific spot for each tool or category of tools.
Set Up a Dedicated Storage Area
Choose one central location for your tools, whether it’s a garage wall, a rolling toolbox, or a workbench area. This will be your main hub where all your tools "live" when not in use. Make sure the space is easy to access and has enough room for your current collection, plus a little extra for future additions.
Keep your most frequently used tools within easy reach - ideally at arm height. Reserve higher shelves or deeper drawers for items you only need occasionally, like seasonal or specialty tools. This setup saves you from constantly bending, reaching, or climbing just to grab the basics.
"By properly storing your tools, you'll be able to find the tools that you need promptly. You can avoid the inconvenience of having to look all over your garage for a specific one." - Moduline Cabinets [1]
Having a dedicated storage area also comes with a psychological bonus. When you know exactly where a tool belongs, you're far more likely to put it back in its place after you’re done using it.
Use Labels and Visual Organization
Labels are a simple yet powerful way to keep your tools organized and easy to find.
"One of the oldest and most effective organizational strategies used in any application is labeling, and labels used alongside other tool organization strategies are an easy way for workers to quickly identify proper placement of tools and materials." - Creative Safety Supply [2]
Consider using color coding for quick visual cues. For example, blue labels for electrical tools, red for plumbing, and green for woodworking. This system is especially helpful when you’re in the middle of a project and need to grab the right tool fast.
Be specific with your labels. Instead of just writing "Hand Tools", break it down further - like "Hand Tools - Wrenches" or "Power Tools - Drills." The extra detail makes it easier to return tools to their proper spots and avoids mix-ups.
Visual labels can take things a step further. Adding simple icons or pictures of the tools next to the text makes identification even quicker, especially if others (like family or friends) are helping out. A small hammer icon next to the word "Hammers", for example, makes it instantly clear.
For pegboards, labeling is crucial. Mark where each tool hangs so you can see at a glance if something’s missing. This system also reminds you to return tools to their designated spots after use.
Make sure your labels are tough enough to handle your workspace. Vinyl labels are great for high-traffic areas since they resist wear and tear, while magnetic labels are a flexible option for metal storage systems. If you have unique needs, printable label sheets let you customize your setup without breaking the bank.
A well-labeled system not only keeps your workspace tidy but also encourages accountability. When every tool has a clear home, there’s no excuse for leaving them scattered around.
Digital Solutions for Tool Tracking
While physical organization is a great starting point, incorporating digital tracking can elevate your tool management game. Apps make it easier to catalog, locate, and monitor your tools, working hand-in-hand with your physical setup to streamline the entire process.
Using Toolstash for Inventory Management
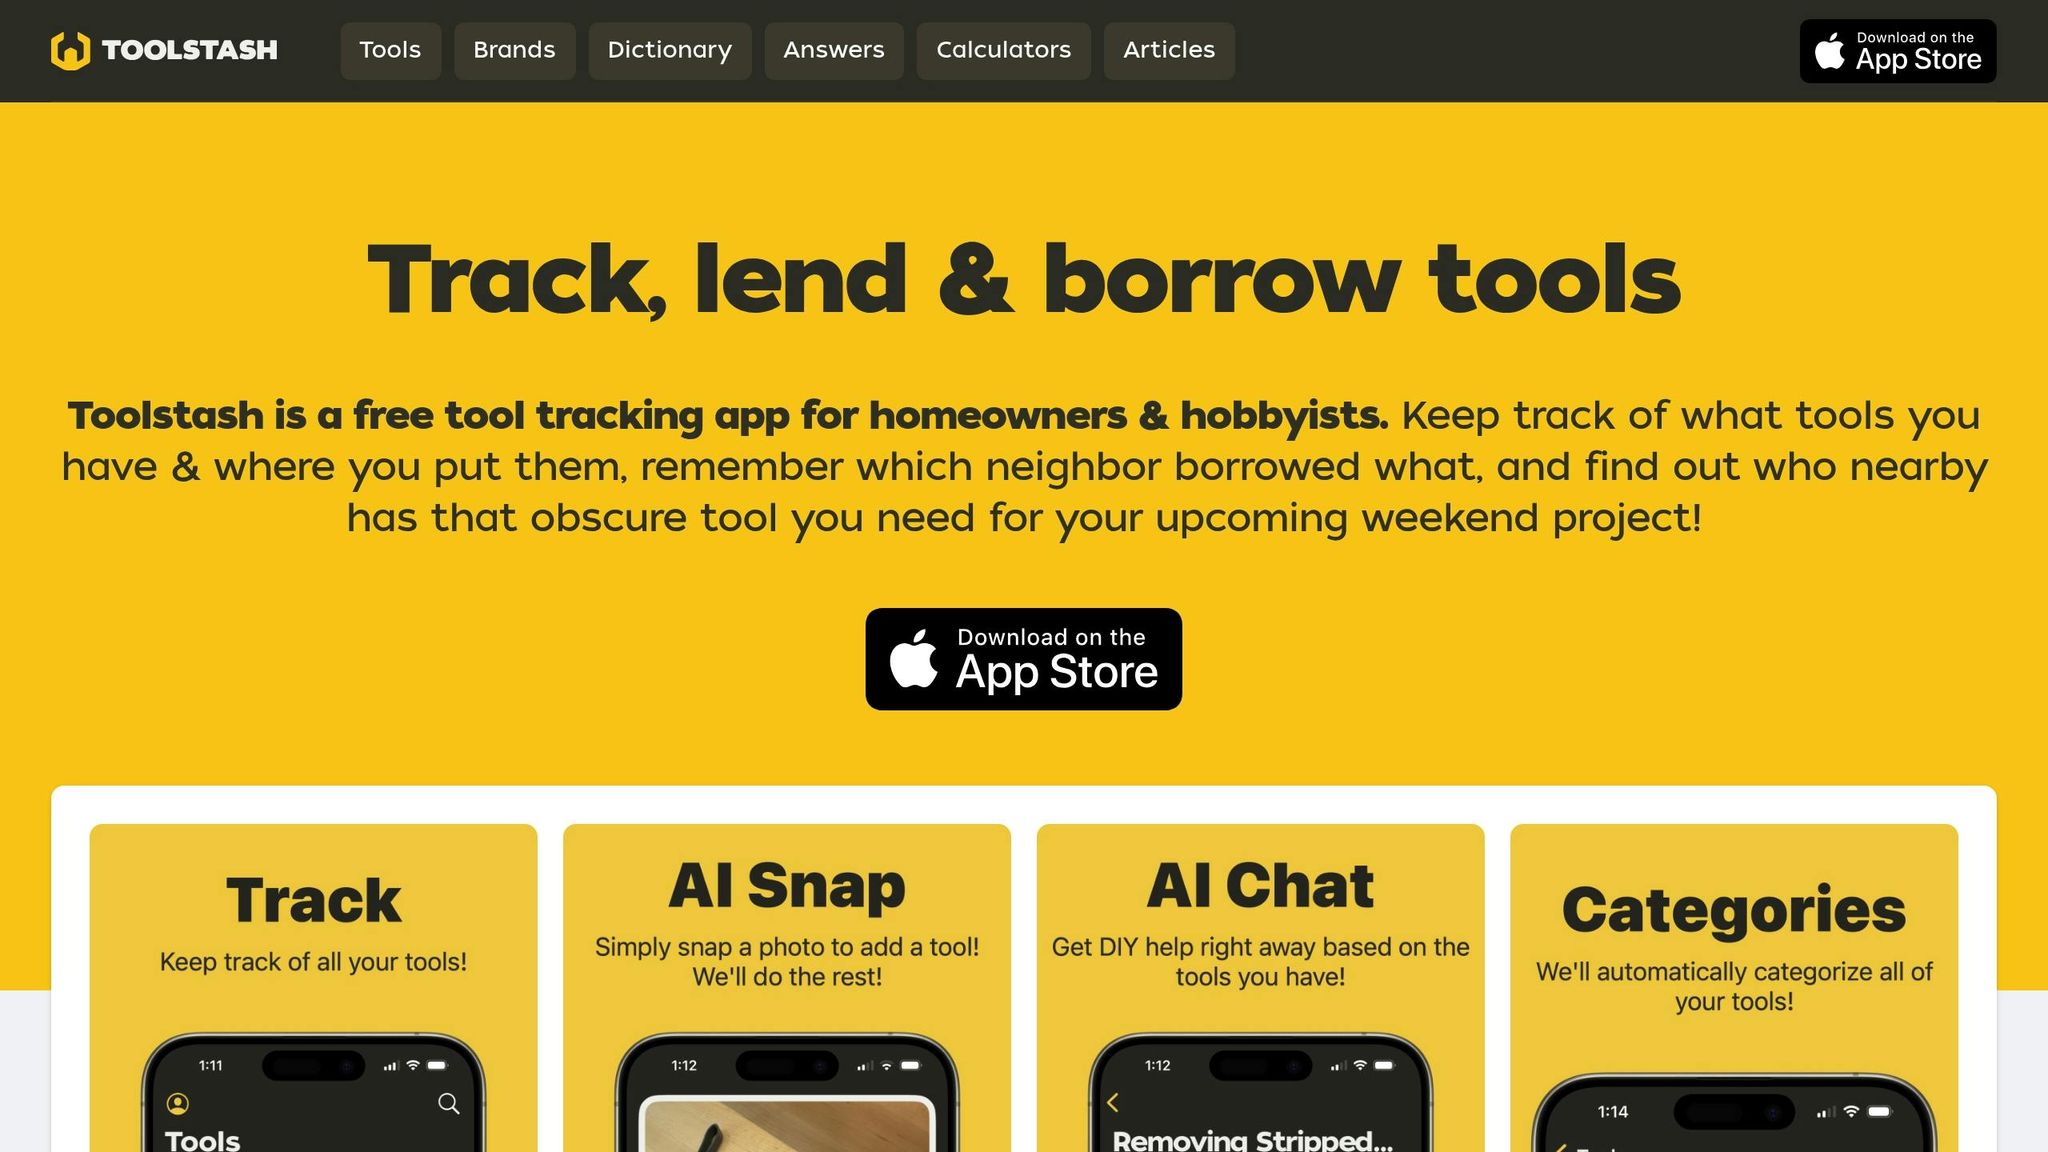
Toolstash is a user-friendly app designed specifically for homeowners and DIY enthusiasts. Best of all, it’s free.
Adding tools to your inventory couldn’t be simpler. Snap a photo of a tool, and Toolstash’s AI automatically identifies the item and its model number. It takes care of the details for you, so you don’t have to manually input information.
You can assign specific storage locations to each tool, making it easy to find what you need, even if your tools are spread across multiple areas. This is especially useful for those with large collections stored in different parts of their property.
The app also keeps detailed records for every tool. You can access information like when you added an item, where it’s stored, and any notes you’ve included. This creates a complete, easily accessible inventory that’s always at your fingertips.
Benefits of AI-Powered Features
Toolstash’s AI features go beyond simple identification. It categorizes your tools into groups such as power tools, hand tools, and measuring equipment, saving you time and ensuring your inventory stays organized.
One standout feature is its AI chat assistance. This tool allows you to ask questions about DIY projects and receive tailored advice based on your actual tool collection. Instead of generic tips, the app considers the tools you own, offering practical and specific guidance. This personalized approach makes DIY projects more efficient and manageable.
Track Borrowed and Lent Tools
Losing track of tools often happens when they’re lent out and forgotten. Toolstash tackles this issue with built-in lending management.
You can log loans with details about the borrower and the date, eliminating the need for sticky notes or relying on memory. This feature can save you from purchasing duplicates or having awkward conversations about missing tools.
The app doesn’t just track tools you lend - it also logs items you borrow. This ensures you return borrowed tools on time, helping you maintain good relationships with neighbors and friends. Plus, it can help you locate tools within your network. Instead of buying or renting a specialty tool for a one-time job, you can check if someone you know already has it. This encourages tool sharing and saves money on infrequently used items.
Storage Solutions That Work
Getting your workspace organized can make a world of difference. The right storage not only clears up clutter but also helps you stay efficient. Here are some practical storage ideas to pair with your digital tracking and daily routines.
Pegboards and Wall-Mounted Systems
Pegboards are a flexible and cost-effective way to store tools. They work great for small hand tools like screwdrivers, hammers, and wrenches. With hooks, bins, and shelves, you can create a layout that suits your needs.
For heavier gear like power tools or lawn equipment, slatwall panels are a sturdier choice. These systems are designed to handle more weight and can expand as your storage needs grow.
Another option is French cleat systems, which let you rearrange tool holders easily. These systems work well on walls, workbenches, and even tables, offering adaptability throughout your workspace.
When setting up any wall-mounted system, make sure to anchor it to wall studs. This ensures stability, especially for heavier tools, and helps prevent accidents or damage to your gear.
Magnetic Strips for Metal Tools
Magnetic tool bars are perfect for keeping metal tools like pliers, screwdrivers, and wrenches organized. Typically mounted above workbenches, they save space, keep tools visible, and make them easy to grab when you need them.
When choosing a magnetic strip, check its weight capacity. Stronger magnets are essential for heavier tools like large wrenches or specialty pliers. Also, mount the strip at a height that’s easy to reach - no one wants to strain or stretch awkwardly while working.
Stackable Bins and Drawer Organizers
Small hardware like screws, nails, bolts, and washers can quickly become a mess without proper storage. Stackable bins and drawer organizers are excellent for keeping everything sorted and easy to find.
Clear plastic bins with labels make it simple to identify what’s inside at a glance.
For smaller tools or hardware, drawer organizers with adjustable dividers are a smart choice. You can customize the compartments to fit your items and rearrange them as your needs change.
To maximize efficiency, store frequently used items at eye level or within easy reach. Reserve higher shelves or harder-to-access spots for seasonal tools or items you rarely use. This way, your workspace stays both organized and practical.
Keep Your Workspace Organized
Having a solid storage system is just the beginning. The real test comes in keeping your workspace organized day in and day out. Without consistent habits and regular upkeep, even the most orderly workshop can turn into a mess. To avoid this, stick to a maintenance routine, always return tools to their proper place, and tweak your system as needed.
Set Up a Tool Maintenance Routine
A good maintenance routine keeps both your tools and workspace in top shape. After each project, wipe down hand tools with a damp cloth and use compressed air to clear dust from power tool vents. Make sure tools are completely dry before storing them to avoid rust. Twice a year - ideally in winter and spring - inspect your tools for wear and tear, like frayed cords, cracked handles, rust, or performance issues. Sharpen blades, drill bits, and chisels regularly, and lubricate moving parts with manufacturer-recommended products after cleaning them thoroughly. For cordless tools, follow the manufacturer’s battery care instructions: store batteries in a climate-controlled area, let them cool before charging, and clean contacts with cotton swabs and alcohol [4][5][6].
Return Tools After Each Use
One of the easiest ways to avoid losing tools is to put them back right after you’re done using them. Try the "one-touch rule": as soon as you finish with a tool, return it to its designated spot instead of leaving it elsewhere. For multi-day projects, keep active tools on a small tray and return them to storage as soon as you’re finished. Always store tools off the floor, especially in garages, where moisture and dirt can cause damage [3].
Review and Adjust Your System
As your tool collection grows and your needs change, take time to reassess your storage system. If certain tools are often misplaced, consider reorganizing to make those items easier to access. Keep seasonal tools in mind - before storing gas-powered tools like lawnmowers, snow blowers, or chainsaws for extended periods, empty their tanks, clean them, and change the oil to avoid costly repairs and maintain a tidy storage space [3]. When you add new tools, assign them a storage spot immediately and update your digital inventory in Toolstash. Adding physical labels can also help ensure your system stays efficient and easy to follow.
Conclusion: Better DIY Tool Management
Say goodbye to misplaced tools by setting up an efficient tool management system.
To get started, combine practical storage solutions like pegboards, magnetic strips, and labeled compartments with digital tracking tools like Toolstash. This mix of physical organization and digital oversight creates a system that’s easy to maintain and incredibly effective.
The secret? Consistency. Make it a habit to return tools to their proper places and check your inventory regularly. These small steps save you from the hassle of searching for lost tools or wasting money on replacements.
With an organized system, you’ll save time, cut costs, and enjoy your DIY projects more. Plus, you’ll tackle tasks with a newfound confidence, knowing everything you need is right where it should be.
Start today - set up a pegboard, organize your workspace, or try out Toolstash. A little effort now can lead to big improvements in your productivity and DIY experience.
FAQs
How can Toolstash help me keep track of my tools and avoid losing them?
Toolstash simplifies tool management by providing a real-time snapshot of your tools' locations and their current status. This means no more hunting for misplaced items - you’ll always know exactly what you have and where it is.
Key features like digital inventory tracking, maintenance alerts, and easy organization take the guesswork out of managing your workspace. By staying on top of your tools, you save time, cut down on extra costs, and can dedicate more energy to your DIY projects.
How can color coding and labeling make tool organization easier, and what’s the best way to use them?
Color coding and labeling are fantastic ways to streamline tool organization. They provide visual shortcuts that make finding and identifying tools much faster. This can be a game-changer, especially when you're knee-deep in a DIY project and every second counts. For instance, you could assign colors to different tool types - red for screwdrivers, blue for pliers, and so on - creating a system that's both logical and easy to remember.
To make this work, opt for sturdy labels and stick to a consistent color scheme throughout your workspace. You can attach labels directly to tools or designate labeled spots on storage areas like bins and drawers. Not only does this keep your tools in order, but it also minimizes clutter, making your workspace safer and less chaotic.
Why is having a dedicated storage area important for keeping your tools organized and your workspace efficient?
Having a dedicated place to store your tools is key to keeping your workspace tidy and efficient. When tools are easy to find, you save time and avoid the frustration of searching for them. Proper storage also protects your tools from getting lost or damaged, which can help you avoid unnecessary expenses down the road.
An organized system doesn’t just cut down on clutter - it also makes your workspace safer and more productive. With everything in its designated spot, you lower the chances of accidents and streamline your workflow. Plus, when tools are stored correctly, they tend to last longer and perform at their best when you need them.