Want to stop wasting time looking for tools? Organizing them by function is the ultimate solution. Grouping tools by their purpose - like cutting, measuring, or fastening - helps you find what you need instantly, reduces tool loss, and improves your workspace efficiency. Here's a quick breakdown of how to do it:
- Sort tools into 9 categories: Hand tools, power tools, measuring tools, fastening tools, cutting tools, electrical tools, plumbing tools, safety gear, and specialized tools.
- Set up a sorting workspace: Use bins, labels, and dividers for each category.
- Inspect and maintain tools: Check for damage, repair or replace as needed, and log details digitally.
- Use digital tools like Toolstash: Track your tool inventory, storage locations, and lending details.
Why it matters: A well-organized system saves time, prevents accidents, and eliminates the frustration of misplaced tools. Whether you're a DIY enthusiast or a professional, this checklist ensures your tools are always ready to use.
Organize Your Toolbox Like The Pros
Getting Ready to Organize Your Tools
Before jumping into organizing by categories, it's important to lay the groundwork. Taking some time upfront to gather your tools and set up a functional workspace can save you from unnecessary frustration and wasted effort later.
Collect and Inspect Your Tools
Start by gathering all your tools from every possible storage spot - think garage, basement, car trunk, or even that random kitchen drawer. As you collect them, take a moment to inspect each tool. Look for issues like rust, broken handles, dull blades, or missing parts. If you spot anything that needs attention, set those tools aside for maintenance or replacement. You might even want to tag items that need repair or further evaluation. This step ensures that only fully functional tools make their way into your organized system, which can save you from safety risks during future projects.
Feeling overwhelmed by the sheer number of tools or the clutter? You’re not alone. Many people underestimate how many tools they’ve accumulated or struggle with a lack of workspace. To avoid burnout, break the process into smaller tasks. Focus on one area at a time, starting with your most-used tools. Remember, this doesn’t have to be perfect right away - you can refine your system as you go.
Once you’ve gathered and inspected everything, set up a dedicated area to sort your tools.
Set Up a Sorting Workspace
A good workspace is key to staying efficient while sorting. Choose a well-lit, spacious area where you can spread out comfortably. Make sure you have bins or containers for sorting and label them clearly with a permanent marker. This will help you keep track of your categories as you work. For added convenience, use a sturdy table that’s at least 30 inches high - this saves your back from unnecessary strain.
Before you start sorting, gather some essential supplies: bins, adhesive labels, markers, and cleaning cloths. If you want to go the extra mile, consider items like foam drawer organizers, pegboards, magnetic strips, or wall-mounted racks for larger tools. These can make the process smoother and help you maintain order in the long run.
By creating a thoughtful and organized workspace, you’ll make sorting quicker and easier - and set yourself up for success when it comes to digital tracking.
Why Consider Digital Organization Tools
Once your tools are physically sorted, digital organization tools can take things to the next level. Platforms like Toolstash allow you to create a complete inventory of your tools in one place, making it easier to stay on top of what you have and where it’s stored.
Digital tools offer features like syncing storage locations and even location tracking, so you can quickly find exactly where a tool is stored. Some platforms, like Toolstash, include AI Snap, which lets you add tools to your inventory by simply snapping a photo. This eliminates the need for tedious manual data entry and keeps your system efficient.
Here’s a quick look at different organization methods:
| Method | Pros | Cons |
|---|---|---|
| Manual (paper/spreadsheet) | Simple, low-cost | Can be error-prone and hard to update |
| Digital (Toolstash) | Searchable, efficient | Requires a device and some learning time |
| Visual (shadow board) | Easy to see and access | Limited to fixed locations |
Combining a solid physical organization system with digital tracking gives you a setup that’s both flexible and future-proof, whether your tool collection grows or your needs change.
Tool Categories by Function
Organizing tools based on their primary purpose can save you time and effort on any project. Instead of rummaging through a disorganized pile, you’ll know exactly where each tool is and what it’s for. This method aligns with professional systems like the 5S approach, which emphasizes sorting, organizing, and standardizing for better efficiency and safety [2].
Complete List of Tool Categories
A well-organized setup revolves around nine main tool categories. Each group focuses on specific tasks, making it easier to locate what you need.
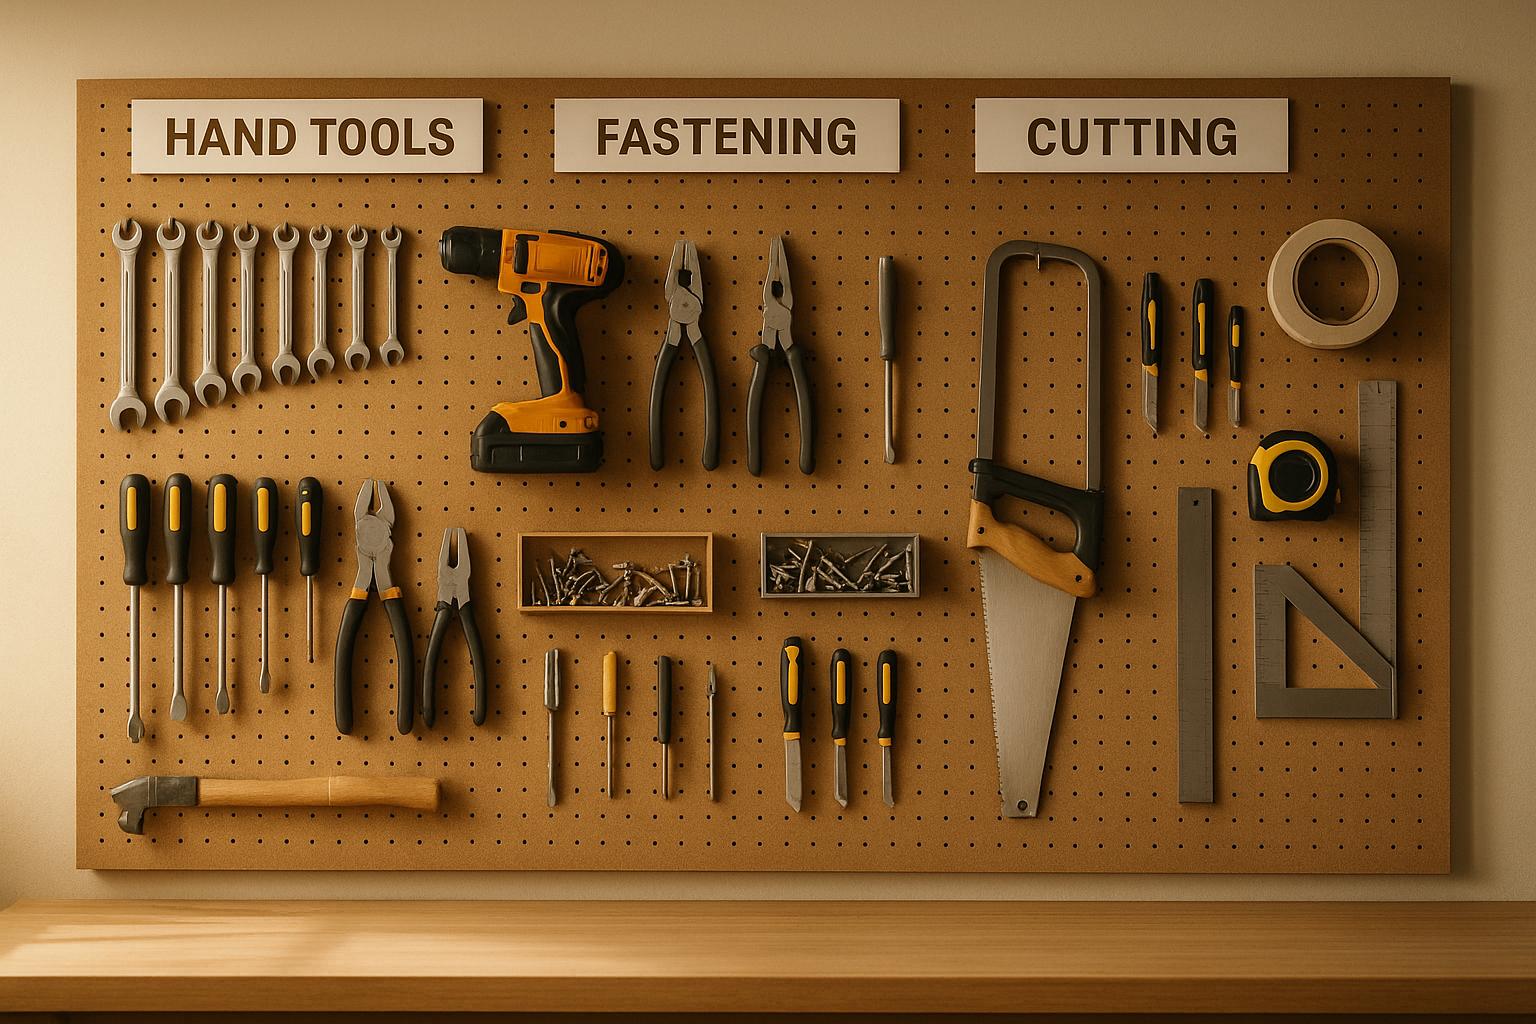
Hand Tools are the backbone of any toolbox. Think hammers, screwdrivers, pliers, and wrenches. These manually operated tools are indispensable for basic repairs and construction. Use drawer organizers or pegboards to keep them visible and within reach.
Power Tools include drills, saws, sanders, and grinders. These tools rely on electricity, batteries, or compressed air, so they’re often heavier and more expensive. Storing them in cabinets or sturdy wall racks helps protect your investment.
Measuring Tools ensure precision. Items like tape measures, levels, calipers, and squares are essential for accuracy. Keep them in labeled bins or on wall shelves to preserve their condition.
Fastening Tools, such as nail guns, staple guns, and riveters, are perfect for joining materials. Drawer trays or tool chests are ideal for keeping these tools organized and easy to access.
Cutting Tools - utility knives, saws, scissors, and snips - need special care to protect their sharp edges. Foam inserts or wall hooks can help keep them safe and organized.
Electrical Tools like wire strippers, multimeters, and soldering irons require protection from moisture and impact. Dedicated tool bags or labeled bins work well for these sensitive items.
Plumbing Tools, including pipe wrenches, plungers, and pipe cutters, often deal with water. Wall racks or drawer dividers make it easier to clean and store them.
Safety Gear covers gloves, goggles, ear protection, masks, and first aid supplies. These items are frequently used and should be stored in bins or on wall hooks near your workspace for quick access.
Specialized Tools are tailored for specific tasks, such as torque wrenches, tile cutters, or stud finders. This category can also include tools for automotive work, woodworking, masonry, or electronics. Many of these tools come with their own cases or require custom storage solutions.
Tool misplacement is more than just an inconvenience - it’s costly. In fact, the U.S. construction and maintenance industries lose an estimated $450 million annually due to misplaced or lost tools [6]. A systematic organization strategy doesn’t just save time; it directly boosts productivity.
Checklist: Sort Tools by Category
Using a checklist can help you sort tools effectively, ensuring nothing gets overlooked. Work through each category step by step, and check off items as you organize them.
Start with Hand Tools: Group hammers (claw, ball-peen, sledge), screwdrivers (flathead, Phillips, Torx), pliers (needle-nose, standard, wire cutters), and wrenches (adjustable, combination, socket sets). Proper sorting now will save you time later.
Move on to Power Tools: Organize cordless drills, circular saws, jigsaws, orbital sanders, angle grinders, and rotary tools. Pay attention to shared battery systems, as this can influence how you store them.
Gather Measuring Tools: Include tape measures, spirit or laser levels, calipers, rulers, squares, and protractors. Assigning them a consistent storage spot helps maintain accuracy.
For Fastening Tools, collect pneumatic nail guns, electric staplers, manual riveters, and brad nailers. Keep any accessories, like compressors, nearby.
Sort Cutting Tools: Separate hand saws, utility knives, tin snips, bolt cutters, and other sharp tools. Check for sharpness and ensure safety features are intact.
Organize Electrical Tools: Assemble wire strippers, voltage testers, multimeters, soldering irons, and electrical tape. Keep related supplies, like solder or flux, together for convenience.
Group Plumbing Tools: Include pipe wrenches, basin wrenches, plungers, drain snakes, and pipe cutters. Store related fittings and sealants alongside these tools if applicable.
For Safety Gear, set aside work gloves, safety glasses, hearing protection, dust masks, and first aid supplies. Replace any worn-out items as needed.
Finally, gather Specialized Tools: These might include automotive tools, woodworking jigs, masonry tools, or electronics equipment. Many of these items require custom storage solutions or come with their own cases.
Tools like Toolstash simplify this process with features like AI Snap, which can identify and categorize tools from a photo. As you work through your checklist, create a separate list for tools that need maintenance, replacement, or extra accessories. Staying proactive in this way prevents delays and keeps your workspace efficient and well-organized. This system not only saves time but also sets the stage for better inventory management moving forward.
How to Sort Tools into Categories
Sorting tools into categories becomes much easier once you’ve identified your main groups. The trick is to approach the process methodically, ensuring you’re selective about what stays and what goes.
Group Tools by Their Function
Start by laying out all your tools in one clear space. This gives you a complete view and makes it easier to spot duplicates or tools you rarely use. For instance, if you have multiple flathead screwdrivers but consistently use just one, think about donating the extras. This step helps cut down on clutter and creates room for better organization. Using 5S red tags can also be a handy way to mark tools for review or disposal[2].
Next, sort your tools into functional categories. Hand tools can go in one group, power tools in another, and so on. Within each category, refine the organization further - arrange tools by size, type, or how often you use them. For example, you could line up screwdrivers from smallest to largest, making it easier to grab the one you need.
If you’re using a tool management app like Toolstash, this is a great time to take advantage of features like Smart Categorization[1]. As you physically sort your tools, you can build a digital inventory simultaneously. Features like AI Snap can help you quickly identify and categorize tools, streamlining the entire process. Once everything is sorted, you’re ready to move on to labeling and storing.
Label and Store Each Category
Clear labeling is key to maintaining an organized workspace. Use large, easy-to-read fonts for labels on bins, drawers, or shelves. Stick to U.S. spelling conventions, such as “Screwdrivers,” “Measuring Tools,” or “Safety Gear”[5]. If you want to make retrieval even faster, consider color-coded labels - for example, blue for electrical tools, red for cutting tools, and green for measuring equipment.
Choose storage solutions that match the type of tools you’re organizing. For frequently used hand tools like hammers and wrenches, pegboards or wall-mounted racks work well. Delicate measuring tools or small items can be kept in drawers with foam inserts or dividers for added protection. Clear containers and stackable bins are perfect for hardware like drill bits and fasteners. Magnetic tool holders are another great option for keeping metal tools visible and easy to access on your workshop walls[7].
Don’t forget about safety gear. Store gloves, goggles, and ear protection near your workspace entrance for quick access. Wall hooks or bins can keep these items organized, while a clearly labeled container for first aid supplies ensures you’re prepared for emergencies. These steps not only make your tools easier to find but also improve overall efficiency.
Record Tool Details Digitally
Once your tools are sorted and stored, it’s time to create a digital inventory. Keeping a digital record helps you stay on top of your tool management. Platforms like Toolstash let you log everything from photos and categories to storage locations and lending details, so you’ll always know where your tools are.
Document each tool with a photo, its brand or model, condition, and where it’s stored. If you lend tools out, track those details too. This prevents loss and keeps everything accounted for.
Toolstash’s AI Snap feature simplifies this process by extracting details from a single photo, saving you the time it would take to input everything manually. It’s a fast and efficient way to build a comprehensive digital inventory.
| Organization Step | Action Required | Tools and Features |
|---|---|---|
| Gather & Inventory | Collect all tools and document details | Spreadsheet, Toolstash AI Snap |
| Group by Function | Sort into hand tools, power tools, etc. | Manual sorting or Toolstash |
| Further Sort | Organize by type, size, and usage frequency | Dividers, bins, digital tags |
| Label & Store | Label each category and store in accessible locations | Labels, foam organizers, racks |
| Digitally Record | Log tool details, track location, and manage lending/borrowing | Toolstash, spreadsheets |
Keep your digital records up to date to ensure your tool organization system remains effective over time. This way, you’ll always know exactly where everything is and can focus on getting the job done.
Maintenance Checklist for Tool Organization
Keeping your tools organized isn’t a “set it and forget it” task. It takes consistent effort to maintain an efficient system. A well-planned maintenance routine not only keeps everything in its place but also ensures your tools stay in good condition.
Plan Regular Tool Inventory Checks
Make it a habit to check your tool inventory every 3–6 months, depending on how often you use them. To stay on track, add specific dates to your calendar - for example, 03/15/2026 and 09/15/2026 for bi-annual reviews. This is a helpful practice for both professional workshops and home setups.
During these checks, go through your tool categories - hand tools, power tools, measuring devices, and safety gear. Cross-reference what you physically have with your digital records. If you’re using a tool management app like Toolstash[1], its location tracking feature can make this process even easier by confirming where each tool is stored.
In shared workspaces, assign clear roles for these inventory checks. When everyone knows their responsibility, it’s easier to keep tools from disappearing and the system from falling apart. Keep a log of any missing or misplaced tools, as tracking these trends over time can help you spot recurring issues and improve your system.
Once you’ve verified everything, focus on ensuring tools are returned correctly.
Return Tools and Update Records
Stick to a strict return policy: every tool must go back to its designated spot immediately after use. This simple rule goes a long way in preventing clutter and keeping your organization system intact.
When tools are returned, update your digital records to reflect their current status. If you’re using Toolstash, its lending management feature can help you track borrowed tools and mark them as returned. Make sure to update any changes, like moving a tool to a new drawer for easier access. Keeping your records accurate avoids confusion later.
Check Tools for Damage and Wear
As part of your regular maintenance routine, inspect each tool for signs of wear or damage. Look for cracked handles on hammers and screwdrivers, dull blades on saws and chisels, and frayed power cords on electrical tools. Measuring tools, like levels and rulers, should also be checked for accuracy, as even slight damage can throw off your results.
For power tools, check the housing for cracks, test switches and triggers, and ensure safety guards are secure. If you’re working with battery-powered tools, test the batteries for proper charging and runtime. Any tool that’s damaged or worn out should be flagged for immediate repair or replacement.
Log these findings in your digital system. If you’re using Toolstash, update the tool’s condition and add maintenance notes. Over time, this record will help you track performance and plan for replacements before tools fail unexpectedly.
The 5S methodology - Sort, Set in Order, Shine, Standardize, Sustain - provides a reliable structure for keeping your tools organized and functional[2]. By sticking to these principles, you can ensure your system remains effective for years to come.
Benefits of Organizing Tools by Function
Organizing tools by their function aligns perfectly with how you work. If you need a plumbing tool, for example, you’ll know exactly where to look. This approach not only makes finding tools faster but also serves as a great benchmark when comparing it to other organization strategies.
Functional vs. Other Organization Methods
Different organizing methods can work depending on your needs, but categorizing tools by function often takes the lead, especially in workshops or garages. Here's a quick comparison of popular methods:
| Organization Method | Efficiency | Ease of Access | Risk of Misplacement | Best for Large Collections | Example Use Case |
|---|---|---|---|---|---|
| Functional Categorization | High | High | Low | Excellent | DIY projects, pro workshops |
| Size-Based Organization | Medium | Medium | Medium | Good | Compact toolboxes |
| Frequency-Based Organization | High | High | Medium | Good | Everyday toolkits |
| Digital/AI Categorization | Very High | Very High | Very Low | Best | Shared spaces, large inventories |
Size-based organization is ideal for tight spaces, like a small toolbox you carry to job sites. But as your collection grows, finding the right tool by size can become a hassle.
Frequency-based organization makes your go-to tools easy to grab, which is great for contractors who rely on a core set daily. However, it can leave less-used tools scattered, making them harder to locate when needed.
On the other hand, functional categorization works well for both small and large tool collections. By grouping tools by their purpose, you create intuitive "zones" in your storage. Whether you’re a hobbyist or a professional, this method is often recommended by organizers and industry experts as the most practical option for managing tools effectively [5][4].
How Functional Organization Saves Time
Functional organization does more than just keep things tidy - it saves you time by streamlining your workflow and reducing unnecessary searching. Imagine working on an automotive repair: all your wrenches, sockets, and vehicle-specific tools are stored together. For woodworking, your measuring tools, saws, and joinery equipment share the same space. This setup allows you to grab everything you need for a task in one trip to your tool storage [5][4].
Digital tools like Toolstash take this a step further by helping you categorize and locate tools instantly [1]. Combining functional grouping with digital tracking can significantly cut down the time spent hunting for tools.
To keep your system efficient, use dividers, foam inserts, and labels to clearly separate items within each functional group [5][3]. For example, an electrical tools section with labeled compartments for wire strippers, multimeters, and electrical tape ensures you’ll find what you need quickly - no more digging around.
Another bonus? Functional organization helps you avoid buying duplicates. When every tool has a designated spot, it’s much easier to keep track of what you already own, saving both time and money in the long run.
Conclusion: Main Points for Tool Organization
Review of the Organization Steps
To keep your tools in order, follow these steps:
Collection and sorting: Start by gathering all your tools and sorting them by their purpose. This simple step sets the stage for better tool management across all your projects.
Digital recording: Use a digital tool like Toolstash to catalog your collection. This makes it easy to track what you have and ensures your organization system stays effective over time.
Labeling and location tracking: Clearly label your storage areas and use digital tracking to always know where your tools are. This keeps them accessible and easy to find.
Regular maintenance: Keep your system running smoothly by doing regular inventory checks, promptly returning tools to their proper places, and updating your digital records as needed.
Why Staying Organized Matters
Functional organization transforms your workspace. By grouping tools based on their use, you create natural workflow zones that match how you work. Whether you're fixing a car or building furniture, having related tools in one spot reduces unnecessary trips and speeds up your projects.
Adding digital management takes things a step further. It helps you avoid buying duplicates, keeps track of your inventory, and even aids in planning for tool maintenance or replacements. Combining functional organization with digital tracking creates a system that grows with your collection while staying efficient.
On top of saving time, proper organization protects your tools. When tools are stored in labeled, designated spots, they’re less likely to get damaged from being misplaced or mishandled. Plus, you’ll spend less time searching and more time working - turning your garage or workshop into a productive, well-organized space for years to come.
FAQs
What’s the best way to keep my tools organized after sorting them into categories?
Keeping your tools organized requires consistent effort. Make it a habit to update your inventory regularly and review your categories to ensure everything is where it belongs. Features like smart categorization and location tracking can save you time by helping you quickly locate tools and minimize the risk of losing them.
It's also a good idea to maintain detailed records of your tools, especially if you lend or borrow them. Track these activities carefully, and periodically check for any missing items. As your collection grows or your needs change, adjust your system to keep everything running smoothly.
What advantages do digital tools like Toolstash offer for organizing tools compared to traditional methods?
Digital platforms such as Toolstash make managing your tools a breeze by offering features like centralized inventory tracking, smart categorization, and location management. With these tools, you can keep everything in order, avoid losing items, and save yourself both time and unnecessary headaches.
Compared to old-school methods like paper lists or manual tracking, these digital systems bring convenience to a whole new level. They can automatically update your inventory, monitor who’s borrowing or lending tools, and even provide DIY tips. It’s a smarter, simpler way to keep your tools organized and accessible.
How often should I check my tool inventory to keep everything organized?
Performing an inventory check every three months is a smart way to keep your tools organized. It ensures everything stays in its proper place, helps you quickly identify anything missing, and keeps your system running smoothly.
These regular checks also give you a chance to spot tools that are worn out or need replacing. This simple habit not only keeps your workspace efficient but also helps maintain a safer environment.