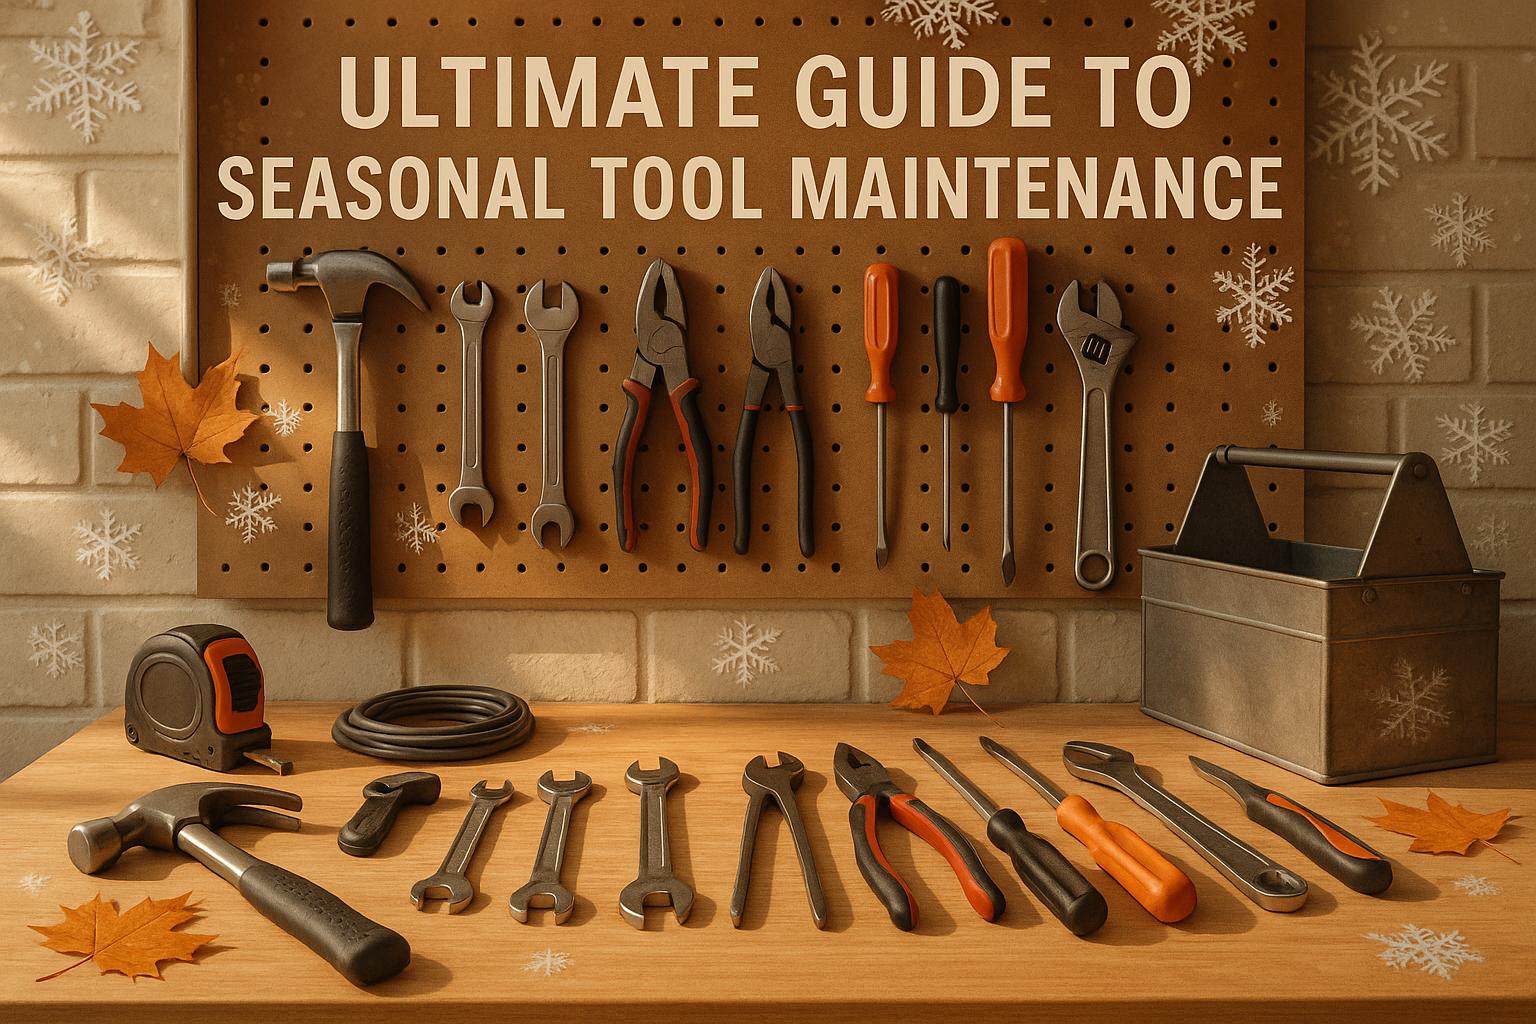
Want your tools to last longer and work better? Start with proper seasonal maintenance. Each season brings unique challenges - rust in spring, heat damage in summer, and freezing in winter. Neglecting upkeep can shorten tool lifespan by up to 30% and lead to costly repairs or replacements.
Here’s what you need to know:
- Clean tools regularly: Remove dirt, sap, and rust. Use lubricants to protect metal parts.
- Inspect for damage: Check for cracks, dull blades, and loose screws.
- Sharpen blades: Keep cutting tools efficient and safe.
- Store tools properly: Use dry, ventilated spaces and protect them from extreme temperatures.
- Use digital tools: Platforms like Toolstash help track maintenance schedules and inventory.
How To Sharpen Garden Tools | Fix It In 15
Cleaning and Maintenance Basics
Taking care of your tools involves more than just keeping them organized. It’s about removing debris, preventing rust, and ensuring they operate smoothly every time you need them.
How to Clean Different Types of Tools
Hand tools are relatively simple to clean. Start by brushing off dirt and debris using a stiff brush and warm, soapy water. Make sure to dry them completely to avoid rust [2][5]. For sticky residues like sap, rubbing alcohol works well without harming the metal. Once clean, apply a light coat of machine oil to the metal parts to protect against moisture.
Power tools need extra care due to their electrical components. Always unplug or disconnect the power before cleaning. Use compressed air or a soft brush to remove dust and debris from vents and moving parts, preventing buildup in the motor or cooling systems [3]. Wipe down the exterior with a damp cloth, but be cautious around electrical connections. Pay special attention to air intake vents, as they often collect sawdust or debris during use.
Garden tools endure harsher conditions and require more thorough cleaning. Use a wire brush to scrub off soil and plant matter, then disinfect the surfaces with isopropyl alcohol (at least 70%) or a diluted bleach solution (1 part bleach to 9 parts water) [4][2]. This step helps stop the spread of plant diseases between garden beds. Rinse well and dry completely before applying oil to prevent rust. For an extra layer of protection, you can submerge metal blades in an oil-sand mixture to clean and shield them at the same time [6].
After cleaning, drying your tools thoroughly is critical to avoid rust from moisture [2][5]. Use a clean cloth to remove water, paying close attention to joints, hinges, and crevices where moisture tends to hide. Finish by applying a thin layer of machine oil or a specialized lubricant to metal parts, hinges, and blades. This step reduces friction and prolongs the life of your tools [2][5].
Once your tools are clean and dry, sharpening and routine maintenance will keep them in top shape.
Sharpening and Care Tips
Sharp tools not only work better but are also safer to use. Cutting tools like pruners, loppers, and shovels should be sharpened regularly using a mill file or sharpening stone. Stick to the original bevel angle for the best results [2]. For precision tools such as chisels and knives, a whetstone or honing guide ensures a consistent edge.
Always secure tools in a vise or clamp before sharpening to avoid accidents. Use smooth, even strokes with your file or sharpening stone, following the tool’s original angle. Once sharpened, clean the blade and apply a light coat of oil to prevent rust [2][5].
Wooden handles need attention to avoid splintering or cracking. Sand them with fine-grit sandpaper and treat them with boiled linseed oil. This should be done at least once a season or more often for frequently used tools [2][5].
Composite handles are easier to maintain but should still be inspected for cracks or damage. Clean them with mild soap and water, and check for stress fractures. If a composite handle is cracked, it’s usually best to replace the tool, as repairs are rarely effective [2].
How often you sharpen your tools depends on how much you use them. A good rule of thumb is to sharpen cutting tools every few uses or at least once a season. Tools that come into contact with abrasive surfaces like rocks or concrete may need more frequent attention.
Cleaning Supplies and Safety Gear
Having the right supplies makes tool maintenance easier and safer. Essential cleaning items include stiff brushes for general cleaning, wire brushes for rust or tough buildup, mild dish soap, clean rags or paper towels, machine oil for lubrication, and disinfectants like isopropyl alcohol or diluted bleach [2][5].
Don’t forget safety gear. Gloves, safety glasses, and masks help protect you from cuts, chemicals, and airborne particles during cleaning [2][5].
Keep your cleaning supplies organized in a dedicated area near your tools. This small step makes it easier to clean up after each use and stick to a regular maintenance routine.
Specialized lubricants may be necessary for certain tools. For example, some require specific greases for bearings or hinges, while others might benefit from penetrating oils for loosening stuck parts. Always check the manufacturer’s recommendations for your tools, especially for power equipment that may need specific lubricant types or viscosities.
If you’re managing a large collection of tools, consider using a digital platform like Toolstash. It can help you track maintenance schedules and send reminders for cleaning or sharpening. Features like inventory tracking and categorization ensure no tool gets overlooked.
Tool Inspection and Repairs by Season
Seasonal tool inspections are a smart way to catch small problems before they turn into costly replacements or safety risks. Changes in weather - like heat, cold, humidity, and dust - affect tools differently throughout the year, so tailoring inspections to the season helps keep them working at their best [3].
Tool Inspection Checklist
Start your seasonal checkup by giving your tools a thorough cleaning. This extra step can uncover hidden damage that routine cleaning might miss. Afterward, go through each tool systematically [2][1][6].
- Look for structural damage. Check for cracks, bent parts, or broken components, especially at stress points like where handles meet tool heads, as these areas take the most strain during use.
- Check for rust and corrosion. Use a wire brush on suspicious spots. Surface rust, which looks reddish-brown, can often be removed with sandpaper or a wire brush. However, deep rust that causes pitting weakens the tool and might mean it’s time for a replacement [2][1][6].
- Test moving parts. Hinges, joints, and pivot points should move smoothly. If they stick or seize up, they might just need cleaning or lubrication. Loose joints, on the other hand, may require tightening or part replacement.
- Examine cutting edges. Tools like pruners, shovels, and other blades should be checked for nicks, chips, or dullness that could affect their performance.
- Inspect handles and grips. Look for cracks, splinters, or unusual wear. Wooden handles should feel smooth and fit securely without wobbling.
- For power tools, inspect cords for cuts, exposed wires, or damaged plugs. Test switches and triggers for smooth operation, listen for odd noises, and make sure safety guards are in place.
As you inspect, document your findings. Note which tools need immediate repairs, which can wait until the next season, and which are nearing the end of their lifespan. This record will help you prioritize maintenance tasks and budget for replacements.
Once you’ve completed your inspection, decide whether to repair or replace each tool based on the severity of the issues you’ve found.
When to Repair vs Replace Tools
Choosing between repair and replacement depends on factors like cost, safety, and downtime. A good rule of thumb: if repair costs exceed 50% of the price of a new tool, it’s usually better to replace it [2][1][7].
- Minor fixes - like sharpening dull blades, tightening screws, cleaning off surface rust, or replacing worn wooden handles - are usually inexpensive and don’t compromise the tool’s safety [2][1][7].
- Safety risks should always lean toward replacement. A cracked handle, severely bent metal, or deep rust that weakens the structure can lead to tool failure and potential injury.
- Multiple issues? Replacement might be the smarter choice. For example, a chainsaw needing a new chain, bar, and engine work is often better replaced with a newer model that includes a warranty.
- Age and parts availability also matter. Older tools may have discontinued parts, making repairs impractical or costly. Unless the tool holds sentimental value, it’s often better to invest in a new one.
- Your repair skills play a role too. Simple tasks like blade sharpening or screw tightening can usually be done at home, but complex repairs might require professional help.
- Consider downtime. If you need a tool urgently and repairs will take too long, replacing it might be the better option, even if repairs would be cheaper in the long run.
For tools with sentimental or historical value, the decision might differ. Restoring an old, cherished hand plane could be worth the effort, even if it’s not the most cost-effective choice.
If you manage a large collection of tools, platforms like Toolstash can help you track their condition and repair history. Staying organized makes it easier to spot recurring problems and schedule maintenance before issues escalate.
Storage Methods for Each Season
Storing tools correctly based on how often you use them and the weather conditions they face can make a big difference. In fact, proper storage can extend the lifespan of your tools by up to 30% compared to tools left in poor conditions [3].
Short-Term vs Long-Term Storage
Short-term storage works best for tools you’ll need within a few days or weeks during busy seasons. Keep these tools in spots where they’re easy to grab, like pegboards, wall-mounted racks, or open toolboxes. A dry, well-ventilated area is key - good airflow helps prevent moisture buildup, which can lead to rust [9].
Long-term storage, on the other hand, is for tools you won’t use for months, such as snow blowers in the summer or lawn mowers in the winter. These tools need some prep work before being stored. Clean them thoroughly, dry them completely, and apply a protective layer, like a light coat of oil on metal parts. To keep moisture at bay, consider using sealed containers or zip-lock bags with vapor corrosion inhibitor (VCI) packets [2][4].
Once you’ve organized your tools, it’s time to adjust your storage methods for the challenges of each season.
Seasonal Storage Guidelines
Every season brings its own set of conditions that can affect your tools. Here’s how to handle storage throughout the year to keep your tools in great shape.
Winter storage is all about protecting tools from moisture and freezing temperatures. Clean your tools thoroughly before storing them, and apply oil to all metal parts to prevent rust. Wooden handles should be sanded and treated with boiled linseed oil to stop cracking from temperature changes [2]. Use sealed bins with desiccant packs or moisture-absorbing canisters to reduce humidity. For battery-powered tools, charge the batteries indoors and store them in insulated pockets to protect them from the cold [3].
Spring preparation involves clearing away any dust or debris that built up during storage. Use dust cartridge filters to protect tools from abrasive particles, and inspect seals, hoses, and other parts for damage or moisture issues left over from winter [3].
Summer storage focuses on preventing heat damage while keeping tools ready for frequent use. Store battery-powered tools in shaded or ventilated areas to avoid overheating. Keep lubricants in insulated cabinets to maintain their stability, and fit pneumatic tools with moisture separators and automatic drains to prevent condensation in air lines [3].
Fall storage is about gearing up for winter while managing heavy seasonal use. Apply high-viscosity greases or synthetic oils to moving parts, which can handle temperature swings better. Organize tools for easy access, especially as you switch between yard cleanup and winterization tasks [3].
| Season | Primary Threat | Key Storage Actions | Special Considerations |
|---|---|---|---|
| Winter | Moisture, Freezing | Oil metal parts, use desiccant packs, charge batteries indoors | Seal tools in VCI bags for long-term storage |
| Spring | Dust, Debris | Clean thoroughly, check seals, inspect for winter damage | Use dust filters, verify tool functionality |
| Summer | Heat, Overuse | Store batteries in shade, insulate lubricants | Ensure ventilation, prepare for heavy use |
| Fall | Temperature Swings | Use high-viscosity lubricants, organize for easy access | Balance protection with accessibility |
Digital Organization Tools
Once your tools are physically stored, digital tools can help you stay on top of seasonal transitions. Toolstash is one such platform designed to make tool management easier. It allows you to track where each tool is stored, set maintenance reminders, and manage your entire inventory from your phone.
The AI-powered cataloging feature makes it simple to log tools as you store them, while smart categorization groups similar items - no matter where they’re physically located. This feature can save you time and frustration when looking for a specific tool.
If your tools are spread across different areas like a garage, shed, basement, or storage bins, the location tracking feature is a game-changer. Instead of digging through every container, you can quickly pinpoint exactly where each tool is.
Another handy feature is the lending and borrowing tracker. This is especially useful during seasonal transitions when you might share tools with neighbors. You can easily keep tabs on who borrowed what and send reminders to get items back before you need to store them.
For contractors or anyone managing a large collection, Toolstash also offers secure data storage, ensuring your inventory records stay safe and accessible across all your devices. Keeping a detailed digital record not only saves time but also helps maintain your tools for the long haul.
Seasonal Maintenance Checklist
A seasonal maintenance routine can extend the life of your tools by up to 30% while also reducing repair costs[3][8]. The following checklist builds on earlier cleaning, inspection, and storage tips to keep your tools in top shape throughout the year.
Spring Maintenance Tasks
Spring is the season for a deep clean, sharpening, and assessing any damage that may have occurred during winter storage. Dust, debris, and moisture from the colder months need to be addressed[2][7].
Start by thoroughly cleaning your garden tools with a wire brush and soapy water, paying close attention to metal surfaces where rust might have started forming. For cutting tools like pruners and shears, sharpen the blades using a mill file to ensure precise cuts. Inspect wooden handles for cracks or splits caused by winter temperature fluctuations.
Check for subtle damage on all tools, such as loose bolts, cracked housings, or worn seals on power tools. Cold weather can reduce battery efficiency by up to 50%, so test cordless tools to ensure they’re holding a charge properly[3]. Don’t forget to lubricate any moving parts that may have stiffened during storage.
Summer Maintenance Tasks
With tools in heavy use during summer, maintenance focuses on managing wear and tear caused by frequent use and environmental stress. Regular cleaning and quick fixes can prevent minor problems from escalating[3][8].
Clean tools often to remove dirt, sap, and debris. Oiling moving parts is especially important in dusty or humid conditions, and it’s a good idea to inspect seals and hoses for leaks, as heat can cause rubber components to expand.
Store battery-powered tools in shaded or ventilated areas to avoid overheating, and never leave them in hot vehicles where temperatures can soar[3]. For air tools, use moisture separators and automatic drains to reduce condensation in air lines during humid weather[3].
Fall Maintenance Tasks
Fall is all about preparing your tools for winter storage and addressing any wear from the busy seasons. Start with a thorough cleaning, removing rust with sandpaper before it spreads. Apply protective oil to metal surfaces to guard against moisture, and use high-viscosity greases or synthetic oils on moving parts to handle temperature swings[3].
Repair or replace worn tools now to avoid surprises in the spring. Sand wooden handles and treat them with boiled linseed oil to prevent cracking from seasonal temperature changes[2]. Organize your tools using racks or hooks to keep them separated and easy to access during winter months[9].
Winter Maintenance Tasks
Winter calls for proactive measures to protect your tools from the elements. Apply protective oils to all metal parts, especially joints and moving components. Use desiccant packs or moisture-absorbing canisters in tool cabinets to reduce humidity. For tools you won’t use until spring, seal them in zip-lock bags with vapor corrosion inhibitor packets for extra protection[3][6].
Avoid storing wooden handles directly on concrete or soil; instead, use wall-mounted racks or wooden shelves. Charge batteries indoors and store them in insulated areas to shield them from extreme temperatures. Periodically check stored tools to ensure moisture isn’t accumulating[3].
For added convenience, consider using a digital system like Toolstash to schedule maintenance tasks, track repairs, and quickly locate tools. It’s a simple way to stay organized and keep your tools in excellent condition.
Conclusion
Seasonal tool maintenance is more than just routine cleaning - it can extend the life of your tools by up to 50% and lower replacement costs by 20–30% each year. For example, one landscaping company saw a 30% drop in tool replacement expenses by committing to quarterly maintenance. On top of that, over 60% of industrial tool failures are tied to poor upkeep, which can result in downtime costing more than $1,000 per hour [3].
But it’s not just about saving money. Regular maintenance also makes your workspace safer. Dull blades, broken handles, or malfunctioning equipment can lead to accidents, whether you’re a DIY enthusiast working on home projects or a professional contractor depending on your tools every day. Safety, alongside cost savings and durability, is a major benefit of seasonal upkeep.
The trick to successful maintenance is consistency. Instead of treating it as a one-off task, make it a regular part of your routine, tailored to your local climate. For example, use thicker lubricants during hot summers and switch to thinner oils for winter storage [3]. Staying organized with proper storage and cleaning supplies also goes a long way.
To make things even easier, digital tools can help streamline your maintenance schedule. Platforms like Toolstash allow you to track your inventory, set reminders for maintenance, and log repairs automatically. These features simplify the process, making it easier to stay on top of your tool care.
Start by creating a seasonal checklist and setting quarterly reminders. Use the right lubricants for the season, store your tools in dry, accessible areas, and replace any that are beyond repair right away. With consistent care and proper organization, your tools will stay reliable, save you money, and minimize downtime. By taking the right steps, you’ll protect your investment and keep everything running smoothly year-round.
FAQs
How do I decide whether to repair or replace a damaged tool during seasonal maintenance?
When you come across a damaged tool during seasonal maintenance, the first step is to assess how bad the damage is and consider the tool's overall condition. A key question to guide your decision is: Does it cost less to fix the tool than to replace it? If the damage is minor and the tool is otherwise in good shape, repairing it is often the smarter, more budget-friendly option.
However, if the tool is heavily worn, outdated, or needs extensive repairs, replacing it might make more sense in the long run. Keeping detailed records of your tools - such as their condition and repair history - can simplify these decisions and help you better plan for future upkeep.
How can I protect my power tools from damage during extreme weather, like summer heat or winter cold?
Proper care is key to keeping your power tools safe from extreme weather conditions. In summer, make sure to store them in a cool, dry spot, away from direct sunlight. This prevents overheating and protects plastic and rubber parts from damage. During winter, a temperature-controlled area is ideal to prevent problems like battery failure or metal components becoming brittle due to contraction.
Before putting your tools away, give them a good cleaning and inspect them for wear or damage. If you’re dealing with battery-powered tools, remove the batteries and store them separately in a cool, dry place. Using protective cases or covers adds an extra layer of defense against dust, moisture, and temperature fluctuations. These easy steps can go a long way in keeping your tools in top shape and ready to work whenever you need them.
How can Toolstash simplify tool maintenance and help manage my inventory?
Toolstash simplifies tool maintenance and inventory management by offering a centralized hub for all your tools. One standout feature is its AI-powered tool addition, which lets you add tools effortlessly - just snap a photo, and you're good to go. The platform also includes smart categorization to keep your tools neatly organized and lending management to monitor who’s borrowed your gear.
With these features, Toolstash takes the hassle out of managing your tools, helping you maintain them in top-notch condition and always ready for action.