Smart lighting can transform your workshop into a safer, more efficient, and energy-saving workspace. Here's what you need to know:
- Why Smart Lighting? Adjustable brightness and color improve visibility, reduce accidents, and save energy. Motion sensors and scheduling features make it practical and cost-effective.
- Planning Tips: Measure your space, calculate lumens needed (70–100 lumens/sq ft), and identify task-specific and general lighting zones.
- Fixture Options: Choose from LED panels for even coverage, LED strip lights for tight spaces, and smart bulbs for flexibility. Look for CRI above 80 for accurate color perception.
- Smart Features: Use apps or voice controls for dimming, scheduling, and automation. Motion sensors and geofencing add convenience.
- Installation & Safety: Turn off power at the circuit breaker, use proper tools, and follow wiring codes. Test connections before securing fixtures.
- Maintenance: Clean fixtures regularly, check wiring quarterly, and update firmware for optimal performance.
Key Takeaway: A well-planned smart lighting system boosts productivity and safety while cutting energy costs. Tools like Toolstash can help you track setup details, maintenance schedules, and upgrades for long-term reliability.
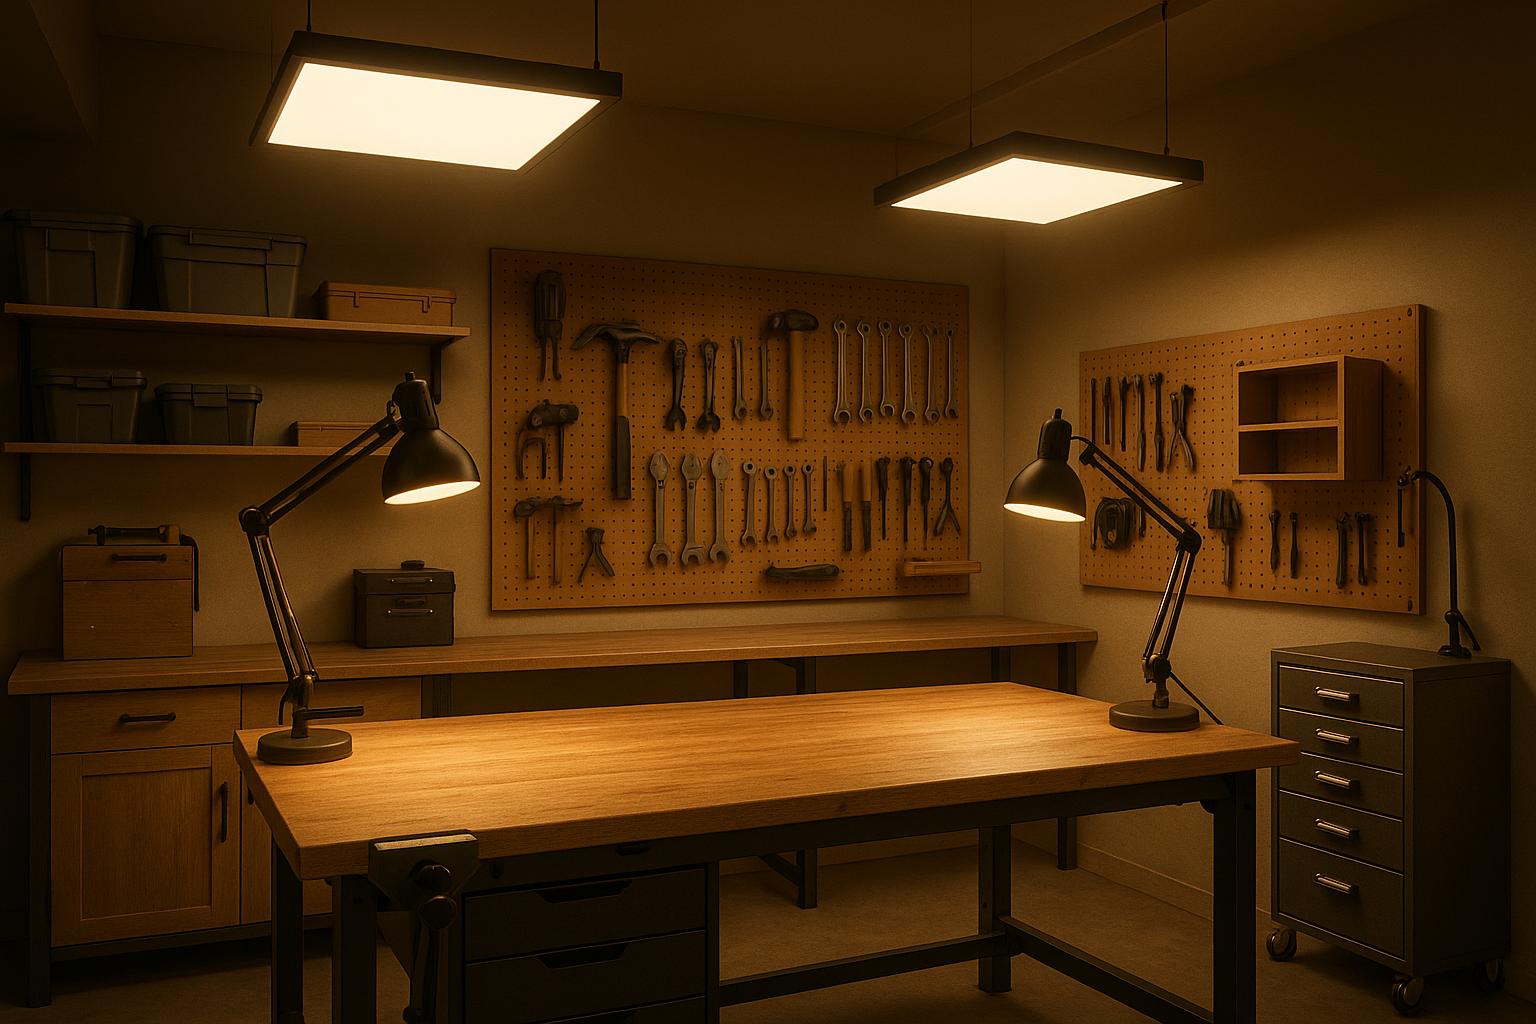
My best tips and tricks for awesome (smart) shop lighting!
Planning Your Smart Workshop Lighting Setup
Before you start drilling holes or running wires, take the time to map out your lighting needs. This will save you money, prevent mistakes, and ensure your workshop is well-lit for all your tasks.
Measuring Your Workshop Space
Start by measuring the length and width of your workshop in feet and inches. For example, a workshop measuring 20 ft × 15 ft gives you 300 square feet of space. Write down these dimensions to help determine how many fixtures you'll need and where to place them.
Don’t forget to include the ceiling height in your measurements. Ceiling height affects how light spreads across your workspace. Taller ceilings may mean you’ll need stronger fixtures or additional lights to keep your work surfaces bright. A standard 4-foot LED shop light typically covers an area of 200–300 square feet [3].
To calculate the total lumens required, aim for 70–100 lumens per square foot [6]. Using the 300 square foot example, you’d need between 21,000 and 30,000 lumens. Since a typical 4-foot LED shop light produces about 5,000 lumens, you’d likely need four to six fixtures for full coverage.
Once you've got your measurements, you can move on to planning specific lighting zones.
Finding Task and General Lighting Areas
Identify the areas in your workshop that need different lighting levels. Walk through the space and pinpoint where you do specific tasks. For example:
- Task areas: Workbenches, drill presses, and tool storage need bright, focused lighting.
- General areas: Walkways and open floor spaces require ambient light for safety and visibility [2][6].
Sketch a simple floor plan and mark these zones. Your main workbench will likely need the brightest lighting, so aim for the higher end of the 70–100 lumens per square foot range. Tool storage areas should have steady lighting to reduce shadows, making it easier to find what you need. Pay special attention to corners or spaces behind large equipment, as poor lighting in these areas can lead to safety risks.
Also, think about how you move around your workshop. Adding motion sensor lights in entryways or storage areas can provide hands-free illumination when your hands are full.
Picking the Right Light Fixtures
The type of light fixture you choose depends on the area you’re lighting and its purpose. Matching the right fixture to the job ensures you’ll have the light you need without wasting energy or money.
- LED panels: These are great for broad, even lighting in large open spaces. They mount flush to the ceiling and minimize shadows. Many panels designed for workshops produce 4,000–5,000 lumens and cost $40–$100 [3]. Look for adjustable color temperature options (around 4,000–5,000K) for tasks requiring precision.
- LED strip lights: Perfect for tight spaces like under shelves, inside cabinets, or along workbench edges. They’re flexible, easy to install, and many smart versions let you control brightness and color via a smartphone app. Expect to pay $20–$60 for quality options [5].
- Smart bulbs: Ideal for smaller, focused areas. They fit standard fixtures and allow app-based control for brightness, color temperature, and scheduling. These are affordable, costing $10–$30 each [5].
| Fixture Type | Best For | Coverage Area | Price Range | Benefits |
|---|---|---|---|---|
| LED Panels | Main workshop lighting | 200–300 sq ft | $40–$100 | Even coverage, long lifespan |
| LED Strip Lights | Under-cabinet accenting | Flexible | $20–$60 | Easy installation, customizable |
| Smart Bulbs | Task lighting, flexibility | Small areas | $10–$30 | App control, scheduling |
For accurate color perception, especially when working with materials like wood or identifying wire colors, choose fixtures with a Color Rendering Index (CRI) above 80 [6]. While smart features like dimming, scheduling, and motion sensors add convenience, focus on using these features in areas where they’ll make the biggest difference.
To stay organized, consider using a tool like Toolstash. It can help you track your lighting inventory, document measurements, and record fixture placements for future upgrades. This way, you’ll have all the details handy if you decide to expand or modify your lighting setup later.
Lastly, think about the future. Modular lighting systems let you add fixtures as your workshop grows or your projects become more complex. Make sure your electrical setup has room for expansion, and keep a record of your installation details to simplify updates down the road.
Selecting and Preparing Smart Lighting Components
Now that you’ve mapped out your lighting plan, it’s time to dive into selecting the right smart lighting products and gathering the tools for installation. Making informed decisions now can save you a lot of hassle later and ensure everything runs smoothly.
Picking Smart Lighting Products
First, confirm that the lighting products you choose meet US standards for 120V/60Hz. This is generally the case for domestic fixtures, but it’s always worth double-checking, especially if you’re buying from international sellers or online marketplaces.
Next, ensure the fixtures are compatible with your smart home system. Look for support for protocols like Wi‑Fi, Zigbee, or Z‑Wave. For instance, the Philips Hue Smart Shop Light has received a 4.7/5 rating on Amazon from over 2,300 reviews, with users praising its seamless integration with Alexa and Google Home [5].
Energy efficiency is another key factor. LED smart lights can cut energy use by up to 75% and last 25 times longer than traditional incandescent bulbs [5]. Look for ENERGY STAR-rated or DLC-listed fixtures to maximize these benefits. In the US, smart LED shop lights typically cost between $30 and $120 per fixture, depending on features like brightness, connectivity, and build quality [5].
For workshops, prioritize brightness. Proper smart lighting can improve task visibility by up to 30% and reduce eye strain compared to traditional setups [5]. Look for fixtures with dimming options, adjustable color temperatures, and motion sensors for added flexibility. The HexGlow Hexagon Workshop Lighting system is a popular choice, praised for its modular design, bright output, and easy installation backed by strong customer service [1].
Also, think ahead. Many smart lighting systems are modular, allowing you to expand by adding more fixtures or zones as your needs grow [1]. This kind of scalability ensures your setup can adapt over time.
| Feature | Standard LED Shop Light | Smart LED Shop Light |
|---|---|---|
| Control | Manual switch | App, voice, automation |
| Energy Efficiency | High | High (often higher) |
| Integration | None | Smart home platforms |
| Price (per fixture) | $20–$50 | $30–$120 |
| Installation | Basic wiring | May require app setup |
Getting Your Tools Ready
Once your layout is finalized, gather the tools and components you’ll need for installation. Essential tools include a drill with the correct bits, screws, screwdrivers, wire strippers, a voltage tester, and appropriate mounting hardware.
For standard ceilings, use drywall anchors; for concrete, opt for masonry anchors. If you’re running new wiring or connecting multiple fixtures, make sure you have wire nuts or other approved connectors that match your wire gauge.
A sturdy ladder rated to support your weight plus the weight of the fixture is crucial for safety [3]. Many smart lights come with DIY-friendly kits that include pre-wired connectors, making the installation process smoother [1][5].
Organize your components before starting. Many smart lighting kits include detailed instruction manuals and all necessary hardware. Take time to read the instructions - they often include specific tips or requirements that can save you time. You can also use a tool like Toolstash to digitally organize your lighting components and keep a record for future reference.
Staying Safe with Electrical Work
Safety should always come first when working with electrical systems. Before you start, turn off power at the circuit breaker. Simply flipping a wall switch is not enough; you need to cut power at the source to eliminate any risk of electrical shock [2][3].
Once the breaker is off, use a voltage tester to confirm the wires are no longer live. Test the voltage tester on a known live circuit beforehand to ensure it’s functioning correctly.
Wear safety glasses to protect your eyes from debris, and use insulated gloves to guard against electrical risks. Insulated tools are also a smart choice when working near electrical connections [3].
Follow the manufacturer’s instructions closely, as each system may have unique requirements. If you’re unsure about any step, consult a licensed electrician to avoid potential hazards like shock or fire [3].
Clear your workspace of clutter to ensure safe access to ladders and minimize tripping hazards. Good lighting, even temporary, will help you see connections clearly and work more safely.
Consider using a tool like Toolstash to track your inventory, store installation guides, and maintain records for future troubleshooting or upgrades. Keeping wiring diagrams, user manuals, and component specs easily accessible can save you time down the road.
Before securing your fixtures, briefly restore power to test the connections [1][3]. Once everything checks out, you can confidently move forward with the installation process.
Installing and Setting Up Smart Lighting
With your components ready and safety measures in place, it's time to dive into the installation process. This step requires attention to detail and patience, but following these guidelines will help ensure your smart lighting system is reliable and efficient.
Mounting Light Fixtures
Before you begin, double-check that all power is turned off - this is non-negotiable. Start by mounting your fixtures from a central point or a corner to maintain alignment as you expand outward [7]. For hexagon lighting systems, it's a good idea to lay out the pattern on the floor first. This lets you confirm the connections and symmetry before mounting it overhead [1]. If you're adding a border to hexagon lights, assemble the border first using longer lighting tubes and connectors [1].
Use the built-in screw slots on the connectors to secure the fixtures. This method is the most dependable for long-term stability [1][7]. While wire suspension or zip ties are alternatives, screws offer better support. A spirit level is essential to ensure everything is flat and aligned, particularly for grid systems [7]. For larger installations, having a second person assist can make a big difference in achieving proper alignment [7].
When drilling into walls or ceilings, choose anchors appropriate for the surface. Heavy-duty drywall anchors work well for standard drywall ceilings, while masonry anchors are ideal for concrete surfaces. Be careful not to overtighten screws - tighten just enough to hold securely without damaging the connectors [7]. Test the structure and layout before finalizing the installation to ensure all joints are secure and the pattern is correct [7].
Tidy up cables using fasteners that match your wiring plan [2]. Follow the manufacturer's guidelines for cable requirements based on the number of fixtures [1]. For larger setups, you may need additional power connection points [1]. Place Y connectors with Intelligent Adapters at corners where power cables connect, ensuring all connections align with your installation diagram [1]. Conceal wires neatly for a polished look [7].
When wiring, follow U.S. electrical codes: connect black (hot) to black, white (neutral) to white, and green or bare copper (ground) to ground. Use wire nuts suitable for your wire gauge and twist them clockwise until secure. Tuck the connections neatly into junction boxes. Only connect to the power supply after the fixtures are securely installed [1]. Once everything is in place, test the system to confirm all connections are functioning properly [1][7].
With the fixtures mounted and wired, you're ready to configure the smart controls.
Setting Up Smart Controls
After completing the physical installation, it's time to connect your smart lighting system to your home Wi-Fi network. Follow the manufacturer's instructions and download the corresponding app - whether it's Philips Hue, Lutron, LIFX, or another brand. Create an account and activate pairing mode on each fixture. The app will guide you through adding devices, and if needed, you can use a hub for better range and reliability.
For HexGlow smart hexagon systems, connect the Intelligent Adapter to your Wi-Fi, then use the app to group lights and set schedules [1][4]. In larger workshops, a hub can be particularly helpful, as it creates a dedicated network for your devices and often provides a more stable connection - especially in areas with metal walls that might disrupt signals.
Organize your lighting into zones within the app, such as "Workbench", "Storage Area", "Entry", or "Tool Wall." This makes it easier to control specific areas without affecting the entire space. You can also create automated schedules or scenes tailored to your needs. For instance, set a "Work Mode" scene at 100% brightness during working hours and a "Night Mode" at 30% brightness for after-hours. Automate routines like "Workshop On" at 7:00 AM and "Workshop Off" at 10:00 PM to streamline your lighting setup.
For added convenience, enable motion detection to adjust brightness based on activity. For example, you can set lights to 100% brightness when motion is detected at night and dim to 50% during the day to save energy. Geofencing features can also turn lights on automatically when you arrive, ensuring your workshop is ready as soon as you step in.
Many smart lighting systems integrate with platforms like Amazon Alexa, Google Home, or Apple HomeKit [4]. This allows you to control lights with voice commands or set up automations with other devices. For example, you can program lights to turn on when the garage door opens or to dim when the HVAC system is running to conserve energy.
Once your smart controls are configured, test the system and address any issues that arise.
Testing and Fixing Problems
The final step is to ensure everything works as it should. Test each zone's manual and automated controls immediately after setup. Confirm that dimming functions and color temperature adjustments operate smoothly across their full range.
Check motion sensors by walking through different areas of your workshop at varying speeds and angles. The sensors should trigger reliably without reacting to minor movements or shadows.
If some fixtures aren't responding, check that they are receiving power using a multimeter or a non-contact voltage tester. Loose wire connections are a common issue, so verify that all wire nuts are tight and secure.
For connectivity problems, ensure your Wi-Fi signal reaches all fixtures. Metal walls and electrical interference can weaken signals, so consider adding a Wi-Fi extender or switching to a hub-based system if needed. If an app isn't connecting to certain fixtures, try re-pairing them, clearing the app cache, or restarting your router. Keeping the app updated can also help resolve persistent issues.
Document any problems and their solutions as you go. Using a tool management platform like Toolstash can help you track installation dates, warranty details, and maintenance logs. Keep records of fixture locations, wiring diagrams, and app login details for future reference or when consulting an electrician.
Finally, test any integrations with other smart home devices. Check that voice commands are working and that automations trigger as expected. If there are delays or failures, review your internet connection and ensure your smart home hub isn't overloaded.
Fine-Tuning and Maintaining Your Smart Lighting System
Once your smart workshop lighting is installed and running, it's important to fine-tune the setup and establish a maintenance routine. This ensures your system stays efficient, delivers consistent lighting, and lasts longer.
Adjusting Light Position and Settings
To get the best performance, start by measuring the brightness with a light meter and make adjustments as needed. Reposition fixtures to reduce shadows and glare, ensuring even illumination across your workspace.
Set brightness levels to match your tasks. For instance, brighter lighting works better for workbenches where precision is key, while lower lighting is sufficient for storage or less active areas. Use your smart lighting app to program custom scenes tailored to both detailed and general tasks.
Adjusting the color temperature can also make a big difference. Cool white light (around 5000K–6500K) is ideal for tasks that require focus, like electronics work or fine woodworking. On the other hand, warmer white light (approximately 3000K–4000K) can ease eye strain during long sessions.
Don’t forget to fine-tune automated schedules and sensor settings based on your daily workflow. Keep track of these adjustments in Toolstash to integrate them into your workshop’s overall system records.
Using Toolstash for System Records
Keeping detailed records is crucial for managing your smart lighting system over time. Toolstash makes this process simple by letting you document each component as part of your workshop inventory.
Log details like installation dates, locations, model numbers, and settings for each fixture, controller, and smart switch. Attach photos, manuals, and warranty information to each entry. Toolstash’s location tracking feature can even map out where fixtures are mounted, making it easier to troubleshoot or reconfigure your setup later.
You can also use Toolstash’s reminder feature to schedule recurring alerts for tasks like cleaning, software updates, and electrical inspections. These records will save time and effort when it comes to maintenance or upgrades.
Keeping Your System in Good Shape
Routine maintenance is key to keeping your smart lighting system in top condition. Dust and grime can dim your lights over time, so clean your fixtures regularly using a microfiber cloth and a mild detergent solution. Always turn off the power before cleaning, and make sure the fixtures are completely dry before turning them back on.
Inspect wiring and connectors every three months for signs of wear or looseness, replacing any damaged components as needed.
Check for software and firmware updates on a quarterly basis, or enable automatic updates if your system supports it. These updates often include important security fixes and performance improvements, so take a moment to review the release notes to understand what’s new.
Test controls, sensors, and power distribution regularly to ensure everything is working as it should. Use a voltage tester annually to check for consistency. If electrical inspections aren’t your strong suit, consider hiring a licensed electrician for an annual safety check.
Surge protectors are another important safeguard. Make sure they’re in good condition and replace them as recommended by the manufacturer, especially after any major power surges.
Finally, document all maintenance activities in Toolstash. Record inspections, cleanings, updates, and any repairs. Having this history at your fingertips makes it easier to monitor performance and plan future improvements.
Summary and Key Points
Smart lighting can completely change how your workshop functions, improving efficiency, safety, and energy savings. By following a structured approach, you can design a lighting system that fits your specific needs, lowers energy costs, and boosts overall productivity.
Here's a quick breakdown of the key steps and benefits to keep your workshop lighting system both effective and efficient.
Review of Main Steps
Smart lighting installation involves three key phases, each with its own purpose. Planning is the foundation - measuring your space accurately, identifying both task-specific and general lighting zones, and choosing fixtures that meet your needs will help you avoid costly mistakes like uneven lighting or dark spots. Proper planning also reduces safety risks and ensures even illumination[2].
Installation is where safety and precision come into play. Following proper wiring practices and consulting an electrician for more complex setups is crucial. For larger lighting grids, using multiple power connection points ensures balanced power distribution and prevents voltage drops[1].
Finally, fine-tuning your system is what maximizes its impact. Adjusting brightness, color temperature, and automation schedules for specific tasks not only improves visibility and comfort but also delivers noticeable energy savings. With lighting accounting for roughly 11% of energy use in U.S. homes, switching to smarter, energy-efficient options can make a real difference.
Making Your Workshop Smarter
Taking it a step further, integrating your lighting system with digital tools enhances its functionality. For example, Toolstash can help you track installation details and maintenance schedules, ensuring your system runs smoothly over time. Its inventory and location tracking features make it easy to find tools for adjustments or repairs, while DIY guides assist with troubleshooting and future upgrades.
Documenting your setup in Toolstash - like fixture locations, model numbers, and custom settings - creates a useful reference for maintenance, warranty claims, or expansions. Setting reminders for quarterly inspections, annual electrical checks, and firmware updates ensures your system remains reliable and efficient.
Smart features don’t stop at record-keeping. Voice assistants allow for hands-free control, and integration with smart home systems lets you manage workshop lighting alongside other connected devices[5]. Motion sensors can automatically light up work zones as you approach, creating a seamless and connected workspace.
Upgrading to smart LED shop lights is another cost-effective option. These systems are highly rated by users, often earning 4.5/5 stars or higher for their brightness, ease of installation, and smart capabilities. Regular maintenance - like cleaning fixtures monthly, inspecting wiring quarterly, and updating firmware as needed - keeps your system running at its best. Toolstash’s built-in reminder system can help you stay on top of these tasks, protecting your investment for years to come.
FAQs
How do I figure out how many smart light fixtures my workshop needs?
To figure out how many smart light fixtures your workshop needs, start by measuring the area in square feet. Then think about the type of work you'll be doing. If you're handling detailed tasks like woodworking or electronics, you'll need brighter, more focused lighting compared to a space used for general storage.
A handy guideline is to aim for 70-100 lumens per square foot in task-heavy areas, while 30-50 lumens per square foot is enough for ambient lighting. Once you know the total lumens required, divide that number by the lumen output of your chosen fixtures to determine how many you'll need. For instance, if your workshop is 200 square feet and you need 70 lumens per square foot, you'll require 14,000 lumens overall. If each smart light provides 2,000 lumens, you'd need about seven fixtures.
Also, think about where to place the fixtures to avoid shadows and ensure the light is evenly spread. Smart lighting systems can make this even better by letting you adjust brightness and color temperature, so you can tailor the lighting to your tasks and the time of day.
What are the advantages of connecting smart workshop lighting to home automation systems like Alexa or Google Home?
Integrating smart workshop lighting with home automation systems like Alexa or Google Home can bring a whole new level of convenience and efficiency to your workspace. Imagine adjusting the brightness or turning lights on and off without lifting a finger - just a simple voice command does the trick. This hands-free control is especially handy (and safer) when you're in the middle of a project and your hands are busy with tools or materials.
Another perk? Automation systems let you set up custom schedules or routines for your lights. You can program them to automatically switch on during your usual workshop hours or dim when you're not around to save energy. Plus, these systems let your lighting sync with other smart devices, creating a seamless and connected workspace that works smarter, not harder.
How can I maintain my smart workshop lighting system to keep it efficient and long-lasting?
To keep your smart workshop lighting system running smoothly and performing at its best, try these straightforward maintenance tips:
- Keep It Clean: Dust and dirt can build up on light fixtures, dimming their brightness. Use a soft, dry cloth to gently wipe them down and ensure they shine as intended.
- Inspect Connections: Every so often, check the wiring and smart hub connections. Loose or faulty connections can cause issues, so make sure everything is secure and working as it should.
- Update the Firmware: Staying current with firmware updates is crucial. These updates improve compatibility, fix bugs, and sometimes even add new features to your system.
- Swap Out Worn Parts: If you notice flickering or dim lights, it’s time to replace the bulbs or other components. Addressing these issues early can prevent strain on the entire system.
A little effort goes a long way in keeping your workshop lighting reliable and efficient for years to come.