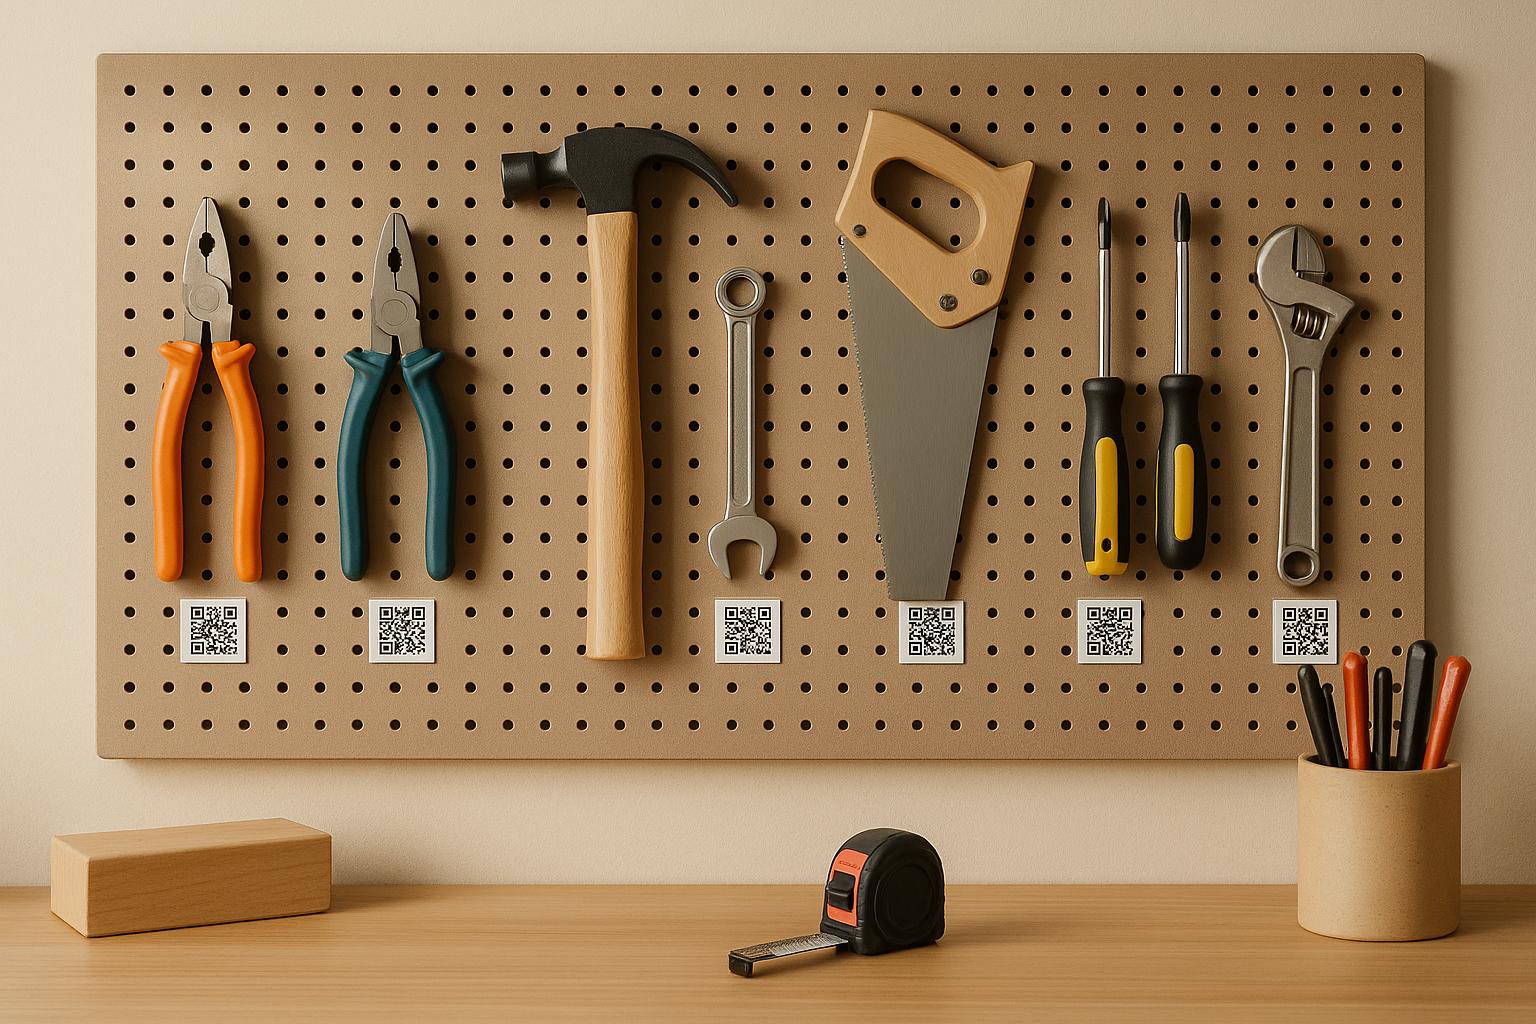
QR code tool labels make organizing and managing tools faster and easier. They store detailed information like purchase dates, maintenance schedules, and locations, accessible instantly with a smartphone. Here's a quick breakdown of the process:
- Step 1: Create a detailed tool inventory with key details like name, location, and maintenance schedule.
- Step 2: Generate QR codes for each tool using tools like Toolstash or standalone QR code generators.
- Step 3: Design and print durable labels with essential details, using materials like Avery sheets or thermal printers.
- Step 4: Attach labels securely to tools on flat, low-wear areas after cleaning surfaces.
- Step 5: Use QR codes daily for tracking, updates, and lending management via platforms like Toolstash.
This system reduces tool loss, simplifies tracking, and improves organization for workshops and DIYers alike.
Fear No More: Your Ultimate Guide to DIY QR Code Labels
Step 1: Collect and Organize Your Tool Information
Creating a detailed and accurate tool inventory is the foundation of an effective QR code system. The better the inventory, the more useful your system will be for managing tools.
Build a Complete Tool List
Start by auditing all storage areas to account for every tool. For each item, record key details such as its name, unique identifier (e.g., DRL-2025-001), category, location, purchase date (MM/DD/YYYY), maintenance schedule, and value (e.g., $1,250.00).
Here’s an example of a structured entry: a Cordless Drill under the Power Tools category, stored in Workshop A, Shelf 3, with identifier DRL-2025-001, purchased on 03/15/2023, requiring maintenance every six months (next due 10/15/2025), and valued at $129.99.
Accuracy is key. Double-check every entry and use consistent naming conventions to avoid confusion later. Once your list is complete, export it to a digital platform to simplify future management.
Consider a Tool Management Platform
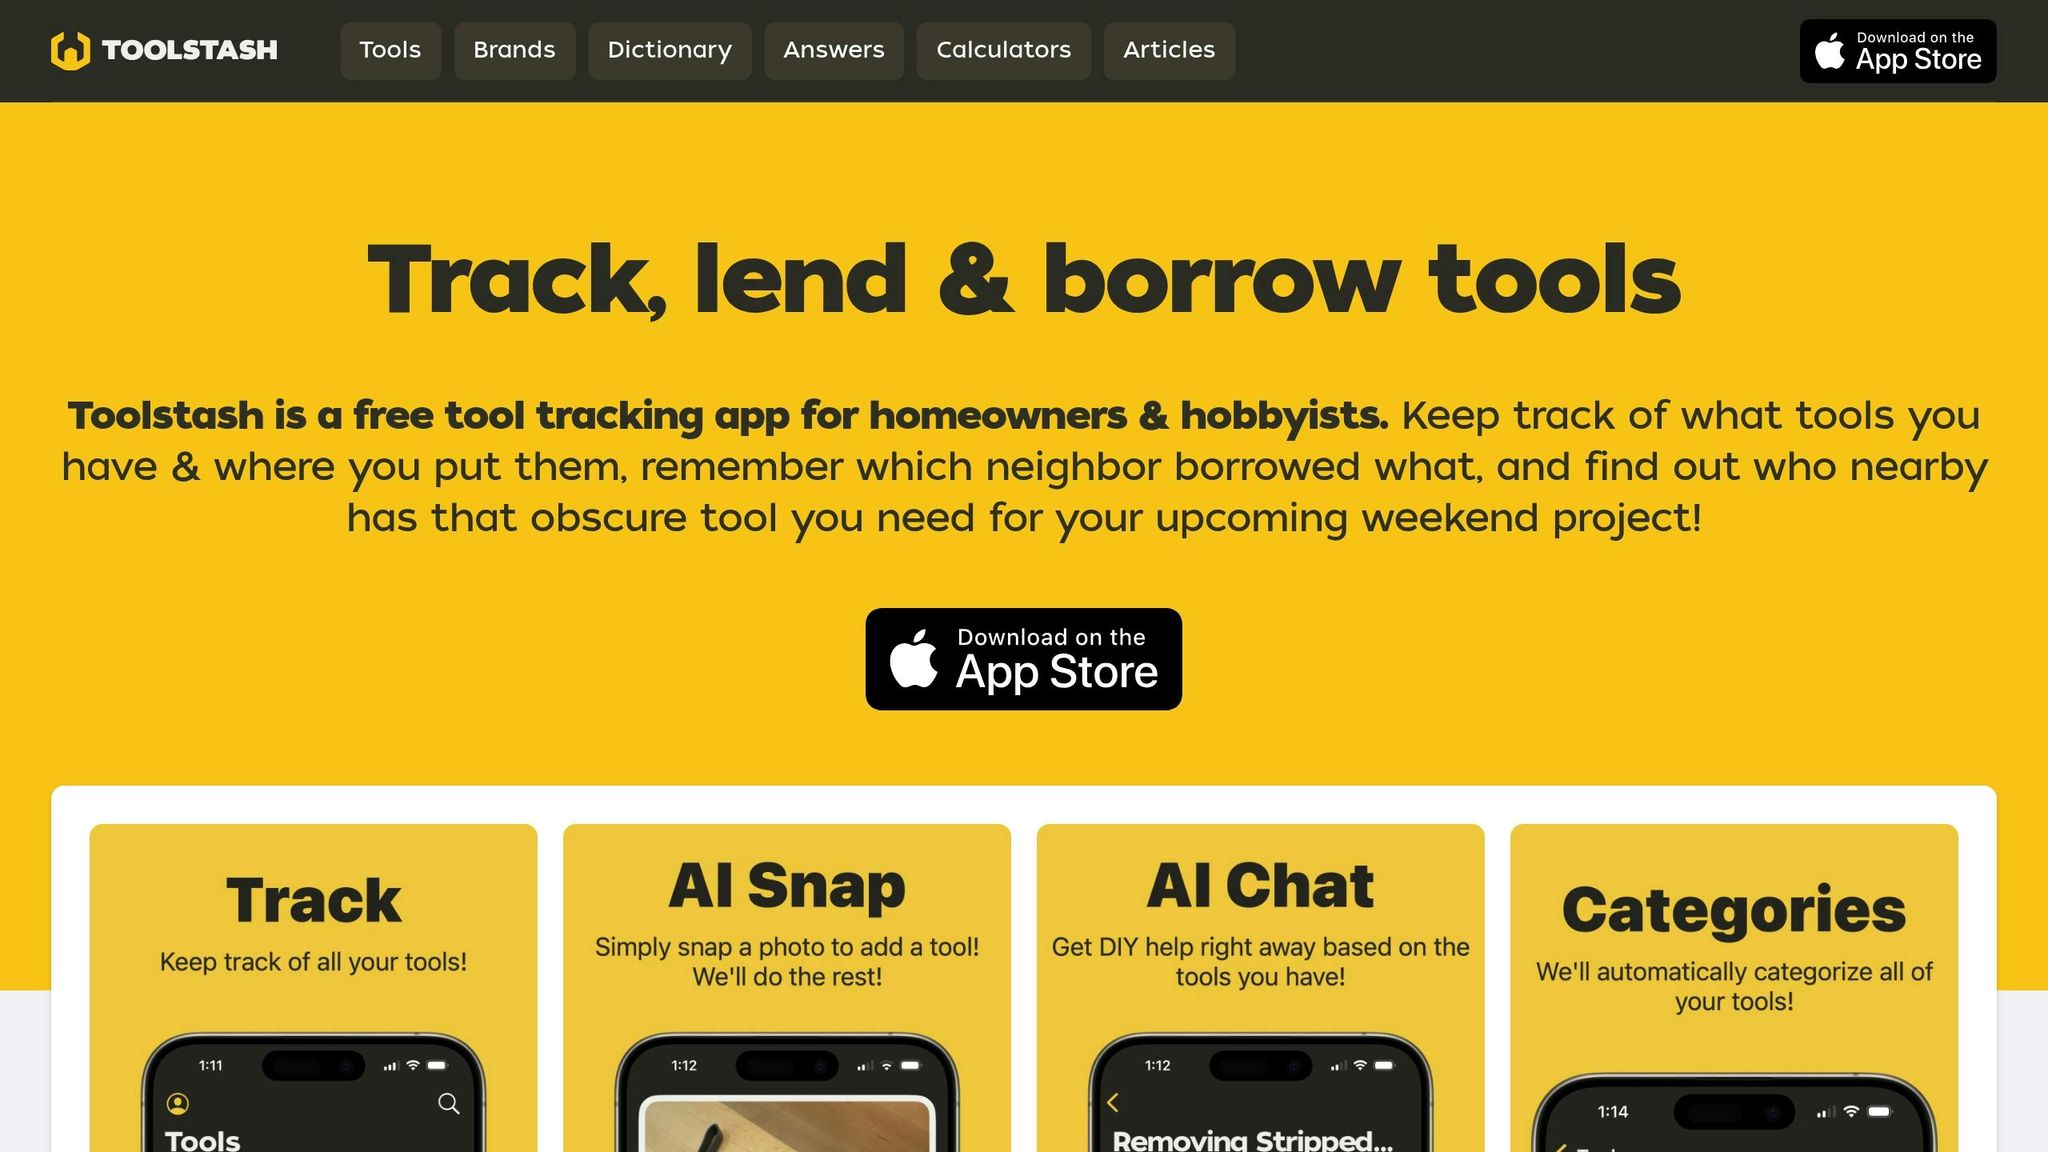
While spreadsheets can handle basic tracking, a dedicated tool management platform offers far more efficiency and functionality. Platforms like Toolstash are specifically designed for tasks like these, offering features that streamline the process.
For example, Toolstash includes an AI Snap feature that lets you add tools by simply taking a photo. The platform’s AI processes the image and handles the initial data entry, saving you time - especially helpful if you’re managing a large collection or frequently adding new tools.
Other features include smart categorization, which automatically organizes tools by type, usage, or location, and location tracking, so you can instantly update a tool’s status. These features eliminate the hassle of manually sorting through entries and integrate seamlessly with QR code labels for smoother management.
Toolstash also offers secure data storage, allowing you to attach digital copies of receipts, warranties, user manuals, and maintenance logs to each tool’s profile. This means no more digging through filing cabinets or email folders when you need important documents.
Additionally, the platform’s lending and borrowing management feature tracks tools that are on loan and who has them. This is especially handy for workshops or hobbyists who share tools, making QR codes part of a complete accountability system to minimize loss and improve organization.
With a digital platform, keeping your inventory up-to-date is easy. Instead of manually editing spreadsheet cells, you can scan a tool’s QR code and update its information directly in the app. This ensures your inventory remains accurate and your QR code system continues to function smoothly over time.
Step 2: Create QR Codes for Each Tool
Once your tool list is sorted, the next step is to create QR codes that act as digital gateways to your inventory. These codes link directly to your tool data, making it easy to track and manage your assets. Depending on your needs, you can choose between static QR codes, which contain fixed information, or dynamic QR codes, which allow updates as your inventory changes.
Static QR codes are great for permanent details, like a tool's serial number. On the other hand, dynamic QR codes are perfect for situations where information might change - like tracking a drill as it moves from Workshop A to Workshop B or updating its maintenance schedule. With dynamic codes, you can make these updates digitally without having to reprint labels.
Pick a QR Code Generator
For a seamless experience, use the integrated QR code tools in Toolstash, which allow you to generate codes in bulk and link them directly to each tool's profile. This automated process saves time and ensures that your inventory system stays organized without needing to create individual codes manually.
Toolstash’s bulk generation feature is especially useful if you’re labeling a large inventory. Instead of tackling your tools one by one, you can generate multiple QR codes at once, streamlining the setup process.
If you prefer a standalone QR code generator, make sure it supports both static and dynamic codes. Look for features like customizable colors, adjustable sizes, and high-resolution output for clear printing. However, keep in mind that standalone tools often require extra manual effort to link the codes back to your inventory system.
For label printing, consider using software like Brother P-touch Editor, which simplifies the process. Open the software, select "Insert Barcode", enter your tool’s data or URL, adjust the size and layout, and add any extra text or branding. This tool combines QR code creation and label design in one place.
QR Code Design Tips
To ensure your QR codes scan reliably across devices, stick to a few design basics. High-contrast colors work best, such as black codes on white or light backgrounds. This contrast makes scanning easier, even in less-than-perfect conditions.
The size of your QR codes is also important. They should be at least 1 x 1 inch to ensure most smartphone cameras and scanning apps can read them without issues. If the code needs to be scanned from a distance or in poor lighting, consider increasing the size.
Don’t forget the quiet zone, the blank margin around the QR code. This space helps scanners distinguish the code from its surroundings. Avoid placing QR codes on patterned backgrounds or too close to the edges of labels, as this can interfere with scanning or lead to damage.
For the best results, use a print resolution of 300 DPI or higher. This ensures your codes are sharp and free of pixelation, which can cause scanning problems. Place your QR codes in flat, unobstructed areas of the label - typically, the bottom right corner works well for visibility without crowding other information.
Some common mistakes to avoid include using low-contrast color schemes, making QR codes too small, placing them on busy or textured backgrounds, or cramming too much extra information around the code. These issues can make scanning unreliable, defeating the purpose of your system.
Step 3: Design and Print Your QR Code Labels
Once your QR codes are ready, the next step is to create labels that are both practical and durable. A good label combines your QR code with key tool details, making it simple to identify and track equipment at a glance. This step connects the digital organization within Toolstash to physical labels that can withstand the demands of your workshop.
Customize Your Label Designs
Your labels should feature essential details like the tool name at the top, its location below, and the QR code positioned in the bottom right corner. You can also add details such as purchase value (e.g., $1,250.00) and maintenance schedules while keeping full records stored in Toolstash.
Adding company logos or department icons can give your labels a professional look and make it easier to identify tools across different areas. If you manage tools in multiple departments or locations, consider using color-coded labels - for example, blue for electrical tools, red for safety equipment, and green for hand tools. This visual organization speeds up identification and reduces confusion.
Toolstash simplifies the process by offering batch label generation, ensuring a consistent format across your entire inventory. This approach not only saves time but also ensures your labeling system looks polished and easy to navigate.
Choose the Right Printing Materials
Once your label designs are finalized, selecting the right materials is crucial to ensure they hold up in your work environment. The durability of your labels depends on both the material and the printing method. For most workshops, Avery 5160 self-adhesive sheets are a reliable choice. They cost around $10–$15 for 100 sheets and are easy to find across the United States[1].
If you’re handling a large inventory, thermal label printers are a smart investment. These printers, priced between $80 and $300, are faster and more durable than inkjet options[1][3]. They work well with industrial-grade materials, producing labels that resist fading and smudging - perfect for demanding environments.
For tools exposed to moisture, chemicals, or extreme temperatures, consider weatherproof or laminated labels. While these materials are more expensive, they’re worth it to avoid the hassle of replacing worn-out, unreadable labels. In automotive or manufacturing settings, oil-resistant labels are particularly useful, as they stand up to lubricants and other harsh conditions.
Print quality is key for QR code readability. Always print at 300 DPI or higher to ensure your codes are sharp and easy to scan. Before printing in bulk, test a sample label with multiple smartphone cameras to confirm it scans reliably[2][5].
To minimize waste, many label design programs let you select starting positions on partially used sheets. This feature helps you make the most of your materials[1][3]. Once your labels are printed, tested, and ready, they’ll seamlessly integrate into your daily workflow, as outlined in the next steps.
Step 4: Attach QR Code Labels to Your Tools
Make sure your labels are securely attached to ensure they remain scannable over time.
Prepare Your Tools for Labeling
Getting the surface ready is crucial to making your labels stick and stay put. If the surface isn’t clean, dust, oil, or debris can interfere with adhesion, causing the labels to peel off faster than expected.
Start by cleaning each tool with isopropyl alcohol to remove any residue[2][6]. For metal tools, isopropyl alcohol works best, while plastic or composite tools might benefit from gentler cleaners. Wooden handles require a slightly different approach - use a damp cloth to clean them, then let them air dry completely to avoid warping or swelling[2][6]. The key here is to ensure that every surface is completely dry before applying the label; even a little moisture can cause the edges to lift.
Before sticking on the labels, inspect each tool for any damage or irregularities. Scratches, dents, or rough patches can create air pockets under the label, making it less durable. If you notice problem areas, find a smoother spot for the label.
Once your tools are clean and inspected, you’re ready to move on to label placement.
Place Labels in the Right Spots
Where you place your QR code labels can make or break their effectiveness. You’ll want to pick spots that are visible and easy to scan but avoid areas that experience heavy wear or frequent handling.
Flat, smooth surfaces are ideal for both durability and ease of scanning[2][6]. For example, on a hammer, the handle near the head is a great spot - it’s visible during use but doesn’t interfere with your grip. On power tools, side panels or battery compartments work well since they’re easy to see and don’t get in the way of operation. Steer clear of corners, curved areas, or textured spots, as these can make scanning harder and may cause the labels to peel.
Think about how you use each tool when deciding where to place the label. Areas that are constantly touched or rub against other tools may wear out faster. Choose a spot where the label can stay upright and won’t get covered during normal use[2].
| Tool Type | Best Placement | Areas to Avoid |
|---|---|---|
| Hand tools (hammers, wrenches) | Handle near the head, flat side panels | Grip areas, striking surfaces |
| Power tools | Side panels, battery compartments | Trigger areas, ventilation slots |
| Measuring tools | Non-working edges, back panels | Scale markings, moving parts |
The table above gives you a quick guide for the best label placements and areas to avoid for different types of tools. Also, make sure there’s good contrast between the QR code and the background for easy scanning. A matte finish can help reduce glare under workshop lights, making scanning more consistent.
When attaching the labels, press firmly to eliminate air bubbles[2][6]. Pay extra attention to the edges, ensuring they’re securely adhered to prevent lifting. For tools that see a lot of use, adding a clear protective laminate can help shield the label from wear and tear. Just keep in mind that laminates might slightly affect scanning due to added thickness.
It’s also smart to keep digital copies of your label files for quick reprinting when needed[1]. Even the most durable labels will need replacing eventually, and having the files on hand makes it easy to update or regenerate them. If you’re using Toolstash, you can effortlessly create new labels for specific tools or entire categories, keeping your system up to date as your inventory evolves.
Finally, make it a habit to check your labels regularly. Replace any that show signs of lifting, fading, or damage. Properly attached labels ensure your tools stay linked to their digital records in Toolstash, keeping your system running smoothly.
Step 5: Use QR Code Labels in Your Daily Work
With your QR code labels securely attached, it’s time to make them a part of your everyday workflow. These labels aren’t just stickers - they’re the backbone of a system that can make tool tracking and management easier and faster. Let’s look at how integrated scanning can transform your daily operations.
Track Tools Easily with Toolstash
Once your labels are in place, Toolstash allows you to interact with them effortlessly. This platform turns your QR codes into a powerful tool management system that works on any smartphone or tablet. Scanning a QR code gives you instant access to a tool’s profile, where you can update its status, location, or maintenance records in real time.
The process is quick and simple. Open the Toolstash app, point your device’s camera at the QR code, and the tool’s details pop up immediately. From there, you can check tools in or out, log maintenance activities, or update their location - all without the hassle of manual data entry.
Adding new tools to your inventory is just as easy. With Toolstash’s AI Snap feature, you can photograph a new tool, and the platform will automatically identify and categorize it. Once that’s done, you can generate a new QR code label, print it, and attach it using the same steps you’ve already mastered. This ensures your inventory stays organized as it grows.
QR code integration also makes location tracking straightforward. Each scan updates the system with the tool’s current location, whether it’s moved to a new job site, a storage area, or lent to a colleague. For teams managing large inventories, this feature can significantly reduce tool loss. The ability to track tools in real time, combined with a clear audit trail, helps maintain accountability and saves time otherwise spent searching for misplaced equipment.
The lending and borrowing management feature is another standout. Team members can scan a tool’s QR code to mark it as “checked out,” with the system recording who has it and when it’s due back. This not only creates accountability but also minimizes the chances of tools disappearing in the chaos of a busy workday.
While these features simplify tool management, keeping your labels in good condition is just as important for maintaining a reliable tracking system.
Keep Labels in Good Condition
Even the most durable labels need regular attention to stay effective. Make monthly inspections part of your routine, though tools used in tougher environments might need more frequent checks.
During these inspections, watch for signs that a label may need replacing. Fading is often the first clue - if the contrast between the QR code and its background starts to weaken, scanning reliability will drop. Scratches across the code pattern can make scanning impossible, while peeling edges signal that the adhesive is failing, and the label could fall off entirely.
Environmental conditions can speed up wear and tear. Tools exposed to moisture, chemicals, or extreme temperatures are more prone to label damage than those used indoors. If certain tools consistently show label issues, consider upgrading to tougher materials like laminated polyester labels for those specific items.
When replacing a label, make sure to remove the old one completely to avoid confusion. Clean the surface thoroughly, just as you did when applying the original label, and attach the new one. To make replacements easier, keep digital backups of all label files so you can reprint them without starting from scratch.
Toolstash simplifies this process by letting you generate new QR codes for individual tools or entire categories whenever needed. If a tool is reassigned to a new location or team, you can update its details in the platform and print a fresh label with the updated information.
Training your team on proper label care can extend their lifespan significantly. Simple habits, like avoiding placing tools label-side down on rough surfaces or wiping labels clean when dirty, can prevent unnecessary damage. When team members understand that a damaged label disrupts tracking, they’re more likely to handle tools carefully.
You might also consider using Toolstash to create a maintenance log for your labels. This log can track when labels were last inspected or replaced, helping you spot patterns. For instance, outdoor tools might need new labels every six months, while indoor tools could last over a year. Having this data allows you to plan ahead and budget for replacements.
Consistency is the key to success with QR code tool labels. By inspecting and replacing damaged labels promptly, training your team on proper care, and using the tools available in Toolstash, you’ll ensure your tracking system stays reliable. Over time, this system will save you time, reduce tool loss, and improve overall efficiency in managing your tools.
Conclusion: The Benefits of QR Code Tool Labels
Switching to QR code tool labels can transform how tools are managed, offering better organization, fewer losses, and time savings in day-to-day operations. This shift paves the way for a more streamlined and accountable approach to tool management.
Once implemented, the benefits of improved organization become clear. Instead of rummaging through toolboxes or storage rooms, a quick scan of a QR code instantly provides details like tool availability, location history, and status. Real-time tracking eliminates guesswork. When paired with Toolstash, these labels create a digital record of every tool's movement, lending activity, and maintenance updates.
For teams sharing equipment, accountability becomes easier to maintain. Features that log lending and borrowing activities ensure tools are tracked at every step. Each scan records checkouts and returns, simplifying oversight and reducing the risk of misplaced tools.
QR code labels also offer a practical, cost-efficient solution for businesses. For example, construction companies have reported fewer project delays because workers can quickly verify a tool's location and status with a simple scan[4].
The system's mobile compatibility ensures it works wherever the tools are - on job sites, in workshops, or across multiple locations. Smartphones and tablets make it easy to scan and update tool information, allowing for real-time decisions no matter where you are. This mobility adds flexibility and responsiveness to the overall tool management process.
FAQs
How do QR code tool labels help prevent tool loss and keep workshops organized?
QR code tool labels are a handy way to keep your tools organized and prevent them from going missing. With just a quick scan of a tool's QR code, you can pull up important details like where it’s located, its usage history, and who it’s currently assigned to.
Platforms like Toolstash make this process even simpler. They help you track your inventory efficiently, ensuring every tool is accounted for. This not only saves time but also cuts down on the chances of tools being misplaced or lost.
What are the benefits of using dynamic QR codes instead of static ones for managing tools?
Dynamic QR codes bring a host of benefits to tool management, especially when compared to their static counterparts. The key difference lies in their flexibility - while static QR codes store unchangeable information, dynamic QR codes allow updates without the need to reprint. This makes them perfect for keeping details like tool location, maintenance schedules, or usage status up-to-date.
Another major advantage is the ability to gather detailed analytics. With dynamic QR codes, you can track how often a code is scanned or identify who accessed the information. This kind of data offers valuable insights into tool usage patterns, enabling smarter management decisions. Platforms like Toolstash take this a step further by integrating dynamic QR codes with features like inventory tracking and real-time location updates, streamlining your tool management process and adding a level of adaptability that static codes simply can't match.
What materials and printing methods are best for creating durable QR code labels that can withstand harsh environments?
To make QR code labels stand up to challenging conditions, you need to focus on using strong materials and reliable printing techniques. Materials such as polyester or vinyl work well because they can withstand moisture, heat, and wear. For printing, thermal transfer printing with resin-based ribbons is a smart choice since it produces smudge-proof and long-lasting labels. Adding a protective laminate is another great step - it helps guard the labels against scratches, UV rays, and exposure to harsh chemicals.