Renovating your home? The right tools make all the difference. Whether you're tackling a small DIY project or a major remodel, having the right equipment ensures precision, safety, and efficiency. Here's a quick breakdown of what you need to know:
- Hand Tools: Basics like a tape measure, hammer, and screwdriver set are essential for any project. Expect to spend $200–$500 on a starter kit.
- Power Tools: Cordless drills, circular saws, and orbital sanders save time on larger tasks. Cordless options are more portable, but corded tools offer consistent power for extended use.
- Specialized Tools: For specific tasks, consider tools like paint sprayers, laser levels, and trim pullers. Renting is a cost-effective option for rarely used equipment.
- Tool Maintenance: Clean, sharpen, and inspect tools regularly to avoid accidents and extend their lifespan.
- Safety Gear: Goggles, gloves, and dust masks reduce injury risks. Over 400,000 ER visits annually are linked to tool-related accidents.
- Organization: Misplaced tools waste time and money. Use pegboards, tool chests, or digital apps like Toolstash to track and manage your inventory.
With the right tools and proper care, you can take on any renovation project confidently and efficiently. Let’s dive into the details.
Top 10 Must-Have Tools for DIY Home Renovations
Must-Have Renovation Tools for Homeowners
Building a solid toolkit doesn’t mean rushing out to buy everything at once. Start with the basics and expand as your projects require. According to Home Depot, homeowners typically spend $200 to $500 on a starter set of renovation tools, with power tools often taking up the largest chunk of the budget [7].
Hand Tools
Hand tools are the backbone of any renovation kit. These dependable tools don’t rely on electricity or batteries, making them perfect for quick fixes and detailed work. They’re the foundation of any successful renovation project.
- A 25-foot tape measure with clear markings in feet and inches is a must-have for accurate measurements. Expect to spend $10–$25. The Stanley FatMax Tape Measure, for example, boasts a 4.7/5 rating on Amazon from over 10,000 reviews, with users praising its durability and precision [5].
- A claw hammer weighing 16–20 ounces strikes the right balance between power and control. At $15–$30, it’s versatile enough for driving nails or pulling them out.
- A screwdriver set with both Phillips and flathead tips (in standard U.S. sizes) should cost $20–$40. Magnetic tips are a bonus for convenience.
- Pliers are essential for gripping and cutting. Needle-nose pliers are ideal for tight spaces, while slip-joint pliers handle general gripping tasks.
- An adjustable wrench with an opening of at least 1 inch is perfect for tackling most nuts and bolts. Look for one with a smooth adjustment and a comfortable grip.
- A utility knife is indispensable for cutting materials like drywall or trimming edges. Keep extra blades on hand for safety and efficiency.
While hand tools cover the basics, power tools step in for more demanding tasks.
Power Tools
Power tools are game changers, easing the workload on bigger renovation projects. Thanks to advances in battery technology, cordless tools are now a favorite for their portability, though corded options still offer consistent power for extended jobs.
- A cordless drill/driver is the most essential power tool for homeowners. According to a 2023 DIY Playbook survey, over 80% of homeowners listed it as their go-to tool for renovations [5]. An 18V or 20V lithium-ion model, complete with two batteries, costs $60–$150. The DeWalt 20V Max Cordless Drill, rated 4.8/5 on Amazon by over 25,000 users, is praised for its power, durability, and long battery life [7].
- A circular saw with a 7-1/4 inch blade is perfect for cutting lumber and plywood. Prices range from $50–$120 for a quality model.
- The reciprocating saw is a demolition workhorse, cutting through wood, metal, and even embedded nails. Expect to pay $70–$150.
- An orbital sander is ideal for preparing surfaces for paint or stain. Unlike belt sanders, it provides a controlled finish without gouging delicate surfaces.
For more specific tasks, specialized tools can make all the difference.
Specialized Tools
Certain projects call for specialized tools that ensure professional results and save time.
- A paint sprayer turns large painting jobs into efficient tasks. The Graco Magnum X5, priced around $200, is a favorite, earning a 4.6/5 rating on Home Depot from over 2,300 reviews [4]. Models range from $100–$400 and are excellent for painting walls, fences, or cabinets.
- Laser levels project straight lines on walls or floors, making them invaluable for tasks like hanging pictures or laying tile. They eliminate guesswork for precise alignment.
- A trim puller removes baseboards and molding without damaging walls. Priced at $20–$35, it’s a small investment that prevents costly repairs. This tool has a 4.7/5 rating on Amazon from over 3,500 reviews [4].
- Crowbars and pry bars are essential for demolition, helping you remove nails, dismantle structures, or separate joined materials safely.
- A caulking gun ensures smooth, consistent application of sealant around windows, doors, and fixtures, keeping your home weatherproof.
- A sturdy ladder is crucial for accessing high areas. Step ladders work well indoors, while extension ladders are better for outdoor tasks like gutter cleaning or roof repairs.
The key is quality over quantity. Start with essential hand tools, add power tools as your projects grow, and invest in specialized tools when the need arises. By building your toolkit thoughtfully, you’ll be ready for any renovation challenge.
Choosing Tools for Different Renovation Projects
Renovation projects come in all shapes and sizes, and having the right tools can make or break the outcome. According to Home Depot, more than 70% of homeowners believe that using the proper tools is the most important factor in successful DIY renovations [7]. The secret lies in matching your tools to the specific demands of each phase - whether you're demolishing, building, or adding the final touches.
Breaking your project into phases helps you identify the tools you'll need. Demolition requires strength and precision, carpentry focuses on accuracy and clean assembly, and finishing work demands finesse for a polished result. Let’s dive into which tools work best for each phase to help you tackle your renovation like a pro.
Demolition and Structural Work Tools
Demolition is all about controlled chaos - removing old materials efficiently while protecting what you want to keep intact. The right tools can save you from unnecessary damage and costly repairs.
- Reciprocating saws are a demolition powerhouse, cutting through wood, metal, drywall, and even nails. These versatile tools cost between $60 and $150 to buy or $25 to $40 to rent for a weekend [3]. DeWalt models are especially popular for their power and reliability [8].
- Trim pullers are a game changer for removing molding and baseboards without damaging your walls. Unlike crowbars, these tools are designed to minimize damage, and they’re budget-friendly at $20 to $35 [4].
- Crowbars and pry bars remain essential for heavy-duty tasks like separating materials, pulling out nails, and dismantling larger structures. Their leverage is perfect for jobs where brute force is more important than precision.
Carpentry and Framing Tools
Carpentry and framing call for precision, as even the smallest mistake can lead to costly do-overs. The right tools here focus on clean cuts, accurate measurements, and secure assembly.
- A circular saw with a 7-1/4 inch blade is a must-have for cutting lumber efficiently. These saws range from $50 to $200 to purchase or $20 to $35 to rent [3]. Look for models with good balance and clear sight lines for greater accuracy.
- Saw horses provide a stable work surface, improving safety and precision compared to improvised supports. They’re an often-overlooked but essential part of any carpentry setup.
- Framing hammers are heavier than standard hammers, making them ideal for driving large nails into structural frameworks. Their extra weight reduces fatigue on big projects while delivering more force with each swing.
- A speed square is invaluable for ensuring perfectly straight cuts and accurate angles, preventing frustration during assembly.
- A cordless drill/driver is another essential tool, making it easy to drive screws and assemble materials efficiently.
Painting and Finishing Tools
Once the structural work is done, it’s time to focus on the details. This is where your project either looks professionally done or screams DIY. The right tools and techniques are critical to achieving a smooth, polished finish.
- Paint sprayers are perfect for large painting jobs. The Graco Magnum X5, priced around $200, is a favorite for its ease of use and ability to deliver professional results [4]. Sprayers save time and create an even finish, especially on textured surfaces or intricate trim.
- When a sprayer isn’t practical, rollers are the go-to for walls and ceilings. Choose the right roller nap for your surface - short naps for smooth walls and thicker naps for textured surfaces.
- Angled brushes are ideal for detailed work, like cutting in around trim or painting tight corners. Synthetic bristle brushes work well with both latex and oil-based paints and hold their shape through repeated use.
- Putty knives are essential for filling holes and smoothing surfaces, ensuring a better base for your paint.
| Tool Type | Best For | Purchase Price | Rental Price | Key Benefit |
|---|---|---|---|---|
| Reciprocating Saw | Demolition | $60–$150 | $25–$40 | Cuts through various materials |
| Circular Saw | Carpentry/Framing | $50–$200 | $20–$35 | Fast, accurate wood cuts |
| Paint Sprayer | Painting/Finishing | $120–$400+ | $40–$60 | Smooth, professional finish |
| Trim Puller | Demolition/Trim Removal | $20–$35 | N/A | Minimizes wall damage |
Renting vs. Buying Tools
Since 2020, tool rental has surged by 20% among U.S. homeowners, fueled by the rise in DIY renovations [3]. Renting can be a smart move for tools you’ll only use once, letting you allocate more of your budget to quality materials or other project needs.
Ultimately, choosing the right tools starts with understanding your project’s scope and your own skill level. Start with the basics, rent specialized tools for unique tasks, and remember - using the correct tools not only improves your results but also makes the process safer and more enjoyable.
Tool Maintenance and Safety Practices
Taking care of your tools doesn’t just save you money - it keeps you and your family safe. According to the U.S. Consumer Product Safety Commission, over 400,000 emergency room visits every year are linked to home improvement tool injuries [6]. Many of these incidents could be avoided with proper maintenance and safety measures.
Basic Tool Maintenance
Keeping your tools in good condition starts with regular cleaning. After each use, wipe them down with a dry cloth to remove dust and debris. For tougher grime, use a mild detergent, and always dry your tools thoroughly to prevent rust. A little effort here can go a long way in extending their lifespan.
Hand tools like hammers, screwdrivers, and wrenches need monthly checkups. Look for loose handles, damaged grips, or any wear and tear. Lightly oil metal parts to guard against rust, and use a wire brush to clean off any spots that have already started to corrode. Store these tools in a dry place - moisture is their worst enemy.
Power tools require more specific care. Clean the vents regularly to prevent overheating, and inspect cords for fraying or other damage. Never use a power tool with a damaged cord, as this poses a serious electrical risk. For battery-operated tools, wipe the battery contacts with a dry cloth and follow best practices for battery storage. Keep lithium-ion batteries at about 50% charge in a cool, dry spot, and avoid leaving them on the charger after they’re fully charged.
Cutting tools need sharp blades to work safely and efficiently. Dull blades require more effort to cut, increasing the risk of slipping and injury. Sharpen blades with a file or sharpening stone when they start to lose their edge. If sharpening doesn’t restore their performance or if you notice chips or cracks, it’s time to replace them [2].
While maintaining your tools is key, protecting yourself with the right safety gear is just as important.
Safety Gear and Guidelines
Proper safety gear is non-negotiable when working with tools. The National Safety Council notes that using personal protective equipment (PPE) can lower the risk of injury by up to 70%. However, a 2023 Home Depot survey revealed that 68% of DIYers have skipped safety gear at least once [7].
Start with safety goggles - they’re essential for tasks like cutting, sanding, or demolition work. Choose ANSI-approved goggles that seal securely around your eyes, as regular glasses won’t shield you from flying debris.
Work gloves are another must. They protect your hands from cuts, splinters, and abrasions. Match the gloves to the job: leather for rough materials, rubber for wet conditions, and cut-resistant gloves for handling sharp objects.
If you’re working in dusty or fume-filled environments, respiratory protection is crucial. Use NIOSH-rated dust masks for basic tasks, and opt for a respirator when dealing with drywall dust, tile debris, or chemical fumes.
Don’t overlook hearing protection. Prolonged exposure to loud power tools can cause permanent hearing damage. Use earplugs or noise-canceling headphones when operating noisy equipment like power saws or sanders.
Always read the manufacturer’s instructions before using any tool. Keep your workspace well-lit and free of clutter to avoid accidents, and never disable safety features like blade guards. When making adjustments - like changing a blade - disconnect power tools from the electricity first.
Common Hazards to Avoid
Tool-related injuries often stem from preventable mistakes. Cuts and lacerations make up 35% of these injuries, while puncture wounds account for another 20% [6]. These accidents frequently happen when safety guards are removed or when dull blades require excessive force. Keeping blade guards intact and replacing worn blades promptly can significantly reduce risk.
Eye injuries, which represent 15% of tool-related accidents [6], are another common hazard. Even small particles from cutting or sanding can scratch your cornea or embed themselves in your eye. Always wear proper eye protection to prevent these injuries.
Dust exposure poses respiratory risks, from immediate irritation to long-term health issues. Materials like drywall, wood, and tile can release harmful particles into the air. Work in well-ventilated areas and use a dust mask or respirator suitable for the task.
Repetitive strain is another issue to watch out for. Take regular breaks and use tools designed with ergonomics in mind to reduce fatigue and strain.
To stay on top of maintenance, consider creating a monthly checklist. Set reminders for tasks like checking batteries, sharpening blades, and inspecting safety gear. Digital tools like Toolstash can help you track maintenance schedules and tool conditions, making it easier to spot when repairs or replacements are necessary.
"Regular maintenance not only extends the life of your tools but also ensures safety during use." - John Smith, Tool Maintenance Expert
Tool Organization, Storage, and Inventory Management
A messy workspace can slow down your renovation progress. According to a 2023 survey by The Home Depot, over 60% of US homeowners admit to misplacing tools at least once a year, which often leads to unnecessary repurchases and delays [7]. Keeping your tools organized not only builds on careful tool selection and maintenance but also ensures smoother and more efficient renovations. With the right storage options and digital management tools, you can minimize misplaced tools and streamline your workflow.
Storage Solutions for Homeowners
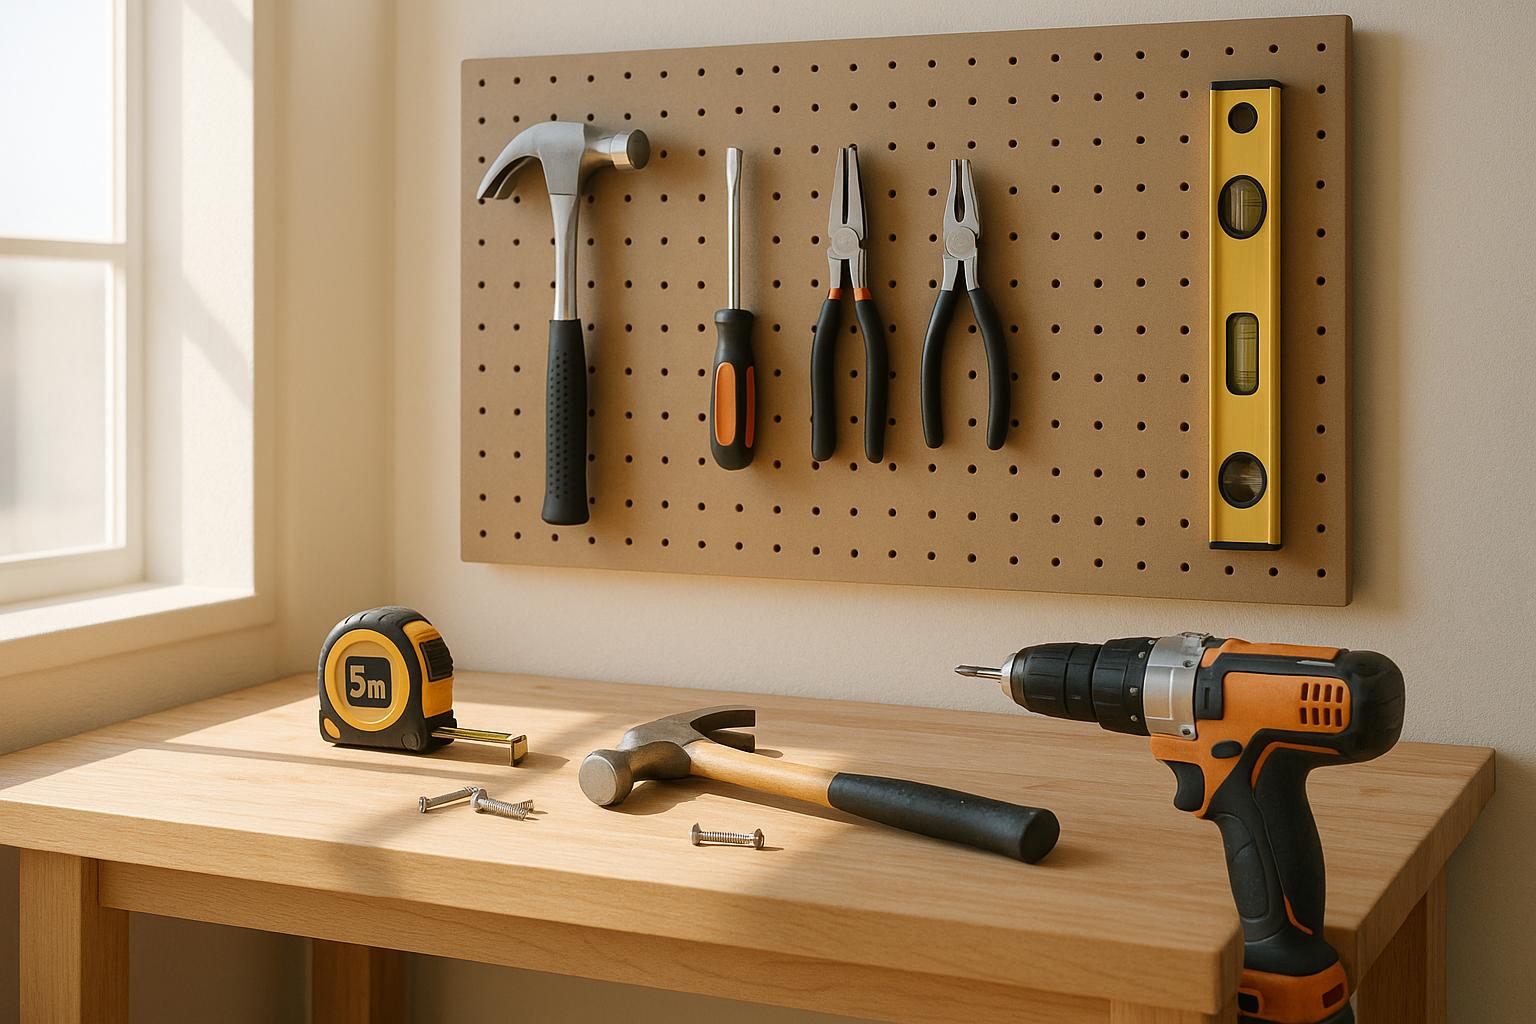
Effective tool organization begins with selecting the right storage system tailored to your space and local conditions. Pegboards are a popular choice for everyday tools like screwdrivers, hammers, and wrenches. They keep tools visible and easy to access, with prices ranging from $15 to $50 depending on size and material.
For more expensive or delicate tools, tool chests offer secure, mobile storage. Basic models start at around $100, while professional-grade options can exceed $1,000. These are especially useful for locking up power tools or transporting tools between work areas.
Wall-mounted racks are another versatile option, costing between $20 and $100. They help maximize vertical space, keeping larger tools like levels and saws off the floor and easy to grab.
Local climate also plays a role in storage choices. If you live in a humid area like Florida or Louisiana, sealed containers with moisture absorbers can protect metal tools from rust. In regions with fluctuating temperatures, such as the Midwest, consider climate-controlled storage or dehumidifiers to prevent corrosion [7].
For example, a Texas homeowner successfully organized over 50 tools by combining pegboards with lockable cabinets. They even tagged each tool's storage spot digitally to avoid duplicate purchases and misplacement.
Digital Tool Management with Toolstash
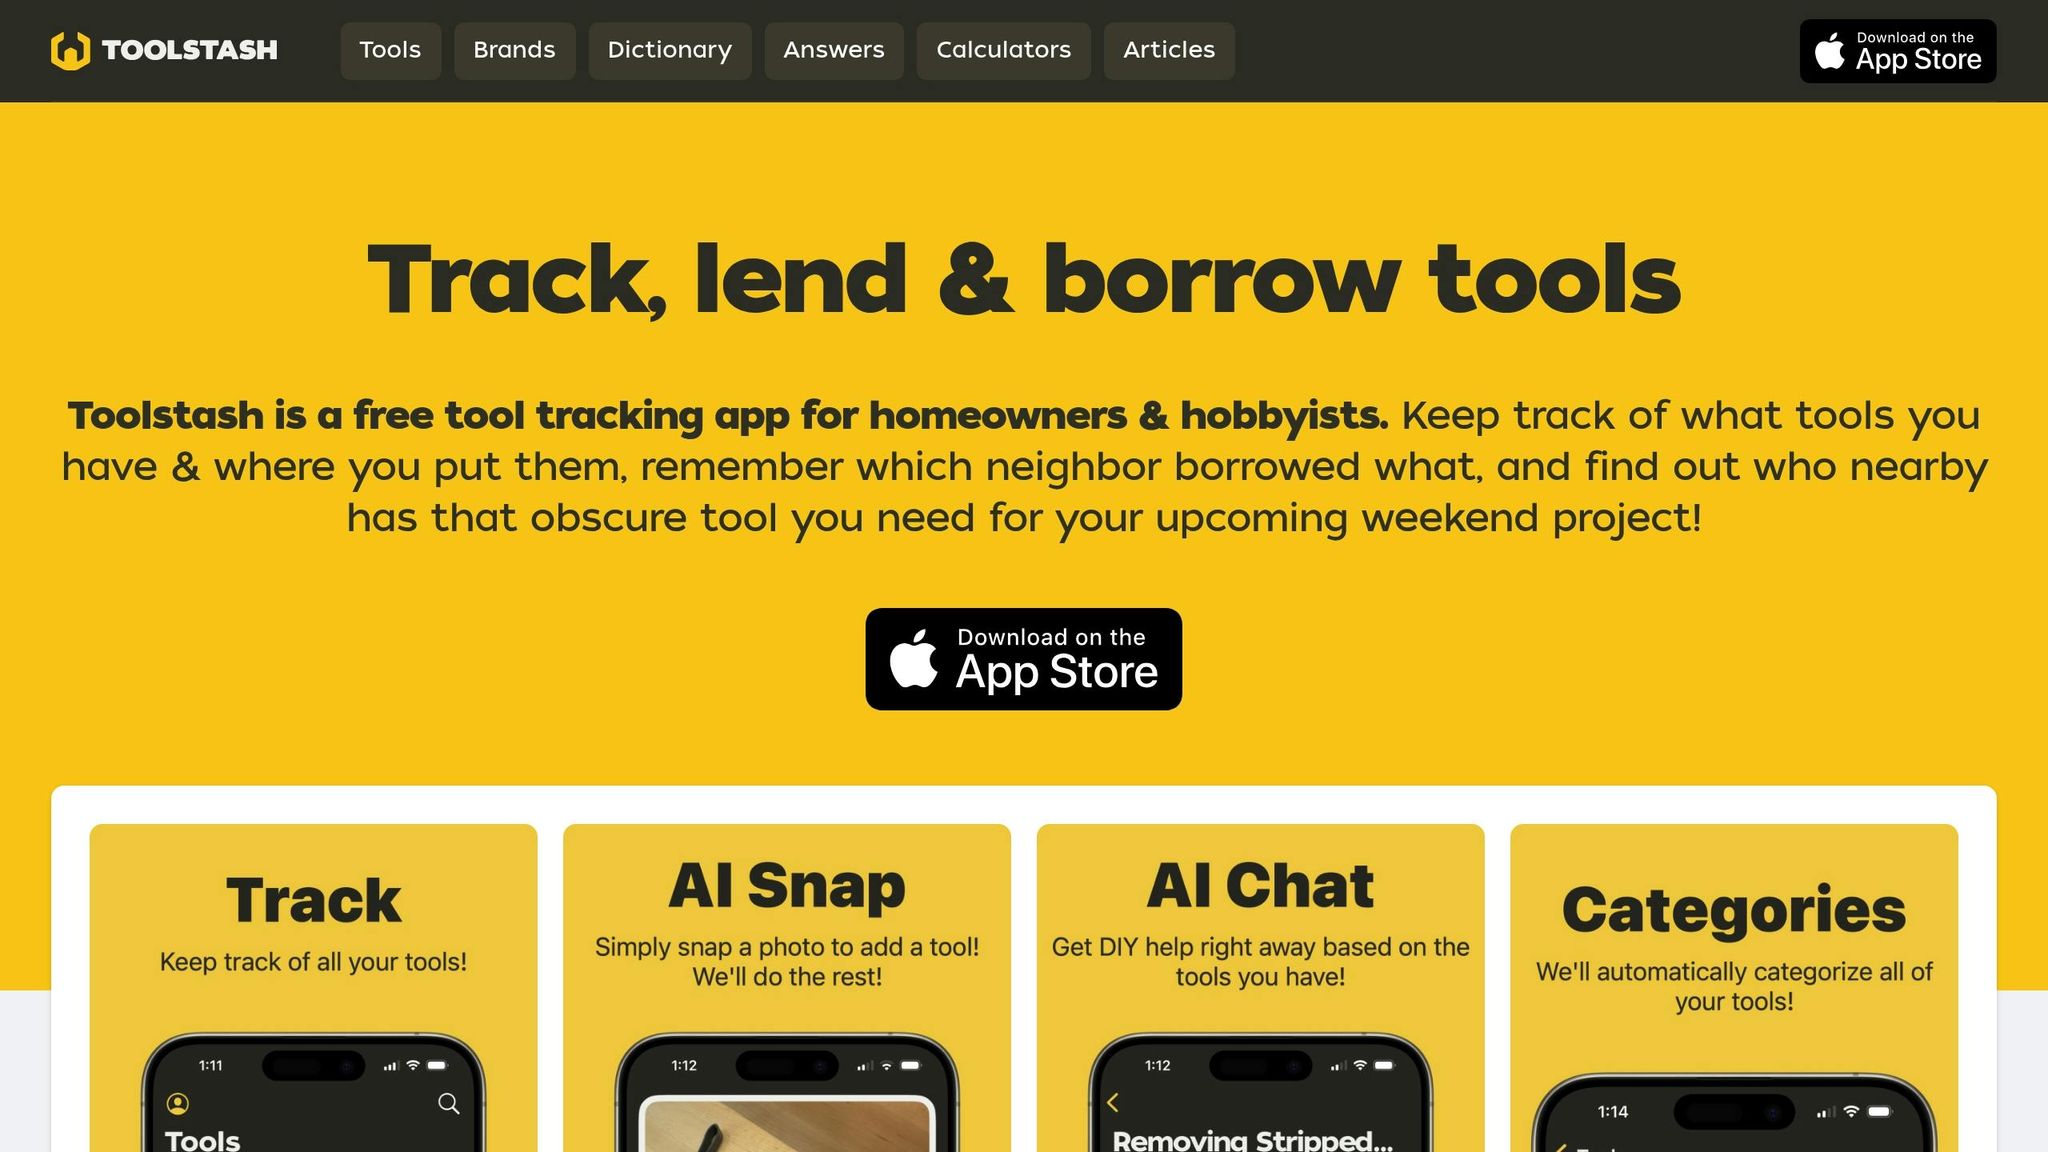
Physical storage keeps tools in order, but digital tools like Toolstash take organization to the next level by helping you track and manage your collection. While storage answers "where" your tools are, Toolstash focuses on "what" you have and "when" you need it.
The inventory tracking feature allows you to log tools with photos and detailed information, creating a complete digital catalog. With AI Snap, you can simply take a photo of a tool, and the app automatically identifies and categorizes it - no need for manual entry.
Other features include smart categorization, which organizes tools by type, project, or frequency of use, and location tracking, which records where each tool is stored. A quick search in the app instantly shows the exact location of any tool.
Toolstash also helps prevent tool loss with its lending and borrowing management feature. If you lend a drill to a neighbor, the app tracks who has it and when it’s due back. According to platform data, this feature alone has reduced tool loss by over 50%.
One DIY enthusiast in Florida used Toolstash to combat rust on saw blades during humid summers. By setting automated maintenance reminders for cleaning and oiling, they extended their tools' lifespan and avoided costly replacements. The app also proved invaluable after a garage break-in, as its detailed photos and purchase records simplified the insurance claim process.
Long-Term Organization Tips
To keep your tools ready for any project, long-term organization is key. Plan your storage system with future growth in mind. Conduct a biannual tool audit to clear out broken or unused items before clutter builds up.
Labeling is another essential step. Use durable, weather-resistant labels for both tools and storage areas. QR codes or barcodes can link directly to your digital inventory, bridging the gap between physical and digital organization. Group shelves and drawers by categories like "Power Tools" or "Painting Supplies", and update labels as your collection evolves.
Tracking the purchase date of tools can simplify warranty claims, insurance documentation, and replacement decisions. Set maintenance schedules - monthly for frequently used tools and seasonally for specialty items.
Here’s a quick look at the benefits:
| Organization Element | Immediate Benefit | Long-Term Impact |
|---|---|---|
| Digital Inventory | Quickly locate tools | Avoids duplicate purchases |
| Maintenance Scheduling | Ensures regular upkeep | Extends tool lifespan |
| Location Tracking | Saves search time | Boosts overall project efficiency |
Investing in modular storage systems - like stackable bins or adjustable shelving - can make your setup adaptable as your needs change. As you add power tools and specialty equipment to your collection, this flexibility saves you from a complete overhaul.
The secret to long-term success lies in integration. Start using a digital management system early so it scales with your growing collection. This approach not only saves time but also reduces unnecessary spending, ultimately keeping your projects on track and within budget.
"An organized tool storage system not only saves time but also enhances safety in the workspace." - Marcus Dach, Home Improvement Expert [1]
Renovation Tool Comparison Tables
Picking the right tools can make all the difference in your renovation project. The wrong choice could lead to frustration, wasted time, or unnecessary expenses. Below, we’ve broken down key differences between major tool categories to help you make smarter decisions based on your goals and budget. These tables aim to simplify the selection process, so you can focus on getting the job done.
Corded vs. Cordless Power Tools
Both corded and cordless tools have their strengths. According to Home Depot, over 60% of DIYers now lean toward cordless models due to their convenience, even though they often come with a higher price tag [7]. However, corded tools remain a staple for professionals who need consistent, reliable power.
Corded power tools are known for their steady performance during long projects. For example, a corded circular saw will maintain its speed and cutting power throughout heavy-duty tasks like framing or flooring.
On the other hand, cordless tools provide unmatched freedom of movement and solid runtime. While the price gap between them has narrowed over time, corded tools are still more budget-friendly. Corded drills start at around $40–$60, whereas cordless models range from $70–$120 [7].
Here’s a quick comparison of the two:
| Feature | Corded Power Tools | Cordless Power Tools |
|---|---|---|
| Power Output | High, consistent | Moderate, battery-dependent |
| Mobility | Limited by cord length | Full freedom |
| Price Range | $40–$100 | $80–$200 |
| Best For | Heavy-duty, continuous work | Quick fixes, remote locations |
| Skill Level | Intermediate to advanced | Beginner-friendly |
| Runtime | Unlimited | 30–90 minutes per charge |
Manual vs. Power Tools
The choice between manual and power tools depends largely on the project and your preferences. Manual tools are great for precision, while power tools excel in speed and efficiency.
Manual tools - like chisels, hand saws, and screwdrivers - offer unmatched control for delicate tasks, such as installing trim or making fine adjustments. They’re also low-maintenance and can last for decades with proper care.
Power tools, however, are game-changers for repetitive or labor-intensive tasks. For instance, driving dozens of screws or cutting multiple boards becomes significantly easier and faster with power tools.
Cost is another factor. A basic manual tool kit costs $50–$100, covering most small repairs, while starter power tool sets range from $200–$400, not including batteries and chargers for cordless models.
| Aspect | Manual Tools | Power Tools |
|---|---|---|
| Learning Curve | Easy and forgiving | Steeper, requires safety precautions |
| Speed | Slower, labor-intensive | Fast and efficient |
| Precision | Excellent control | Good, requires skill |
| Cost | $10–$50 per tool | $40–$200 per tool |
| Best For | Detail work, small repairs | Large projects, repetitive tasks |
| Physical Effort | High | Low to moderate |
Specialized vs. Multi-Purpose Tools
When it comes to specialized versus multi-purpose tools, the right choice can determine whether your project looks professional or more DIY. Specialized tools are designed for specific tasks, while multi-purpose tools offer flexibility across various jobs - sometimes sacrificing performance in the process.
Specialized tools - like tile saws, paint sprayers, and trim pullers - shine in their intended roles. For example, a high-quality tile saw ensures clean, precise cuts, making it perfect for bathroom renovations. Although these tools might only be used occasionally, their results can be worth the investment.
Multi-purpose tools, such as oscillating multi-tools, are versatile and space-saving. They can handle tasks like cutting, sanding, and scraping, making them ideal for homeowners juggling multiple small projects.
Renting specialized tools is another option to consider. For instance, tile saws rent for $40–$60 per day [3], allowing you to achieve professional results without the need for a long-term investment or storage space.
Take Graco paint sprayers as an example of specialized tool value. The Magnum X7 model, rated 4.6 out of 5 stars, costs $200–$300 and can dramatically speed up exterior painting jobs [4]. For homeowners tackling multiple painting projects, this could be a worthwhile purchase.
| Tool Category | Specialized Tools | Multi-Purpose Tools |
|---|---|---|
| Performance | Exceptional for specific tasks | Good for various tasks |
| Storage Needs | Requires dedicated space | Compact and space-saving |
| Cost | $100–$400 purchase, $30–$60 rental | $30–$150 |
| Usage Frequency | Occasional, project-specific | Regular, for varied jobs |
| Results | Professional-grade | Acceptable to good |
| Examples | Tile saw, paint sprayer, drywall lift | Oscillating multi-tool, adjustable wrench |
Choosing the right tool depends on your timeline and renovation goals. If you’re planning multiple big projects, investing in specialized tools or building a relationship with a rental center might make sense. For casual DIYers, a high-quality multi-purpose tool could provide the best bang for your buck. Toolstash can also help guide you by recommending tools tailored to your needs.
Conclusion and Key Takeaways
Renovating your home isn’t just about the work itself - it’s about having the right tools, keeping them in great shape, and staying organized. Here are some key points to help you handle your projects more efficiently and safely.
Choosing quality tools and storing them properly can save you both time and money. Instead of opting for cheaper, unreliable options, focus on essential, durable tools that can handle multiple projects. Start with basics like a cordless drill (priced around $50–$200), a tape measure, a utility knife, and a circular saw. From there, only add tools as your specific project needs arise, avoiding unnecessary purchases.
Keeping your tools clean, lubricated, and in good repair isn’t just about extending their life - it’s also about safety. Well-maintained tools perform better and reduce the risk of accidents during your renovation work.
Digital tools can also make a big difference. Platforms like Toolstash use AI to help track your tools, making it easier to keep them organized and accessible. With up to 30% of tools often lost or misplaced during projects, a digital inventory system can be a game-changer for avid DIYers. For tools you don’t use often, consider renting instead of buying. For example, you can rent specialized tools like tile saws or floor sanders for $30–$60 per day, giving you professional results without the long-term commitment.
"Investing in the right tools not only enhances the quality of your work but also makes the renovation process more enjoyable." - Marcus Dach, Home Improvement Expert
In short, smart tool selection, regular maintenance, and effective organization are the foundation of successful renovations. Whether this is your first DIY project or one of many, following these principles will help you work more efficiently, stay safe, and enjoy the process. A little effort upfront in choosing and caring for your tools will pay off with better results, saved time, and less stress.
FAQs
What’s the difference between corded and cordless power tools, and how do I choose the right one for my renovation project?
Corded power tools deliver steady, uninterrupted power, making them a reliable choice for heavy-duty jobs or tasks that take a long time to complete. The downside? They need to be plugged into an outlet, which can limit your movement depending on the cord length.
On the flip side, cordless tools run on batteries, giving you the freedom to move around and work in places where outlets aren’t easily accessible. However, you’ll need to consider battery life and charging times, as these can impact how smoothly your project goes.
When choosing between the two, think about the kind of work you’ll be tackling, where you’ll be working, and how much mobility you’ll need. For instance, corded tools are great for cutting through tough materials, while cordless tools shine for quick, portable tasks. No matter which you pick, keeping your tools organized and ready to go will help you work efficiently.
What’s the best way to organize and keep track of my tools during a home renovation?
If you want to stay on top of things during a home renovation, a tool management platform like Toolstash can be a game-changer. It lets you keep an inventory of your tools, track where they are, and even manage lending or borrowing without any headaches.
Thanks to features like AI-powered tool addition and smart categorization, finding exactly what you need becomes a breeze. Plus, by keeping tabs on your tools, you can avoid misplacing them and save valuable time - leaving you free to concentrate on your renovation work.
Should I rent or buy specialized tools, and how do I decide which option is better?
When deciding whether to rent or buy tools, it all comes down to how often you'll use them and the overall cost. Renting is a great option for specialized tools that you only need for a single project. It helps you save money upfront and avoids the hassle of finding storage space for something you might not use again.
On the other hand, if you’re thinking about buying, weigh the long-term benefits. Ask yourself: Will this tool be useful for future projects? If not, renting might still be the smarter move - especially for tools that are pricey, take up a lot of space, or won’t see regular use.