Tools mentioned in this article
Building a birdhouse is a rewarding project that allows you to create a cozy home for feathered friends while enjoying a fun DIY experience. Whether you're a nature enthusiast or simply looking for a new hobby, learning how to build a birdhouse can be an exciting adventure. This beginner-friendly guide will walk you through the process, offering bird house ideas and design tips to help you craft the perfect shelter for your local avian visitors.
You'll discover the essential steps to create a homemade birdhouse, from planning your bird house design to putting the finishing touches on your creation. This guide covers everything you need to know about building a birdhouse, including selecting the right materials, understanding birdhouse measurements, and assembling your structure. By the end, you'll have the skills to build a sturdy and attractive DIY birdhouse that will attract birds to your backyard for years to come.
Planning Your Birdhouse Design
To create a successful birdhouse, you need to consider several factors. Let's explore the key elements to keep in mind when planning your design.
Choosing the Right Size
The size of your birdhouse plays a crucial role in attracting specific bird species. Different birds have varying preferences for their nesting spaces. For instance, a wren, titmouse, or chickadee will fit comfortably into a house with an entrance hole of 1.125 inches in diameter. On the other hand, bluebirds or tree swallows require a slightly larger entrance of 1.5 inches.
When planning your birdhouse, consider the following dimensions:
- Entrance hole size
- Floor size
- Overall height
- Placement height above ground
To help you choose the right dimensions, refer to this table for some common bird species:
| Bird Species | Hole Diameter (inches) | Floor Size (inches) | Height Above Ground (feet) |
|---|---|---|---|
| Bluebird | 1.5 | 5 x 5 | 5-10 |
| House Wren | 1.125 | 4 x 4 | 6-10 |
| Tree Swallow | 1.5 | 5 x 5 | 10-15 |
Selecting Wood Type
The type of wood you choose for your birdhouse can affect its durability and appeal. Some excellent options include:
- Cedar: Naturally resistant to decay and insects
- Redwood: Weather-resistant and esthetically pleasing
- Pine: Affordable, easy to work with, and non-toxic to birds
- Cypress: Naturally weather-resistant
Avoid using treated wood or painting the interior of the birdhouse, as these can be harmful to the birds' health.
Considering Bird Species
Different bird species have specific preferences for their nesting sites. To attract your desired feathered friends, keep these factors in mind:
- Entrance hole size: This determines which species can access the house
- Ventilation: Ensure proper airflow by adding small holes or gaps
- Drainage: Include small holes in the bottom for water to escape
- Predator protection: Consider adding predator guards or baffles
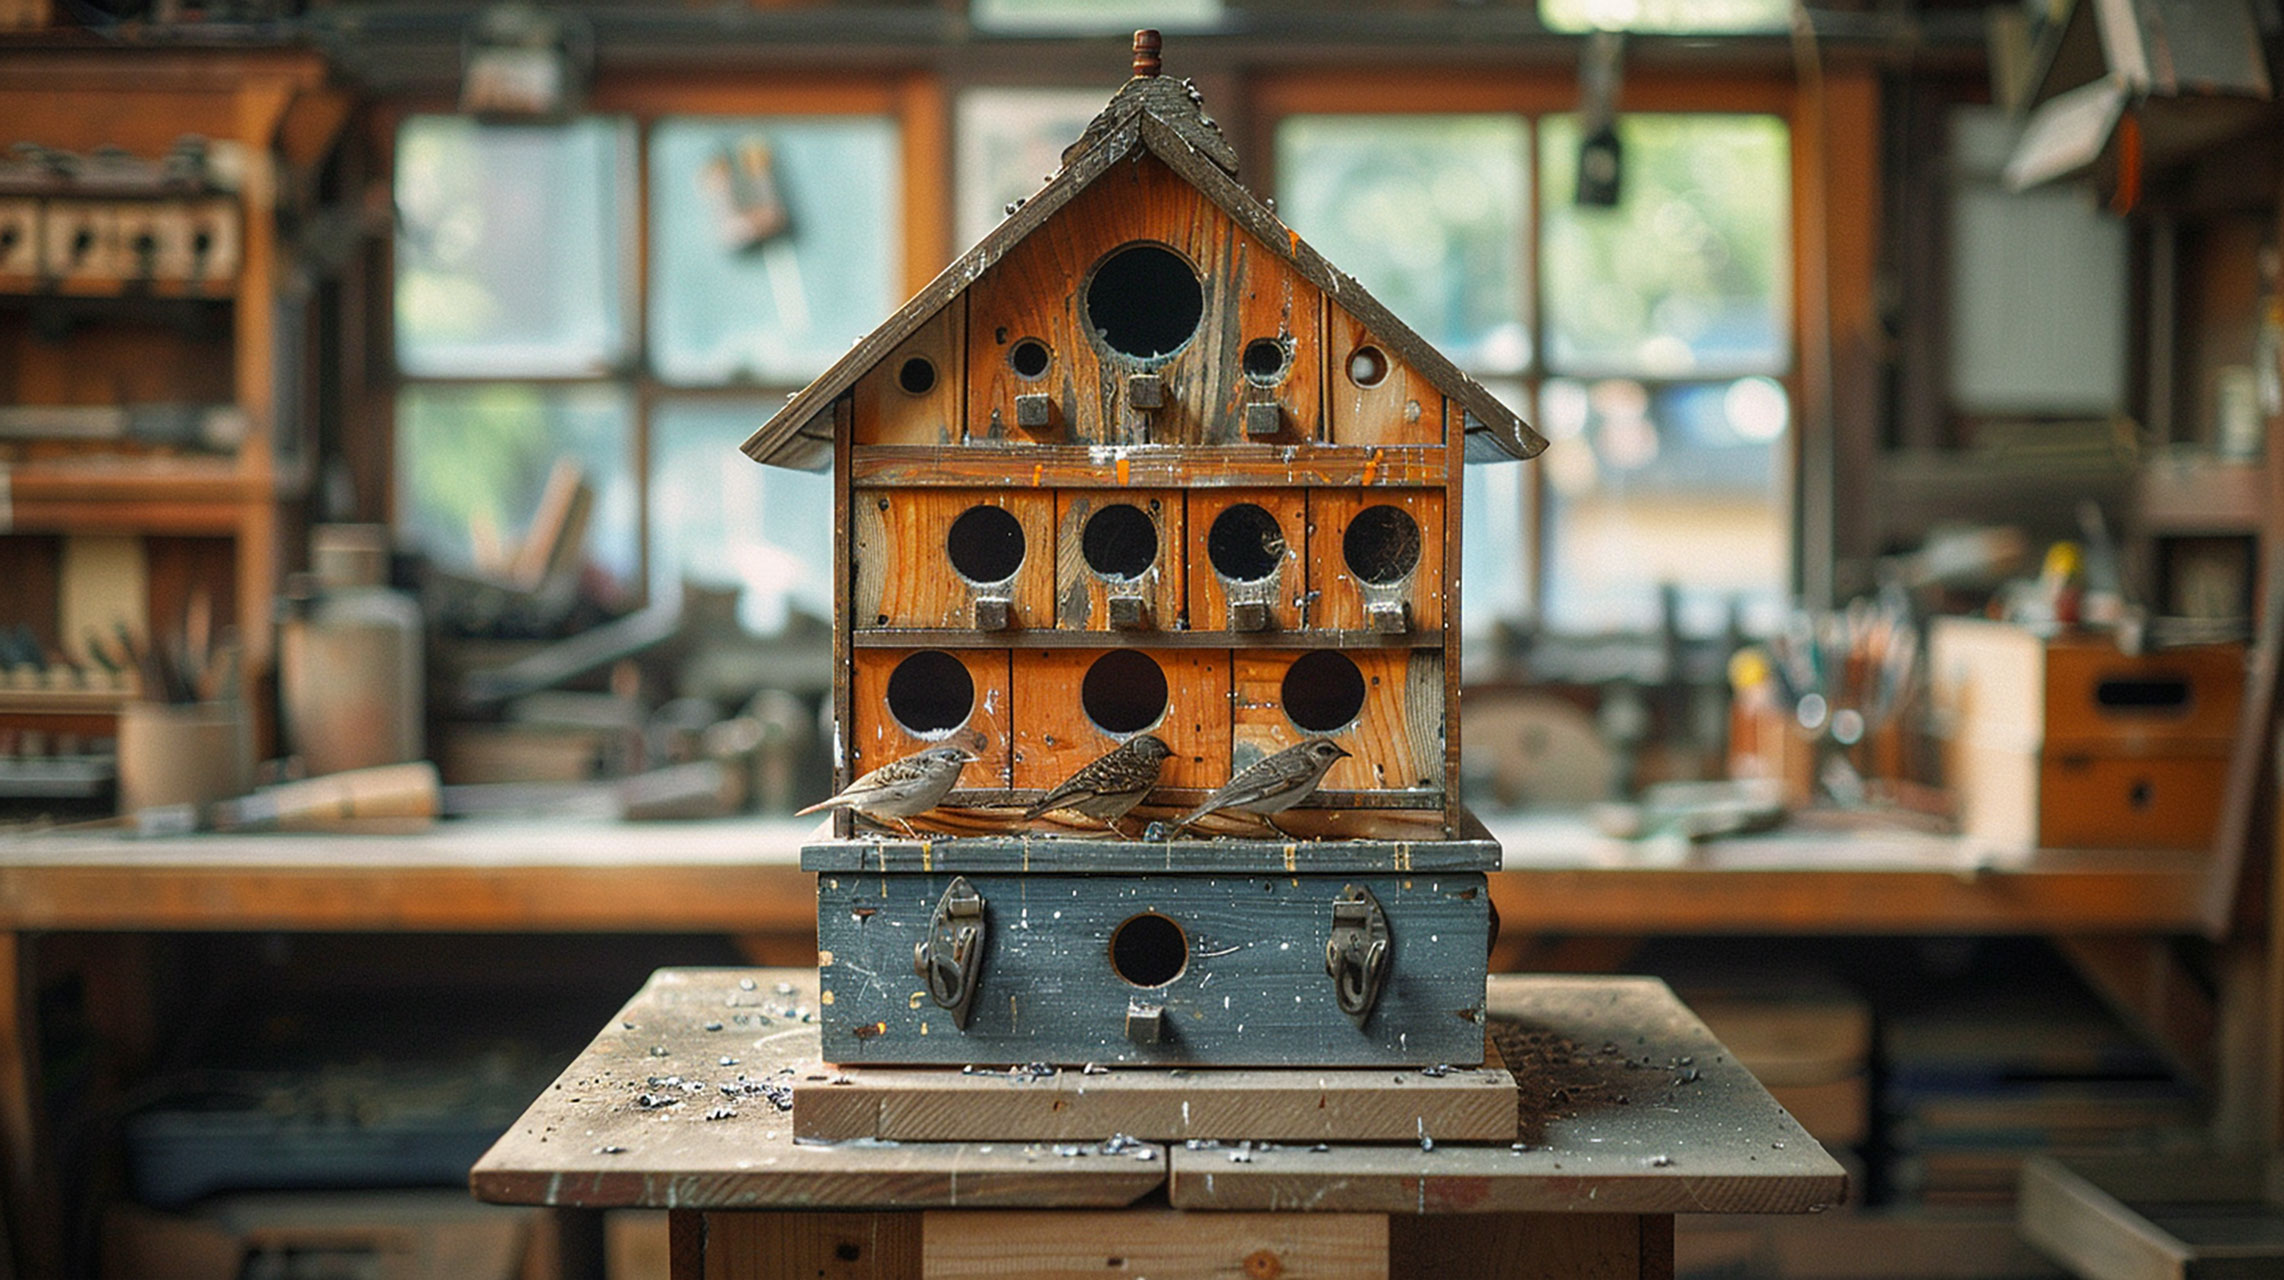
Remember, some birds, like Purple Martins, prefer to nest in colonies, while others, such as Robins, prefer open platforms without roofs. By tailoring your design to specific species, you'll have a better chance of attracting them to your birdhouse.
Cutting the Birdhouse Pieces
Now that you've planned your birdhouse design, it's time to start cutting the pieces. This process involves creating the front and back panels, side walls, and the roof and floor components. Let's break it down step by step.
Front and Back Panels
To create the front and back panels of your birdhouse:
- Cut two 1 x 6 x 8-inch boards for the front and back panels.
- Mark a line six inches from the top on both panels.
- Set your miter saw to 55 degrees.
- Line up the blade with the mark you made 3 1/4 inches from the side and cut.
- Repeat this process on the other side to create a peaked top.
Side Walls
For the side walls:
- Cut two 1 x 6 x 4 3/4 inch boards.
- Mark the angle on the side panels using the roof as a template.
- Cut along the marked line using a hand saw.
Roof and Floor
To complete your birdhouse structure:
- For the floor, cut one 1 x 6 x 4 inch board.
- For the roof, cut one 1 x 6 x 9 inch board for the right side.
- Cut one 1 x 4 3/4 x 9 inch board for the left side of the roof.
Alternatively, you can use an old license plate for the roof. Simply mark the center and bend it at a 90-degree angle.
Remember to double-check all measurements before cutting to ensure a proper fit. Once all pieces are cut, you're ready to move on to the assembly phase of your DIY birdhouse project.
Assembling the Structure
Attaching Walls
Now that you have all your pieces cut, it's time to bring your birdhouse to life. Start by setting the two side walls on edge with their 4¾-inch-tall edges facing upward. Apply wood glue to each edge, then place the front panel onto these edges. Make sure the sides of the front panel are flush with the outside face of each wall. Using a nailer, drive 1¼-inch brad nails through the front panel and into the edge of each side wall to secure them together.
Next, flip the assembly over and apply glue to the back edge of each side wall. Position the back panel onto the sides and drive 1¼-inch nails through it and into the side walls. This creates the basic structure of your birdhouse.
Securing the Roof
To attach the roof, apply wood glue to the peak of the front and back walls. Place the shorter roof panel into position, making sure it's flush with the tip of the peak. Nail through the roof and into the front and back walls to secure it in place. Then, position the second roof panel, overlapping the exposed top edge of the first panel. Again, nail through the roof and into the front and back walls to complete the assembly.
Adding the Floor
For the final step in assembling the structure, apply wood glue to the bottom edge of all four walls. Position the base so that its back edge is flush with the back wall, allowing the front to extend slightly beyond the birdhouse's front wall. This creates a small ledge. Nail through the base and into each adjoining wall to secure it firmly in place.
Remember, a well-assembled structure is key to creating a durable and inviting home for your feathered friends. Take your time with each step to ensure a sturdy and long-lasting birdhouse.
Finishing and Mounting
Creating the Entrance Hole
To make your birdhouse welcoming for its future inhabitants, you need to create an appropriate entrance hole. The size of this opening plays a crucial role in attracting specific bird species and protecting them from predators. For most small birds, a hole diameter between 1 to 1 1/2 inches works well. Here's a quick guide:
- Measure and mark the center of the front panel.
- Position the hole about 2 to 3 inches from the bottom of the panel.
- Use a drill with the appropriate bit size to create the entrance.
Remember, different birds have varying preferences. For instance, chickadees and wrens prefer smaller openings around 1 1/8 inches, while bluebirds need slightly larger holes of about 1 1/2 inches.
Weatherproofing
To protect your birdhouse from the elements, apply a clear coat after assembly. Here's how:
- Choose a polyurethane spray clear coat from your local hardware store.
- Spray from about 6 inches away, moving side to side in constant motion.
- Apply in a well-ventilated area.
- Let it dry and apply at least one more coat for added protection.
This weatherproofing method allows for easy maintenance. If dirt or mold builds up over time, simply sand the surface with fine-grit sandpaper (280 or finer) and reapply the clear coat.
Proper Placement
The location of your birdhouse is key to attracting birds and ensuring their safety. Here are some tips:
- Face the entrance hole away from prevailing winds, typically eastward in the United States.
- Mount the birdhouse securely on a metal pole, fence post, or tree trunk.
- If using a pole, install a baffle that can rock and roll to deter predators.
- For chickadees, place the house on the edge of wooded areas with about 60% sun exposure.
- Ensure the birdhouse is at an appropriate height for your target species.
By following these guidelines, you'll create a safe and inviting home for your feathered friends.
Conclusion
Building a birdhouse is a rewarding project that brings nature closer to home. This guide has provided a comprehensive overview of the process, from planning and design to assembly and placement. By following these steps, you can create a cozy shelter for your feathered friends, tailored to their specific needs and preferences.
The joy of crafting a birdhouse goes beyond the construction itself. It offers a chance to connect with nature, learn about local bird species, and contribute to wildlife conservation in your backyard. With your new birdhouse in place, you'll soon have the pleasure of watching birds make a home in your creation, bringing life and song to your outdoor space.
FAQs
1. What are some common mistakes to avoid when constructing a birdhouse?
Avoid using wood treated with creosote as it can harm or kill the birds. Instead, opt for untreated wood and use galvanized nails to prevent rusting. While it’s not necessary to paint birdhouses, applying paint to the exterior can help extend its durability. However, never paint the inside of a birdhouse.
2. What is the recommended size for a birdhouse entrance hole?
The entrance hole of a birdhouse should ideally be between 1 and 1.25 inches in diameter. This size prevents larger, unwanted animals such as house sparrows, starlings, squirrels, and raccoons from entering, while allowing the intended bird species safe access.
3. How can I build a birdhouse that will attract birds?
To ensure birds use the birdhouse, construct it from untreated wood and paint only the exterior. Include a hinged side to facilitate easy cleaning. The entrance hole should be no larger than 1 3/8 inches in diameter to exclude larger birds like starlings. Additionally, do not add perches to the birdhouse as they can aid predators.
4. Which direction should a birdhouse face?
Position the entrance of the birdhouse away from prevailing winds. In the U.S., it is common to face the birdhouse entrance east to avoid the strong afternoon sun and prevailing winds, providing a safer and more comfortable environment for the birds.