Planning outlet placement in your workshop is essential for safety, efficiency, and future-proofing your workspace. Poorly placed outlets can lead to tripping hazards, voltage drops, and overloading circuits, while well-thought-out placement ensures smooth workflows, protects your tools, and saves money on retrofits. Here’s a quick summary of the key steps:
- Assess Power Needs: List all tools and equipment, noting voltage, wattage, and amperage. Calculate total power demand and plan for 20–30% extra capacity for future upgrades.
- Outlet Placement: Mount outlets 42–54 inches above the floor for easy access. Place outlets near workbenches, tool stations, and large tools. Use ceiling outlets for mobile tools and keep 240V outlets close to heavy-duty equipment.
- Safety Measures: Install GFCI outlets in moisture-prone areas and dedicate circuits to high-power tools to avoid overloads. Follow local electrical codes to ensure compliance.
- Documentation and Maintenance: Create a detailed layout of outlet locations, circuit assignments, and tool power needs. Use apps like Toolstash to track and organize this information. Regularly inspect outlets and circuits for wear or damage.
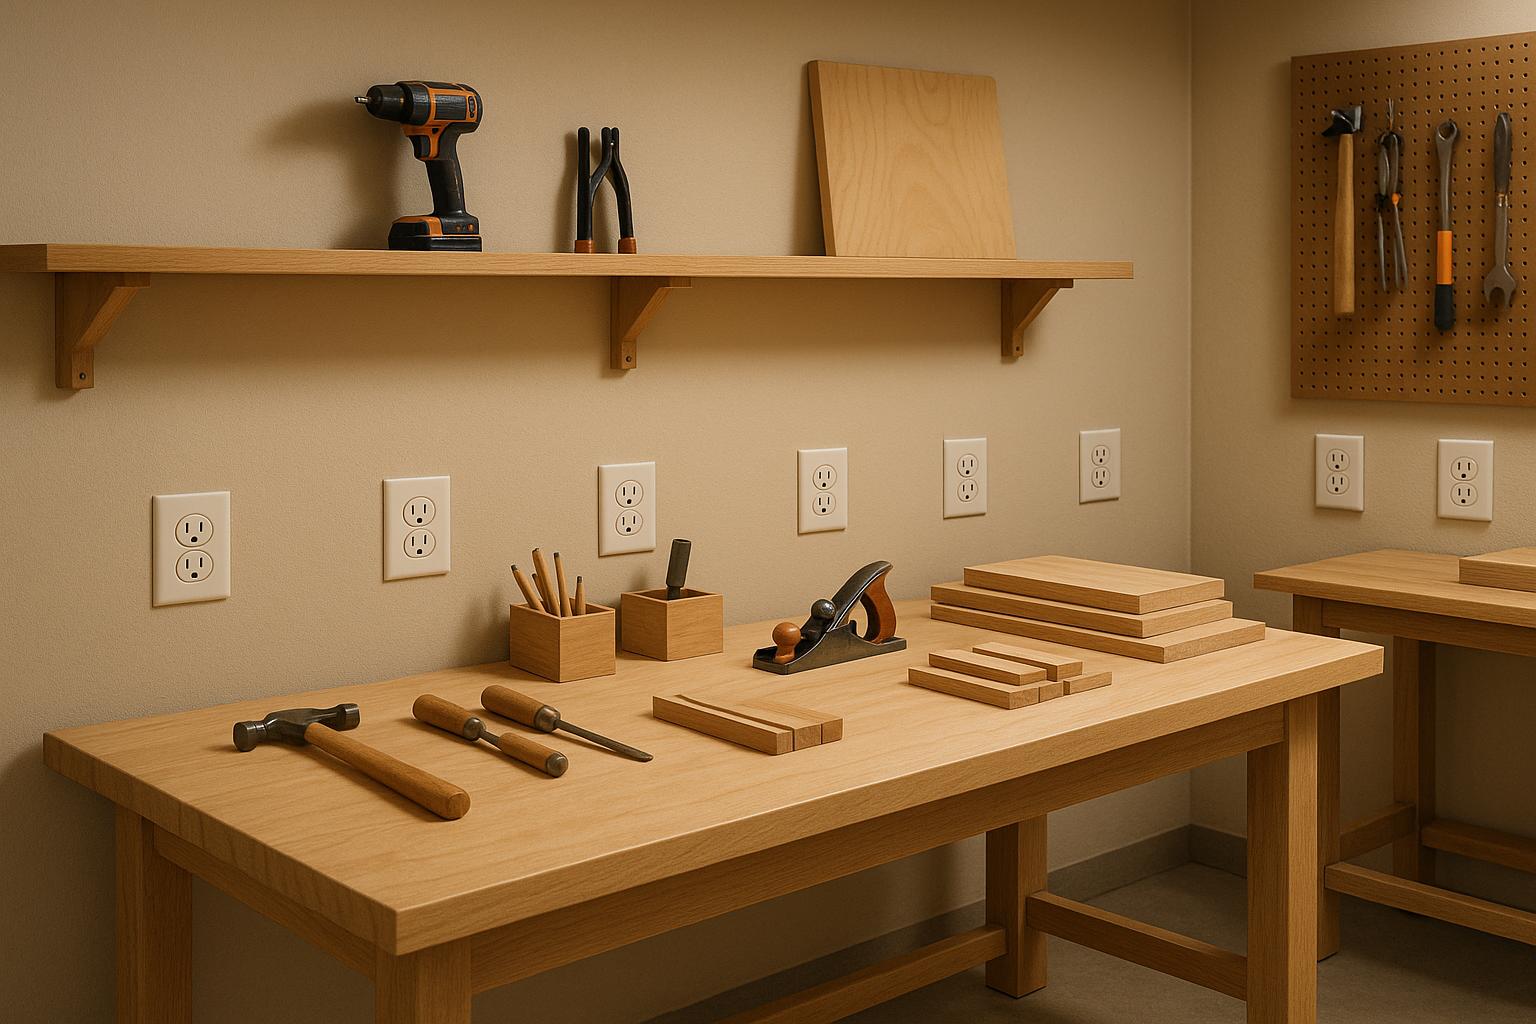
Woodworking Shop Electrical Layout
Assess Your Workshop's Power Requirements
Taking stock of your workshop's electrical needs is an essential step to avoid costly mistakes down the line. This evaluation lays the groundwork for decisions like outlet placement and circuit planning.
List All Tools and Equipment That Need Power
Start by creating a detailed list of every tool and appliance in your workshop that requires electricity. For each item, note its voltage (commonly 120V or 240V), wattage, and amperage. Heavy-duty tools like table saws and welders typically need 240V, while smaller devices such as battery chargers and fans run on 120V but can collectively add up to a significant load. Some specialized equipment might even require 208V or 3-phase power. Keeping track of these details ensures your circuits and outlets are appropriately sized.
If managing this inventory feels overwhelming, consider using a tool management app like Toolstash. It simplifies the process by letting you snap photos of your tools and automatically organizing them into categories.
Calculate Total Power Demand
Once your inventory is complete, the next step is to figure out your workshop’s total power demand. While you’re unlikely to use every tool at once, it’s important to identify realistic usage patterns. Group tools by function and estimate the peak load when multiple tools are running simultaneously. For example, a 15-amp table saw (roughly 1,800 watts at 120V) paired with a 10-amp dust collector (about 1,200 watts) could create a combined load of around 3,000 watts.
Understanding the relationship between watts, volts, and amps is key here. Use the formula: Watts = Volts × Amperage. For instance, a 1,500W tool running on 120V draws about 12.5 amps, while a 3,600W tool on 240V pulls roughly 15 amps. Since most household circuits are rated for 15 to 20 amps, double-check that your calculations stay within safe limits.
Plan for Future Equipment Additions
It’s not just about meeting your current needs - planning for future growth is equally important. Many people overlook this and end up facing expensive retrofits later. To avoid this, build in an extra 20–30% capacity when calculating your electrical requirements. For example, if your current equipment requires 60 amps, consider installing a 75- to 100-amp sub-panel to leave room for future upgrades[4]. This forward-thinking approach saves both time and money in the long run.
Finally, document everything. Create a spreadsheet listing each tool’s voltage, wattage, amperage, location, and circuit requirements. This record will be invaluable for electricians during installation and will serve as a handy reference for troubleshooting or future expansions.
Where to Place Electrical Outlets
Once you've assessed your power needs, the next step is to position your outlets in a way that supports a smooth and efficient workflow. Thoughtful outlet placement not only boosts safety but also keeps your workspace organized and functional.
Outlet Height and Spacing Guidelines
For easy access, outlets should generally be mounted 42–54 inches above the floor, with 48 inches being a common choice. This height keeps outlets above most workbenches while still within arm's reach. It also allows you to lean materials like plywood against the wall without blocking access to the outlets[4].
To avoid unnecessary extension cords, plan your outlet placement based on your workflow. Position outlets exactly where you'll need power, such as near workbenches, tool stations, or other key areas[2]. This ensures your workspace remains efficient and clutter-free.
Workbench and Tool Station Placement
Outlets placed behind and above workbenches provide convenient access for tools and accessories. Install multiple outlets at each workbench to handle items like power tools, shop vacuums, and battery chargers. Under-cabinet outlets are another great option, keeping cords off your work surface but still within reach[3].
For stationary tools, position outlets close to each machine to reduce reliance on extension cords and improve safety. If your equipment requires 240V power, plan ahead to include those outlets in your layout. Ceiling outlets can also be incredibly useful, especially for mobile workstations. Many woodworkers prefer ceiling outlets for powering handheld tools like sanders and routers, as they help keep cords off the floor and out of the way[2][3].
For large, floor-based tools, consider how outlet height might affect usability. Adjust placement so outlets remain accessible without being obstructed by the equipment.
Low Placement for Large Tools
For heavy, floor-standing tools like compressors or welders, outlets should be installed lower on the wall - typically 18 to 24 inches above the floor. This height accommodates the shorter cords often found on these machines and is also handy for temporary power needs during floor-level tasks or cleanup. Just make sure these outlets are well-protected from moisture and debris to ensure safety.
If you're working with mixed-voltage tools, clearly label each outlet to avoid overloading circuits and to make future troubleshooting easier[2].
Ultimately, the goal is to design a power setup that fits the way you work. Tailoring your outlet placement to your specific workflow creates a workshop that’s not only safer but also far more efficient.
Safety Requirements and Circuit Types
Your electrical setup plays a key role in ensuring workshop safety. A well-designed circuit not only prevents hazards but also ensures compliance with current electrical codes. Once you've tackled outlet placement, focusing on these circuit and safety guidelines can further improve your workshop's functionality.
Use Dedicated Circuits for High-Power Tools
High-power tools demand their own dedicated circuits to operate safely and efficiently. Sharing a circuit among these tools can lead to tripped breakers and even fire risks. Tools like table saws, welders, air compressors, dust collectors, and large planers typically require their own circuits. This becomes even more critical for 240V equipment, such as welders or larger motors.
For metalworking shops, this is non-negotiable. A plasma table should run on its own 240V circuit, an ironworker needs an isolated breaker, and MIG/TIG welding stations should each have separate electrical zones[2]. When designing circuits, calculate the amperage of each tool and add a 25% safety margin. For instance, a tool drawing 12 amps should be assigned to a 15-amp circuit.
Install GFCI Outlets in Moisture-Prone Areas
Moisture protection is just as important as dedicated circuits in a workshop. Ground Fault Circuit Interrupter (GFCI) outlets are designed to shut off power instantly if they detect a fault, reducing the risk of electrical shock. Since 1978, the National Electrical Code has mandated GFCI outlets in garages and unfinished basements, and since 1973, in outdoor areas[1]. In your workshop, install GFCI outlets near sinks, utility tubs, exterior walls, or within 6 feet of any water source. Even if your workspace seems dry, factors like spills, temperature shifts, or seasonal humidity can create moisture risks. Make it a habit to test GFCI outlets monthly and replace any that fail to trip or reset.
Follow Local Electrical Codes
Complying with local electrical codes is essential for both safety and legal reasons. While the National Electrical Code serves as a baseline, your local area may have additional rules tailored to regional needs or specific building types. For complex installations, it’s always wise to hire a licensed electrician[1]. Before starting any electrical work, check with your local building department to understand permit requirements and ensure your plans meet inspection standards. Keep detailed documentation of all electrical work, including circuit layouts, outlet placements, and inspection certificates. These records can be invaluable for troubleshooting down the road or when selling your property. Regular inspections by a qualified electrician can also help catch potential issues early[1].
Using tools like Toolstash can make safety management easier by tracking tool locations and usage patterns. This can help you identify high-traffic areas that might need additional circuits while keeping maintenance records organized.
Plan for Lighting and Extra Features
Once you’ve optimized your outlet setup and safety circuits, it's time to take your workshop to the next level. Thoughtful planning for lighting and charging stations can make a huge difference in how efficiently and safely your workspace functions. These additions require their own dedicated outlet planning to ensure your workshop operates smoothly.
Outlets for Workshop Lighting
Lighting outlets should be carefully placed to enhance both functionality and safety. Keep lighting circuits separate from those powering your tools. Why? This way, if a power tool trips a breaker, your lights will stay on, avoiding any sudden darkness while you’re in the middle of a project[1].
In larger workshops, overhead power drops are a game-changer. By keeping lighting cables off the floor, you reduce clutter and hazards while maintaining easy access to fixtures[2]. Ceiling-mounted outlets above work areas allow you to hang task lights directly over benches, minimizing shadows and improving visibility for detailed work.
For task lighting, install outlets near your workbenches, higher up on the wall. This makes it easy to mount adjustable lights that you can reposition as needed without creating a mess of cords underfoot.
Add Charging Stations and Extra Outlets
A well-thought-out charging station keeps your battery-powered tools and devices ready to go. Place these outlets at convenient heights above workbenches or in storage areas where you keep rechargeable equipment[3]. This setup not only keeps your tools organized but also ensures they’re always within reach when you need them.
Consider creating a centralized charging hub by clustering multiple outlets in one spot. This approach keeps chargers and batteries together, making it easier to manage. Just remember to account for the total power demand - most 20-amp circuits can handle several chargers, but heavy-duty equipment might need its own circuit.
For added convenience, include a mix of USB ports and standard 120V outlets. Place them away from high-traffic or moisture-prone areas to reduce safety risks while keeping your devices easily accessible. For example, one woodworking garage installed under-cabinet outlet strips and a ceiling outlet to cut down on cord clutter and improve accessibility[3]. This setup allowed for simultaneous use of lighting and tools without overloading circuits.
Document Your Outlet Layout
Keeping a detailed record of your workshop’s outlet layout can save you a ton of time when troubleshooting or making future updates. Start with a simple floor plan that shows each outlet’s location, height, and circuit assignment. Be sure to include details like voltage, amperage, and whether the outlets are GFCI-protected.
If possible, go digital. Tools like Toolstash can help you track which tools are connected to specific outlets and circuits, creating a complete map of your workshop’s electrical system[3]. This kind of documentation makes it easy to identify power needs when adding new tools or making upgrades.
Don’t stop at just recording outlet locations. Keep track of maintenance schedules, inspection dates, and any modifications or repairs, along with their relevant details. It’s also a good idea to keep copies of electrical permits and inspection certificates with your records. And every time you add equipment or adjust a circuit, update your documentation. Knowing which outlets serve specific purposes - whether for lighting, charging, or tools - helps maintain balanced electrical loads and highlights areas for improvement as your needs evolve.
Maintain and Organize Your Electrical System
Keeping your electrical system in good shape is essential for a safe and dependable workshop. Regular maintenance combined with organized record-keeping helps prevent costly repairs and reduces the risk of hazards.
Regular Inspections and Maintenance
Plan for yearly inspections to catch potential issues before they become serious. According to the National Fire Protection Association (NFPA), electrical failures are a major cause of workshop fires, making these inspections a critical step in protecting both your equipment and your safety[1].
Inspect outlets and breakers for wear, damage, or signs of overheating. Ensure all connections are secure and test GFCI outlets regularly to confirm they’re functioning correctly. Pay close attention to outlets that power high-demand tools, as these are more likely to show signs of stress.
Common problems include loose connections, tripped breakers, worn receptacles, and malfunctioning GFCI outlets[1][2]. Address these by tightening connections, replacing damaged components, or resetting breakers. For circuits powering heavy-duty tools, watch for warning signs like warm outlet covers or frequently tripped breakers, which could indicate an overload.
Clean dust and debris from panels and outlets as part of your inspection routine. Workshop environments often have sawdust, metal shavings, and moisture, all of which can pose risks to electrical components. Regular cleaning can help extend the life of your system.
If you make significant equipment changes, schedule an inspection to assess any adjustments to your power needs. After each inspection, document your findings to guide future maintenance efforts.
Record and Organize Electrical Details
Good record-keeping simplifies managing your electrical system. Keep detailed, up-to-date records whenever you make electrical changes, noting the date, type of upgrade, and any components replaced[1].
Your records should include:
- Outlet locations and circuit assignments
- Voltage and amperage ratings
- GFCI protection status for each outlet
- Tools connected to specific circuits
- Maintenance schedules, inspection dates, and repair details
Store this information in both digital and physical formats. Digital records are easy to search and back up, but physical copies provide a reliable fallback if your digital system fails.
Label your electrical panel clearly with detailed circuit descriptions. Instead of vague labels like "Workshop 1", use descriptions such as "Table Saw – North Wall" or "Workbench Outlets – East Side." This approach simplifies troubleshooting when you need to identify a specific breaker.
Use Tool Management Platforms Like Toolstash

Digital tools like Toolstash can make record-keeping even easier. With Toolstash, you can log maintenance dates, update circuit maps, and securely store your records for quick access.
Toolstash’s features allow you to track each tool’s electrical requirements, including voltage, amperage, and whether it needs a dedicated circuit[5]. This helps you manage your equipment’s overall power demand and ensures circuits are allocated properly.
You can also use the platform to schedule routine maintenance and inspections, like annual checks, GFCI testing, and circuit load reviews. Plus, Toolstash’s secure storage ensures your records stay safe, even if physical copies are lost or damaged.
Conclusion: Build an Efficient and Safe Workshop
Setting up your workshop with well-placed outlets is more than just a convenience - it's about creating a space that's both safe and productive. The trick lies in balancing your current needs with future demands, all while keeping safety front and center.
Strategic outlet placement, tailored to your workflow, can make a world of difference. Think about where your tools are located and how you move around the space. By placing outlets where they're actually needed, you’ll save time, reduce interruptions, and avoid the hassle of constantly repositioning equipment.
Don’t overlook safety measures like installing GFCI outlets in areas prone to moisture, dedicating circuits to high-power tools, and following local electrical codes. These steps not only protect you but also safeguard your investment in tools and equipment. Poor planning often leads to over-reliance on extension cords, which are not only a tripping hazard but a common cause of electrical fires.
Planning ahead pays off. By designing an electrical system that can handle future tools and upgrades, you’ll avoid costly fixes and unnecessary headaches down the line. Adding extra circuits and outlets now ensures your workshop can grow with your ambitions.
Finally, keep everything organized. Platforms like Toolstash can help you track tool specs and circuit assignments, making it easier to manage your setup. A thoughtfully designed electrical system turns a simple collection of tools into a well-oiled workspace. Assess your power needs, follow safety guidelines, and keep detailed records. With these steps, you'll have a workshop that's not just functional but a pleasure to work in.
FAQs
What should I consider when calculating the total power needs for my workshop?
To figure out how much power your workshop needs, start by listing every tool and piece of equipment you’ll be using, along with their power ratings (usually measured in watts or amps). Think about whether you’ll be running multiple tools at the same time and calculate their combined power usage. Be sure to include things like lighting, heating or cooling systems, and any other electrical devices in your total.
For both safety and smooth operation, make sure your workshop’s electrical setup can handle the load without strain. It’s smart to consult an electrician to double-check your numbers and ensure your circuit breakers and wiring can handle the demand. Planning ahead can save you from overloading circuits or dealing with expensive fixes down the road.
How can I plan outlet placement to accommodate future tools and upgrades?
To keep your workshop ready for future upgrades and new tools, start by evaluating the tools you currently use and think about what you might add down the line. Pay attention to the power needs of larger equipment - some heavy-duty tools may require higher voltage, like 240V. Make sure your outlets can handle these demands.
It’s a good idea to install more outlets than you think you’ll need. Place them in convenient spots, such as along workbenches or near storage areas, so they’re always within reach. Consider a mix of standard and high-capacity outlets to meet different power requirements. Taking these steps now can save you headaches later and ensure your workspace stays functional as your tool collection expands.
What safety precautions should I follow when installing outlets in damp areas of my workshop?
When setting up outlets in areas of your workshop prone to moisture - like near sinks or in basements - safety should be your top priority. Installing Ground Fault Circuit Interrupter (GFCI) outlets is crucial in these spots. These outlets are designed to cut power immediately if they detect an electrical fault, reducing the risk of electric shock. To further protect your outlets, use weatherproof covers to shield them from any moisture exposure.
Before starting any electrical work, always switch off the power at the circuit breaker. Use a voltage tester to double-check that the area is safe to work on. If you're unsure about how to install outlets or need guidance on local electrical codes, it's always wise to consult a licensed electrician. Safety and compliance are non-negotiable when working with electricity.