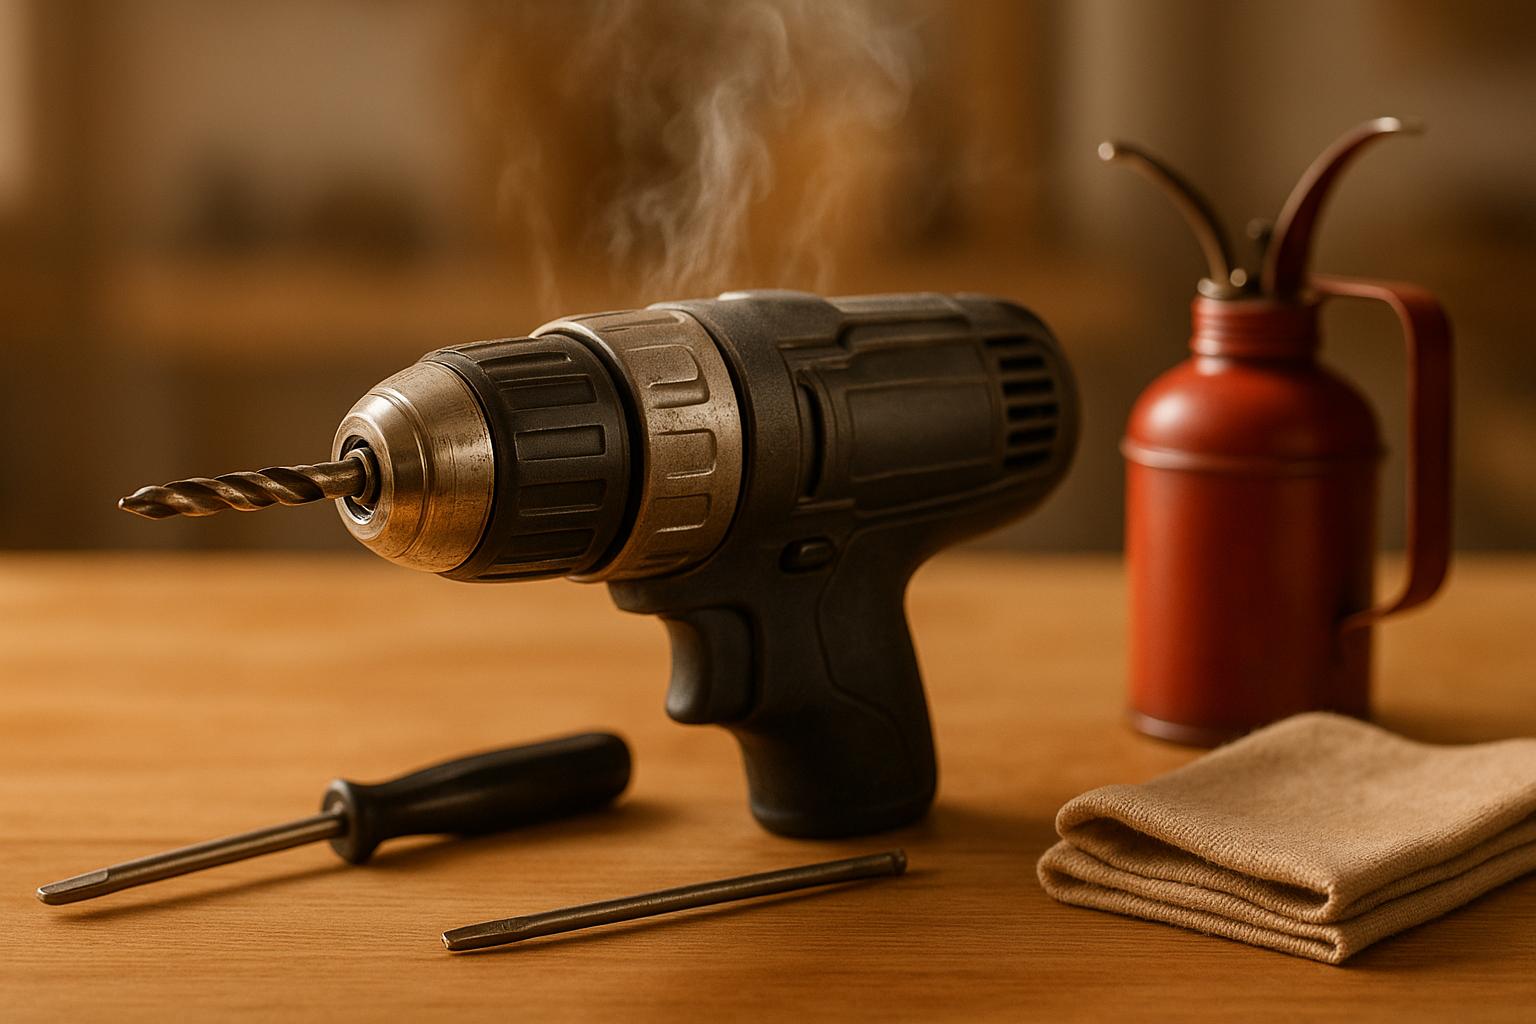
Overheating power tools can interrupt your work and pose safety risks. Common causes include blocked air vents, overloading, extended use, worn parts, incorrect power supply, and high temperatures. To fix overheating:
- Turn off and cool down: Stop using the tool immediately and let it cool for at least 30 minutes.
- Inspect for damage: Check for clogged vents, worn components, or unusual smells.
- Clean air vents: Use compressed air or a brush to remove dust and debris.
- Lubricate moving parts: Apply the correct lubricant to bearings and gears.
- Replace worn parts: Look for worn brushes, dull blades, or damaged bearings and replace them.
- Use tools properly: Avoid overloading, take breaks, and match tools to the job.
- Check power supply: Ensure cords and batteries are in good condition and provide adequate power.
Regular maintenance (cleaning, lubrication, and inspections) prevents overheating and extends tool life. If problems persist, consult a professional or consider replacing the tool if repairs exceed 50% of its value. Tools like Toolstash can help track maintenance and troubleshooting.
Why Your Power Tools Keep Overheating and How to Fix It || GZ INDUSTRIAL SUPPLIES
Why Power Tools Overheat
Overheating happens when a tool's cooling system can’t keep up with the heat it generates. Several factors can disrupt this balance, leading to overheating.
Main Causes of Overheating
Blocked air vents are one of the leading reasons power tools overheat. Over time, dust, sawdust, and debris can clog the ventilation openings, restricting airflow. Without proper circulation, the heat inside the tool builds up quickly, causing temperatures to spike.
Overloading the tool puts excessive strain on the motor. This might happen if you’re drilling through thick metal without the right bit, cutting materials that exceed a circular saw’s capacity, or applying too much pressure during use. In these scenarios, the motor works harder, drawing more current, which generates extra heat.
Extended use without breaks doesn’t allow the tool’s cooling system to work effectively. Taking regular breaks gives the tool time to cool down and prevents thermal buildup.
Worn internal parts can also lead to overheating. Components like old brushes, damaged bearings, or worn gears increase friction, forcing the motor to work harder and heat up faster.
Incorrect power supply issues are another common cause. Using a long or thin extension cord, or one that’s damaged, can result in voltage drops. This forces the motor to draw more current, leading to overheating. Similarly, poor electrical connections - whether at the outlet or within the tool - can create similar problems.
High ambient temperatures make it harder for tools to cool down. Working in hot conditions, such as attics, engine compartments, or under direct sunlight, exacerbates overheating by reducing the tool’s ability to dissipate heat effectively.
Parts Most Affected by Heat
The motor is the most vulnerable part since it generates the majority of the heat. Excessive heat can damage motor windings, reducing the tool’s lifespan.
Wiring and electrical connections are also at risk. Prolonged exposure to high temperatures can cause insulation to melt, leading to short circuits or electrical failures.
Carbon brushes in brushed motors wear down faster when exposed to heat. Although designed to wear out gradually, excessive heat accelerates this process significantly.
Bearings and bushings that support rotating parts can seize or wear out prematurely if the lubrication breaks down due to heat. This creates a cycle where increased friction generates even more heat.
Electronic components, like speed controllers and safety circuits in modern tools, are particularly sensitive to high temperatures. Overheating can cause these systems to malfunction or shut down unexpectedly.
Causes and Effects Summary Table
| Cause of Overheating | Most Affected Parts | Impact on Performance/Lifespan |
|---|---|---|
| Blocked air vents | Motor, wiring | Reduced cooling, shorter lifespan |
| Overloading | Motor, bearings | Increased heat, possible failure |
| Continuous use without breaks | Motor, brushes | Thermal buildup, reduced efficiency |
| Worn parts | Bearings, gears, brushes | Friction, heat, damage |
| Incorrect power supply | Motor, wiring | Voltage drop, overheating |
| High ambient temperature | All internal components | Accelerated wear, risk of failure |
Understanding these causes allows you to pinpoint potential problems and take action. Many overheating issues stem from avoidable maintenance lapses or improper tool use. With the right care and attention, you can keep your tools running smoothly and safely.
Safety Steps Before Starting Repairs
Handling an overheating power tool demands strict attention to safety. Taking the right precautions not only keeps you safe but also helps avoid causing further damage to your equipment.
First Safety Actions
Turn off, unplug, and let the tool cool for at least 30 minutes as soon as you notice signs of overheating, like excessive heat, smoke, or a burning smell[1]. This step prevents accidental startups and minimizes the risk of electrical shock.
Once the tool has cooled, inspect it for visible damage. Look for melted plastic, exposed wires, cracks in the casing, or unusual odors near the air vents, power cord, or housing. If you spot any of these issues, hold off on repairs until you’ve identified the problem[1].
Use a flashlight to examine the vents and document any damage you find. This inspection can help you decide whether the repair is manageable or if it’s time to call in a professional.
Safety Gear and Manufacturer Instructions
Before starting any repairs, equip yourself with safety gear, including safety glasses, insulated gloves, and a dust mask. This protects you from debris, electrical contact, and fine particles released during cleaning[1].
Refer to the manufacturer’s safety guidelines specific to your tool. These instructions, found in the user manual, on the manufacturer’s website, or printed directly on the tool, outline essential safety measures, proper handling techniques, and which repairs should only be performed by authorized technicians. Ignoring these guidelines can lead to additional hazards and may void your warranty[1].
Work in a safe environment - a well-ventilated, dry space with a non-conductive surface. Keep a fire extinguisher within reach, just in case[1].
If these steps don’t resolve the issue, it’s time to consider professional help.
When to Call a Professional
If your tool continues to overheat after performing basic safety checks and maintenance, professional assistance may be necessary. Electrical problems - like exposed or frayed wires, damaged capacitors, or other failing components - should never be handled as a DIY project. These issues can pose serious fire and electrocution risks[1].
Persistent overheating, even after cleaning vents and addressing surface damage, could point to deeper mechanical or electrical problems that require specialized tools and expertise. Likewise, visible internal damage - such as melted components, charred wiring, or unusual motor noises - is a clear sign that professional evaluation is needed.
Don’t forget to check your warranty terms. Many power tools come with warranties that could be voided by unauthorized repairs. When in doubt, reaching out to a professional is often the safest and most cost-effective option.
Step-by-Step Overheating Fix Guide
If your power tool is overheating, don’t worry - this guide will walk you through solutions to address the issue systematically. These steps cover the most common causes of overheating and can help get your tool back in working order.
Clean Air Vents and Cooling Areas
Start by clearing out dust and debris from the tool’s air vents and cooling channels. Use compressed air to blow out accumulated particles, directing the airflow from the inside of the vents outward. Stick to short bursts of air and hold the can upright to avoid introducing moisture into the tool.
For a deeper clean, use a soft-bristled brush to scrub vent openings, but steer clear of liquid cleaners since moisture can harm the electrical components. Pay close attention to the intake and exhaust vents - these areas are vital for maintaining proper airflow.
If your tool has visible cooling fins on the motor housing, check for dust buildup between them. These fins are designed to dissipate heat, and clogged fins can seriously reduce their effectiveness. Use a thin brush or compressed air to clean between each fin thoroughly.
Once the vents and cooling areas are clean, move on to reducing friction by lubricating the tool's moving parts.
Lubricate Moving Parts
Proper lubrication is key to minimizing friction and heat buildup. Refer to your tool’s manual for the recommended lubrication schedule and type of lubricant to use. Some tools require lightweight machine oil, while others may need heavier grease for their gearboxes.
Focus on lubricating bearings, gears, and gearbox components. If the manual provides instructions for accessing these areas, remove the necessary panels or covers. Apply lubricant sparingly - a few drops of oil on bearings or a small amount of grease on gear teeth is usually enough. Once applied, briefly operate the tool to ensure the lubricant is evenly distributed.
Check and Replace Worn Parts
Inspect all accessories, such as blades, bits, and brushes, for signs of wear. Dull or damaged cutting tools make the motor work harder, leading to overheating. Examine saw blades, drill bits, and router bits for chips, cracks, or worn edges, and replace them as needed.
Pay special attention to carbon brushes, which conduct electricity to the motor. If they’ve worn down beyond the minimum length specified by the manufacturer, replace them promptly. Worn brushes can disrupt electrical contact, causing the motor to overheat. Similarly, check the bearings - if they feel rough when turned by hand or produce grinding noises, they need replacement.
For example, an angle grinder might overheat due to clogged vents and a dull cutting disc. After cleaning the vents with compressed air and replacing the worn disc with a sharp one, the grinder can return to normal operation, showcasing the value of regular maintenance.
Once parts are replaced, adjust your tool usage habits to prevent future overheating.
Proper Tool Usage to Prevent Overheating
Using your tool correctly can make a big difference in preventing overheating. Match the tool’s speed to the material and task. Running the tool too fast or using improper angles - especially with hard materials or large-diameter bits - can cause both the motor and bits to overheat. Refer to your manual for the recommended settings.
Take breaks during heavy use to let the motor cool down. Letting the tool run unloaded for about a minute after intense operation can help dissipate heat and protect internal components. This simple habit can significantly extend the life of your tool.
Also, avoid forcing the tool through tough materials. Let it work at its intended pace instead of applying excessive pressure, which can increase friction and heat. If progress feels slow, double-check that you’re using the right tool and accessories for the job.
Check Power Supply Setup
Ensure your power supply is up to the task. For corded tools, verify that you’re using an extension cord with the correct size and rating. Undersized cords can cause voltage drops, forcing the motor to draw more current and overheat.
For cordless tools, use fully charged batteries. Weak or old batteries may not provide sufficient power, making the motor work harder and heat up. Replace batteries that no longer hold a full charge or take much longer to complete tasks.
Lastly, inspect all electrical connections for tightness and signs of corrosion. Loose or corroded connections can create resistance, leading to heat buildup and reduced power delivery. Clean battery terminals and cord connections regularly to maintain a solid electrical connection.
Maintenance and Prevention Tips
Keeping your power tools in top shape starts with regular maintenance. A consistent care routine not only helps prevent overheating but also extends the life of your tools while ensuring they perform at their best. Addressing minor issues early can save you from expensive repairs down the road.
Regular Cleaning and Maintenance
Set up a maintenance schedule that fits how often you use your tools. For heavily used tools like drills and saws, clean vents and housings after every use, lubricate moving parts at least once a month, and check blades or bits for sharpness before starting a project. Even tools that sit idle most of the time should get a full inspection every three months[2].
Pay special attention to lubrication and keeping accessories sharp - this reduces friction and prevents unnecessary strain on the motor[2][4]. For example, if you notice squealing noises during operation, it’s a clear sign that lubrication is overdue.
A simple daily habit, such as cleaning vents and lubricating key components, can make a big difference. In fact, one routine like this has been shown to reduce overheating incidents by 40%. To stay organized, create a checklist to monitor critical areas like air vents, moving parts, and cutting accessories. Modern tool management platforms can make tracking these tasks even easier.
Track Maintenance with Toolstash

Managing multiple tools can get overwhelming, but Toolstash makes it straightforward. This platform keeps detailed maintenance records for each tool, including schedules, repair history, and recurring issues.
You can log essential tasks such as cleaning vents, lubricating parts, and inspecting components, along with the dates they were completed. These records help you plan future maintenance and quickly spot tools that might need extra care.
Toolstash also organizes your tools with smart categorization and sends reminders for important tasks. You can set up recurring alerts based on how often you use specific tools - weekly for heavy-duty ones or monthly to quarterly for less frequent use. This way, you’ll never miss a cleaning or lubrication session, keeping your tools in peak condition all year long.
Get DIY Help from Toolstash
If your regular maintenance routine doesn’t stop a tool from overheating, Toolstash’s AI chat can guide you through troubleshooting steps tailored to your situation. Instead of flipping through multiple manuals or scouring forums, you’ll get quick, specific advice for diagnosing and fixing common problems.
For instance, if you log an overheating issue, the system analyzes the tool’s maintenance history and usage patterns to suggest targeted solutions. Whether it’s identifying worn carbon brushes or addressing another common problem, the AI provides step-by-step guidance. This can save you from costly professional repairs or unnecessary replacements.
When to Replace or Upgrade Tools
Even with regular maintenance, there comes a time when a tool simply can't be salvaged. Recognizing when repairs no longer make sense is crucial for safety and cost-effectiveness. Knowing the signs of a failing tool and weighing repair versus replacement costs can save both time and money.
Signs You Need a New Tool
If your tool consistently overheats despite thorough cleaning and maintenance, it’s likely suffering from internal damage. For example, if you've cleared vents, lubricated parts, and replaced worn components but it still runs dangerously hot, the damage may no longer be worth fixing.
A burning smell or strange noises are major warning signs. These often point to serious issues like damaged motor windings, failing bearings, or electrical problems - repairs that can cost more than simply buying a new tool [1][3].
Frequent breakdowns are another clear indicator. If a tool requires constant repairs or develops new issues every few weeks, it’s unlikely to regain reliable performance. At some point, it’s better to cut your losses and invest in a replacement.
The age and usage history of a tool also matter. Consumer-grade tools typically last 5–10 years with proper care [2]. Professional-grade tools can last longer, but once a tool nears or exceeds its expected lifespan and starts showing signs of decline, replacing it is often the smarter choice.
Electrical problems, such as sparking, intermittent power, or tripping circuit breakers, are immediate safety concerns. These issues can pose serious risks, including fires or electrocution, and should never be ignored, regardless of repair costs.
Repair Costs vs. Replacement Costs
A good rule of thumb is the 50% rule: if repair costs exceed half the price of a new tool, it’s better to replace it [2][4]. This approach not only considers the immediate expense but also anticipates future reliability issues with older tools.
Get a repair estimate and compare it to the cost of a new tool. Be sure to include both parts and labor in your calculations, and check if the repair work comes with a warranty. If the tool is still under warranty, repairs or even a replacement might be free. However, if the warranty recently expired, it could be a sign that the tool is nearing the end of its natural lifespan.
The availability of replacement parts can also influence your decision. For older or discontinued models, parts may be expensive or difficult to source. If spare components are priced significantly higher than standard parts or require special orders, those costs should factor into your choice.
For professionals or avid DIYers, downtime is another consideration. Waiting weeks for repairs or parts can lead to lost productivity. In such cases, renting or borrowing a replacement tool might be necessary while deciding whether to repair or replace.
To make an informed decision, use clear financial and safety metrics:
| Situation | Repair | Replace |
|---|---|---|
| Minor overheating, tool under 3 years old | ✓ | |
| Persistent overheating after maintenance | ✓ | |
| Burning smell or electrical issues | ✓ | |
| Repair cost over 50% of new tool price | ✓ | |
| Multiple repairs in past year | ✓ | |
| Tool over 8 years old with major issues | ✓ |
Tracking your tool’s repair and maintenance history can also help. Tools with frequent repairs or escalating costs are strong candidates for replacement. Platforms like Toolstash can simplify this process by organizing repair logs and maintenance records.
Finally, prioritize safety above all else [3][5]. If a tool poses risks of fire or injury, it’s not worth keeping - no matter how much the repairs might cost. Unsafe equipment can lead to accidents that are far more costly than replacing the tool itself.
Conclusion: Keep Your Power Tools Running Well
Keeping power tools in top condition boils down to a few straightforward habits: cleaning them regularly, lubricating moving parts, and using sharp, well-maintained blades and bits. These small but essential steps not only help your tools last longer but also ensure your safety while working.
If your tool starts overheating, emits a burning smell, or shows signs of reduced performance, turn it off immediately and let it cool. Ignoring these warning signs can lead to damage or even injury. Dull blades and bits are another hazard - they can cause dangerous kickbacks, so always keep them sharp.
To make maintenance easier and avoid missing important tasks, consider using Toolstash. This handy tool helps you stay on top of upkeep with smart reminders and detailed logs, ensuring your tools get the attention they need. Plus, its AI chat feature offers quick DIY troubleshooting tips tailored to your specific tools, making problem-solving a breeze.
Beyond maintenance, store your tools in clean, dry areas, and always use them as the manufacturer intended. A consistent care routine, paired with proactive tracking through Toolstash, keeps your tools running smoothly, improves safety, and extends their lifespan.
FAQs
What should I do if my power tool starts overheating while I’m using it?
If your power tool begins to overheat, the first step is to stop using it immediately. Disconnect it from the power source and place it in a well-ventilated area to cool down.
Once the tool has cooled, take a moment to inspect it. Look for any dirt, debris, or signs of damage that could be causing the problem. Clean it thoroughly, paying special attention to the vents to ensure they’re not blocked. Also, double-check that you’re operating the tool according to its intended purpose. Regular cleaning and proper use can go a long way in preventing overheating issues down the line.
How can I tell if my power tool's overheating problem needs professional repair or if I can fix it myself?
If your power tool keeps overheating despite cleaning, lubricating, and using it correctly, it might be time to consider professional repair. This is especially true if you notice unusual noises, a burning smell, or any visible damage. While minor overheating from heavy or prolonged use can often be fixed by simple steps - like letting the tool cool down and checking for blockages in the vents or fans - persistent problems may signal something more serious.
When internal damage or recurring issues arise, reaching out to a professional is the safer route. This prevents further damage to the tool and helps avoid any safety hazards. Trust your instincts and evaluate the situation based on how severe or frequent the problem is.
What can I do to keep my power tools from overheating in the future?
To keep your power tools in good shape and avoid overheating, start by cleaning off dust and debris frequently - clogged vents can block airflow and cause problems. Make it a habit to lubricate moving parts to cut down on friction and reduce wear over time. Be mindful of the tool's limits; using it within its recommended capacity prevents unnecessary strain. Stick to the duty cycle guidelines provided by the manufacturer, and always ensure proper ventilation while the tool is in use. These straightforward practices can go a long way in maintaining your tools and ensuring they perform efficiently.