DIY projects often fail due to missed deadlines, budget overruns, and lack of structure. Milestone tracking can fix this. By breaking your project into key checkpoints, you can maintain focus, manage costs, and finish on time. Here's how to make it work:
- Define milestones: Focus on major achievements, not every small task. For example, in a kitchen remodel, milestones could include "demolition complete" or "cabinets installed."
- Set SMART goals: Make them Specific, Measurable, Achievable, Relevant, and Time-bound. Example: "Complete drywall installation by 11/10/2025."
- Use tools: Gantt charts, spreadsheets, or apps like Toolstash help track progress and organize resources.
- Plan for delays: Add a 10–20% time buffer to account for unexpected issues.
- Track and adjust: Regularly review progress and update your timeline to stay on track.
Milestone tracking simplifies complex projects, reduces stress, and ensures steady progress. Whether you're renovating or crafting, this approach keeps you organized and motivated.
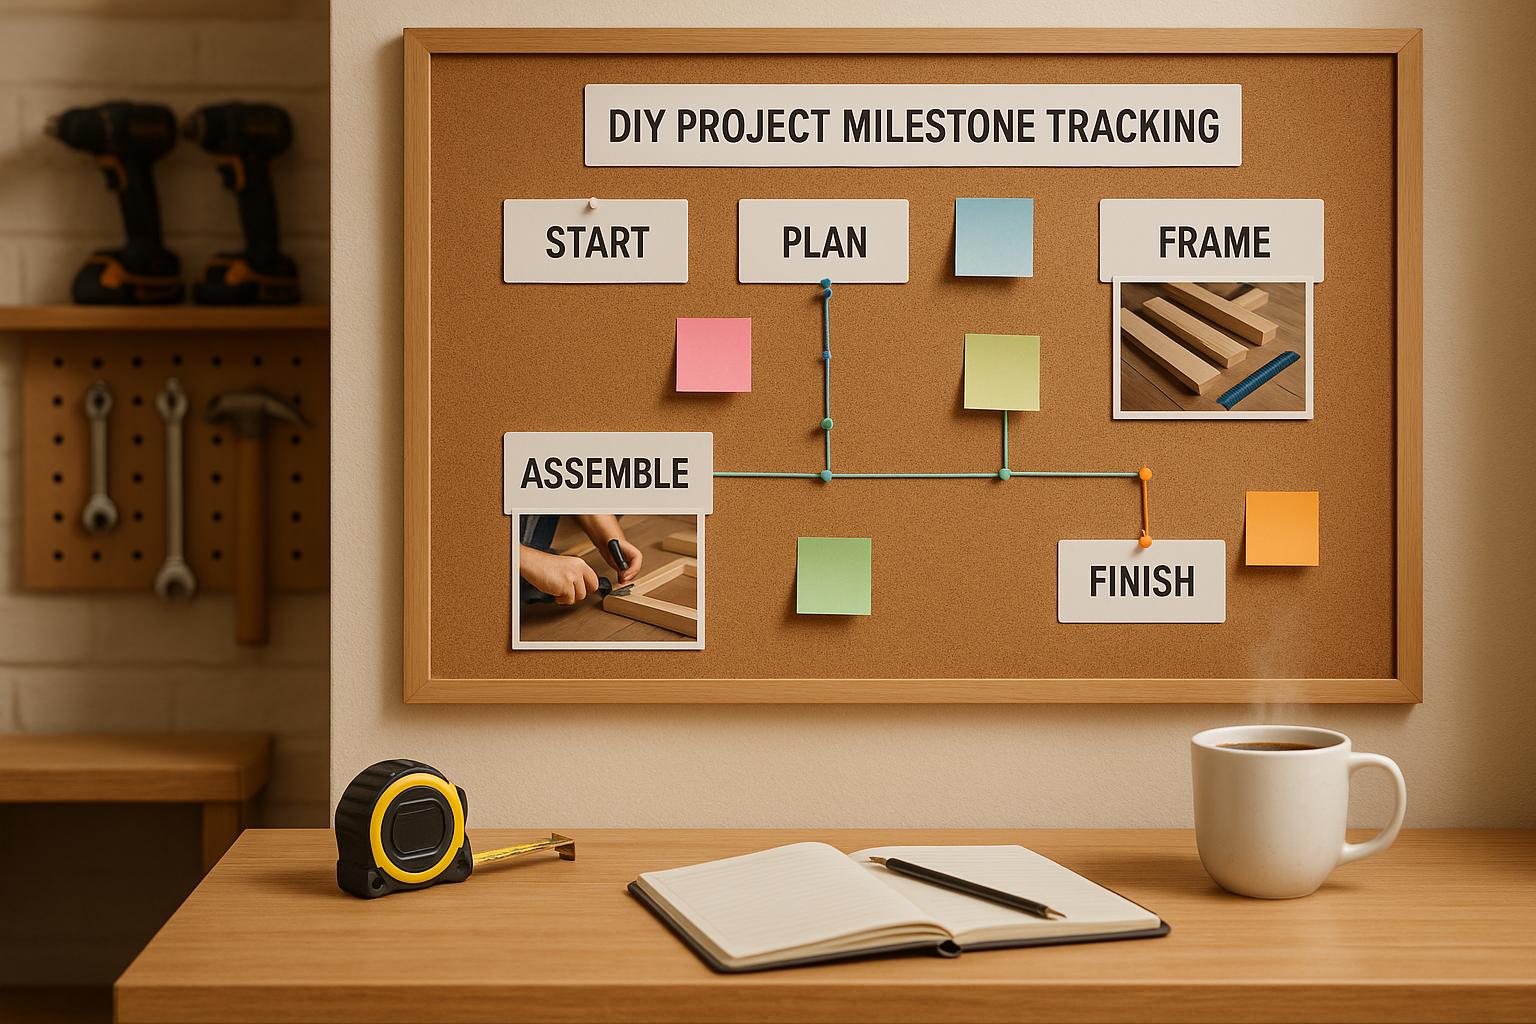
DIY Project Milestones: The Basics
What Are Milestones and Why Do They Matter?
Milestones are like the guideposts of a project, marking the completion of key phases. They’re those satisfying moments when you can step back and say, “This is a big step forward.” Unlike everyday tasks, milestones signify major progress toward your ultimate goal.
Take a kitchen remodel, for example. Milestones could include "demolition complete", "cabinets installed", or "final inspection passed." In woodworking, you might have milestones like "lumber milled", "joinery complete", or "finish applied." Breaking a project into these phases not only makes it feel more achievable but also keeps you motivated to push forward.
On project management tools like Gantt charts, milestones are often represented by diamond symbols [1], making them stand out from the smaller, routine tasks.
Milestones vs. Tasks: What's the Difference?
To stay on track with a project, it’s crucial to understand how milestones differ from tasks. Tasks are the nitty-gritty steps you take, while milestones represent the significant achievements those steps build toward.
| Aspect | Milestones | Tasks |
|---|---|---|
| Definition & Purpose | Key checkpoints or major events | Specific, actionable steps |
| Example (Home Renovation) | "Foundation complete" | "Pour concrete for footings" |
| Example (Crafting) | "Design finalized" | "Sketch three layout options" |
| Frequency | Occasional, high-level | Numerous, detailed |
| Purpose | Mark phase completion | Execute individual tasks |
For instance, in a bathroom renovation, "install new tile flooring" is a task - it’s the work you do. But "flooring installation complete" is the milestone, marking the end of several connected tasks like measuring, cutting, laying, grouting, and sealing tiles. Similarly, in crafting, steps like "gather materials", "cut fabric pieces", and "sew seams" all lead to the milestone of completing a prototype.
Grasping this distinction helps you organize projects better and keeps you focused on the bigger picture.
How Milestone Tracking Helps DIY Enthusiasts
Once you’ve identified milestones as the key markers of progress, tracking them can make even the most complex DIY project feel manageable. Juggling a full-time job, family responsibilities, and a home improvement project? Clear milestones can be the difference between feeling overwhelmed and staying on course.
Milestones help prevent what’s often called “project drift.” Without them, it’s easy to get bogged down in endless small tasks, losing sight of the overall progress. A milestone like "walls painted by April 10th" ensures you focus on completing an entire phase rather than just chipping away at random details.
They also bring accountability into the mix. For example, setting a milestone like "electrical rough-in complete by March 15th" creates a firm deadline and a tangible goal, unlike a vague plan to "work on the wiring eventually" [2]. Sharing these milestones with others can further reinforce your commitment.
Another benefit? Better resource planning. Knowing you need to hit "plumbing inspection passed" by a specific date lets you schedule inspections early and ensures you’ve got all the tools and materials on hand. Tools like Toolstash can even help you track your equipment, manage its location, and figure out whether you need to borrow or buy additional tools.
And let’s not forget the morale boost. Each milestone is a natural point to pause and celebrate your progress. These moments of recognition keep you motivated, even when the project feels tough. With a clear structure guiding you, you can channel your energy into executing the project instead of constantly wondering if you’re moving in the right direction.
How to Plan and Structure DIY Project Milestones
Setting SMART Goals for Your DIY Project
When tackling a DIY project, start by setting SMART goals - Specific, Measurable, Achievable, Relevant, and Time-bound. These help transform general ideas into actionable steps with clear deadlines [2]. For example, instead of saying, "I want to build a deck", a SMART goal would be, "Complete the deck foundation by 11/15/2025." This approach defines both the task and the timeline, making your progress easier to track.
Be as specific as possible: say "install kitchen cabinets" rather than "work on kitchen." Ensure your goals are measurable, like "hang all 12 upper cabinets", and make sure they’re realistic based on your skills and resources. Each goal should tie back to the larger project and include a deadline in the MM/DD/YYYY format. With this level of detail, you’ll have a solid foundation to keep your project on track.
Breaking Large Projects into Smaller Milestones
Once you’ve established SMART goals, break your project into smaller, manageable phases. For instance, a home renovation might include phases like design, obtaining permits, site preparation, and construction [1]. Similarly, a woodworking project could involve design, material prep, assembly, and finishing. Each phase naturally leads to setting specific milestones.
Take a kitchen remodel as an example. Key milestones might include "electrical rough-in complete", "drywall installed and painted", and "flooring installation finished." Aim for 3–5 major milestones per project [3], enough to track meaningful progress without overwhelming yourself with unnecessary details.
Order your milestones logically, based on dependencies. For instance, you can’t install cabinets until the electrical work is done. This step-by-step planning helps avoid bottlenecks and keeps your project moving forward.
Creating Timelines and Planning for Delays
With your milestones defined, the next step is creating a realistic timeline. Start by researching how long similar projects have taken for others at your skill level [2]. For example, if you’re building your first deck, look for examples or expert estimates to guide your planning.
Always include a buffer of 10–20% to account for unexpected challenges. A "simple" task like installing an outlet might uncover outdated wiring, or tiling a bathroom could reveal hidden water damage. This extra time helps keep surprises from derailing your schedule.
Assign deadlines in MM/DD/YYYY format, like "foundation excavation complete by 09/15/2025" or "concrete poured and cured by 09/25/2025." These specific dates create accountability and allow you to monitor your progress more effectively.
Be mindful of potential delays, such as seasonal challenges - pouring concrete in freezing weather can be tricky, and lumber deliveries might slow during peak construction months. For tool-heavy projects, services like Toolstash can help you track and secure the tools you’ll need for each milestone, minimizing downtime caused by missing equipment.
Finally, revisit your timeline regularly. If one milestone takes longer than expected, adjust the schedule for the remaining tasks to keep things realistic and achievable. This flexibility ensures your project stays on track, even when faced with unexpected hurdles.
Tools and Methods for Tracking DIY Milestones
Digital Tools for DIY Project Tracking
When it comes to managing your DIY milestones, Gantt charts are a go-to tool. They visually map out your tasks, dependencies, and milestones - often represented by diamond-shaped markers. Imagine a garden landscaping project: milestones like "Design Approved", "Materials Delivered", "Planting Completed", and "Final Inspection" can all be plotted on a timeline. Plus, if delays happen, Gantt charts make it simple to adjust task deadlines and keep your project on track.
If you prefer something more customizable, spreadsheets are a fantastic option. With columns for milestone names, target dates (formatted as MM/DD/YYYY), actual completion dates, and status updates, you can track progress in detail. Add formulas to calculate completion percentages or use color-coded formatting to highlight overdue tasks. This method gives you complete control over how you visualize and manage your project.
For more complex projects or those involving a team, project management platforms like ProjectManager are worth considering. These platforms offer real-time dashboards, collaborative tools, and automated alerts. For instance, you can set reminders to ensure critical tasks - like completing an "electrical rough-in" - aren’t overlooked. These tools are particularly helpful for large-scale renovations or multi-person projects.
While tracking milestones is essential, having the right tools at your fingertips can make all the difference.
Paper-Based Tracking Methods That Work
If you’re more of an analog enthusiast, paper-based options can be just as effective. Whiteboards are perfect for visualizing updates and making quick adjustments during planning sessions. Notebooks offer a portable solution, allowing you to jot down notes and updates on the go - whether you're at the hardware store or on-site. Meanwhile, printed calendars provide a clear, straightforward way to map out deadlines and dependencies over weeks or months. These methods are simple, accessible, and don’t require a power source.
Using Toolstash for Milestone and Tool Management

While tracking your milestones is key, managing your tools is just as important. That’s where Toolstash comes in. This platform ensures your tools are organized and ready when you need them, helping you avoid frustrating delays.
Toolstash uses inventory and location tracking to make sure you can quickly find the tools you need. For example, when you hit the "install kitchen cabinets" milestone, you’ll know exactly where to find your level, drill bits, and measuring tools. Its smart categorization system further simplifies the process by logically organizing your equipment.
One standout feature is AI Snap, which allows you to add tools to your inventory simply by snapping a photo. As your DIY projects grow in scope, this feature makes it easy to keep track of your expanding collection. Additionally, the AI Chat Assistance offers real-time DIY advice based on your current tool inventory, helping you tackle challenges that might otherwise slow you down.
Toolstash even helps with tool sharing. Its lending and borrowing management feature keeps track of tools you’ve loaned out or borrowed. So, if you need a specialized tool - like a tile saw for a bathroom renovation milestone - you’ll know exactly who to ask, saving you the expense of buying something you might only use once.
How To Create a Milestone using Microsoft Project
Common DIY Milestone Tracking Problems and Solutions
Even with careful planning, DIY projects often hit snags. In fact, over 50% of these projects experience scope creep or poor time estimation [2]. The good news? Most of these common challenges have simple fixes that can strengthen your approach to milestone tracking.
How to Identify and Control Scope Creep
Scope creep happens when project requirements keep evolving - new features get added, extra tasks pile up, or changes are made without adjusting timelines. It’s like trying to hit a constantly moving target.
To keep scope creep in check, start by clearly documenting your initial goals and milestones. When new ideas pop up, evaluate whether they align with your original objectives. If they do, adjust your timeline, budget, or resources only after a formal review. Regular milestone reviews - weekly, for example - are key to spotting deviations early. If an idea doesn’t fit the current project, save it for the next one.
Once you’ve tackled scope creep, the next hurdle is improving your time estimates.
Improve Time Estimates
Underestimating how long tasks will take is a common pitfall for DIYers. Poor time estimation ranks among the top three reasons for project delays [2], often leading to frustration and derailed schedules.
The solution? Break large tasks into smaller, more manageable pieces, and assign time estimates to each. Add a 20–30% buffer to account for unexpected hiccups. Drawing from past experiences can also help. For instance, if replacing a bathroom faucet took you 3 hours before, plan for at least that amount of time - even if this project seems simpler. Keep track of how long tasks actually take to refine your estimates for future projects.
But even with great time management, poor tool organization can still trip you up.
Avoiding Delays from Poor Tool Management
For DIY projects, tools are your lifeline. And yet, according to the Project Management Institute, 37% of project failures are due to poor resource management [2]. Misplaced, borrowed, or broken tools can grind your progress to a halt.
This is where Toolstash steps in. It’s a tool management platform designed to keep your projects running smoothly. With its inventory tracking, you’ll always know what tools you have, and the location tracking feature ensures you can find them when you need them. For example, at a milestone like “install crown molding,” Toolstash helps you locate the exact tools required, eliminating unnecessary delays.
Adding new tools to your inventory is a breeze with the AI Snap feature - just snap a photo, and it’s logged. Smart categorization organizes your tools logically, so you can quickly grab what you need. Plus, the lending and borrowing management system tracks tools you’ve loaned out, ensuring you know who has them and when they’ll be returned. With secure data storage, all your tool records are easily accessible, turning potential setbacks into opportunities to stay on schedule and hit your milestones without a hitch.
Best Practices for Meeting Your DIY Milestones
Reaching DIY milestones takes persistence, focus, and a willingness to learn as you go. By staying organized and tracking your progress, you can turn obstacles into stepping stones.
Staying Motivated and Celebrating Progress
Keeping your motivation alive is essential, especially when you hit a rough patch or face unexpected hurdles. Breaking your project into smaller, manageable steps can make even the most daunting tasks feel achievable. Setting reminders and creating a clear plan for each step keeps you on track and minimizes overwhelm.
One effective way to stay engaged is by using visual tools. Progress boards, milestone charts, or digital dashboards let you see your accomplishments build over time. This visual feedback makes your progress feel more real and rewarding. Plus, celebrating small wins along the way is an excellent motivator. Marking completed milestones on a chart, sharing updates with friends or family, or even treating yourself to something small after hitting a key goal can keep your spirits high.
When challenges arise, flexibility is key. Adjusting your plans as needed ensures setbacks don’t derail your momentum. And as you celebrate each milestone, take the time to document your journey - it’s a valuable habit that will pay off in future projects.
Recording Progress and Learning from Each Project
Beyond motivation, systematically recording your progress can turn every DIY project into a learning experience. Keeping a detailed project journal, logging tasks and milestones with digital tools, or snapping photos at each stage provides a clear record of your journey. This documentation not only preserves your progress but also offers insights that can help you refine your approach in the future.
For example, jot down time estimates, material usage, and any unexpected challenges you encountered. These notes can reveal patterns, highlight what went smoothly, and pinpoint areas for improvement. Creating a "lessons learned" section in your documentation is especially helpful. Use it to capture what worked, what didn’t, and any surprises you faced. Reviewing these notes before starting your next project can save time and help you avoid repeating mistakes.
Templates or checklists can also streamline your documentation process, ensuring you consistently capture all the details you’ll need for future reference.
Using Secure Data Storage for DIY Projects
Just as tracking milestones keeps your project organized, secure data storage ensures your hard-earned insights and records are safe. Losing documentation, progress logs, or lessons learned can set you back significantly, forcing you to retrace your steps unnecessarily.
Platforms like Toolstash solve this problem by offering secure and accessible storage for all your project data. Whether it’s plans, progress photos, or notes, you can access your information from any device. Toolstash even includes AI-powered features, like automatically logging and categorizing new tools with just a photo, making it easier to stay organized.
Regular reviews of your progress - such as weekly check-ins or milestone assessments - can also help you stay aligned with your timeline. A survey by ProjectManager found that 67% of users reported better on-time delivery after adopting milestone tracking and real-time dashboards [1]. These proactive reviews ensure small issues don’t snowball into major problems. Updating your milestone chart after each phase provides a clear picture of what’s done and what’s left, turning your documentation into a powerful tool for managing your project effectively.
Conclusion: Mastering DIY Milestone Tracking
Tackling DIY projects can feel overwhelming, but a structured approach transforms them into achievable goals. By focusing on three key elements - clear planning, consistent monitoring, and effective tool management - you can break down even the most intimidating tasks into manageable milestones that get done.
The best DIYers know that tracking milestones is about more than just sticking to a schedule. It’s about staying accountable and keeping your momentum alive. Combining qualitative insights (like how well things are going) with quantitative measurements (like how much progress you’ve made) helps you stay on track while adapting to surprises along the way. Regular check-ins and small updates can prevent minor hiccups from turning into major setbacks.
Having the right tools at your fingertips is just as important. Platforms like Toolstash make it easier to manage your inventory, track tool locations, and even lend tools without confusion. Their AI-powered features, like AI Snap for quick inventory updates via photos and AI Chat for tailored DIY advice, save time and help you solve problems fast.
When it comes to tracking your progress, choose a method that fits the scale of your project. A simple checklist might be perfect for a weekend job, but bigger renovations can benefit from digital dashboards with automated reminders and visual progress trackers. The key is consistency - stick to your system, and you’ll see results.
Every project is a learning experience. Take note of what worked well and what didn’t, and use those lessons to refine your approach for future projects. Over time, you’ll build a personal library of insights that will make planning and executing your next milestones even smoother.
From setting SMART goals to using the latest tools, these strategies help you stay organized and motivated. When you can clearly track your progress, access your tools effortlessly, and apply what you’ve learned, you’re not just completing projects - you’re leveling up your DIY skills. Each success builds confidence, making future projects more enjoyable and less stressful.
FAQs
What’s the best way to use Gantt charts for tracking milestones in DIY projects?
Gantt charts are a handy tool for keeping your DIY projects organized and on schedule. They allow you to break your project into smaller, manageable tasks, set deadlines, and track progress visually. To get started, list out all the key milestones and the individual tasks needed to reach them. Next, assign start and end dates to each task and arrange them in chronological order on your chart.
As you move forward with your project, keep the chart updated. Mark off completed tasks and adjust timelines as necessary. This approach helps you stay focused and ensures you're making steady progress toward your goals. If you're looking for extra help, consider using project management tools designed to streamline the organization and tracking of all your DIY essentials.
How can I avoid scope creep when tracking milestones in a DIY project?
To keep your DIY project on track and avoid scope creep, start by setting clear goals and breaking them into specific, manageable milestones. Each milestone should include a firm deadline and clear criteria for measuring success.
Check your progress regularly and stick to the original plan. Resist the urge to add extra tasks or features unless they’re absolutely essential. If changes become unavoidable, make sure to revise your milestones to keep everything organized. Using project management tools can also make it easier to stay focused and ensure your project stays within its original scope.
How can I manage my tools effectively to stay on track with project milestones?
Integrating tool management into your project milestone tracking can make a world of difference. By using a platform like Toolstash, you can keep a well-organized inventory of your tools, know exactly where they are, and seamlessly manage lending or borrowing. This way, your tools are always accessible and accounted for, ensuring you’re prepared at every phase of your project.
Toolstash offers features like AI-powered tool addition and smart categorization, making it easier than ever to stay on top of your inventory. Instead of wasting time hunting for tools or dealing with unexpected hiccups, you can focus on your DIY projects and hit every milestone with ease and confidence.