Decorative painting brushes are a key part of your toolkit, and taking care of them is essential to maintain their quality and avoid costly replacements. Neglecting proper care can lead to damaged bristles, streaky finishes, and brushes that wear out quickly. Here’s what you need to know:
- Clean Immediately After Use: For water-based paints, use warm water and mild soap. For oil-based paints, start with mineral spirits or paint thinner, followed by soap and water.
- Dry and Reshape Properly: Lay brushes flat or hang them with bristles pointing down to prevent water from damaging the ferrule. Reshape bristles while damp to maintain their form.
- Store Correctly: Keep brushes upright (bristles up) or flat in a clean, dry space. Avoid soaking or exposing them to heat and sunlight.
- Restore Hardened Brushes: Use vinegar to loosen dried paint or conditioner to soften bristles. Repeat treatments if needed.
- Care for Specialty Brushes: Clean gently, reshape carefully, and store using protective sleeves or cases.
HOW TO CLEAN YOUR BRUSHES - NEW Masterclass
Steps for Cleaning Brushes
Cleaning your brushes properly starts with removing excess paint. Begin by wiping the brush on a rag or paper towel to get rid of as much paint as possible before moving on to the cleaning process. This step not only keeps your cleaning solution effective but also makes the rest of the process smoother[1][5]. From here, the method you use will depend on whether you're dealing with water-based or oil-based paints.
Cleaning Water-Based Paint Brushes
Water-based paints, like acrylics and latex, are relatively simple to clean if you follow the right steps. First, rinse your brush under warm water. Add a small amount of mild soap and work it through the bristles, paying special attention to the ferrule - the metal part where paint tends to build up. Use your fingers or a brush comb to help loosen any trapped paint. Keep rinsing until the water runs clear, and repeat the process for any stubborn spots. This extra care will help keep your brush in good shape for future projects[1][2].
Cleaning Oil-Based Paint Brushes
Oil-based paints need a bit more effort since water alone won't do the trick. Start by applying a small amount of mineral spirits or paint thinner to the bristles. Work it through to loosen the paint, then rinse the brush with warm, soapy water to remove any remaining residue and solvent. Always clean oil-based paint brushes in a well-ventilated area and dispose of solvents according to local regulations[1][5].
Removing Stubborn Paint Residue
If your brush still has paint stuck in it - even after rinsing - or if you're dealing with textured or dried paint, try using your fingers or a brush comb to remove the residue. This method also helps straighten bent bristles. For tougher cases, soak the brush briefly in the appropriate cleaning solution: water and soap for water-based paints or a solvent for oil-based paints. Avoid soaking for too long, as this can loosen the ferrule and damage the handle[1]. A thorough cleaning now ensures your brush is ready to perform at its best the next time you use it.
| Paint Type | Primary Cleaner | Follow-up Step | Key Tip |
|---|---|---|---|
| Water-based (acrylic, latex) | Warm water + mild soap | Rinse until water runs clear | Use a brush comb for deep cleaning [1][2] |
| Oil-based | Mineral spirits/paint thinner | Warm soapy water rinse | Make sure all solvent is removed [1][2] |
After cleaning, test your brush by running your fingers through the bristles. They should feel soft, flexible, and free of any paint residue or discoloration. If the brush passes this test, you're all set for your next project[1][2].
Drying and Reshaping Brushes
Once your brushes are clean, how you dry and reshape them plays a huge role in their performance and how long they last. Research shows that brushes dried upright with the bristles pointing down can lose bristles up to 40% faster than those dried correctly. On the flip side, proper drying and reshaping techniques can extend a brush's lifespan by 50% or more[6][1].
Proper Drying Methods
Start by removing excess water from your brush. Gently shake it to get rid of as much moisture as possible. Then, blot the bristles with a clean cloth, but don’t wipe or tug - this can mess up the alignment of the bristles.
The best way to dry brushes is to lay them flat. This prevents water from seeping into the ferrule (the metal band holding the bristles), which can loosen the glue and lead to bristle loss. If laying them flat isn’t an option, hanging brushes with the bristles pointing down works too. Gravity helps pull water away from the ferrule, keeping it dry[4][6].
Always dry your brushes in a well-ventilated, shaded area. A moderate level of humidity is ideal - too much moisture encourages mold, while overly dry environments can make natural bristles brittle. Good airflow speeds up drying and keeps the bristles free from lingering dampness[4]. Once dry, immediately reshape the brush to lock in its form.
Reshaping Brush Heads
Reshaping your brushes while they’re still damp is key. Bristles are most flexible when wet, so this is the perfect time to guide them back to their original shape. Use your fingers or a brush comb to gently adjust the bristles[1][4].
For round brushes, roll the handle between your fingers to restore their shape. For flat brushes, pinch the bristles back into alignment. Fan brushes need extra attention to keep their spread even. The goal is to prevent splaying and ensure your brushes deliver consistent results the next time you use them[4].
Natural hair brushes, like sable or squirrel, require extra care when reshaping. These bristles may look splayed when dry but will return to a sharp point once wet again - this is completely normal. Synthetic brushes, on the other hand, are more prone to curling if exposed to heat or harsh chemicals. Handle them carefully and keep them away from heat sources while drying[6][4].
Common Drying Mistakes to Avoid
One of the worst things you can do is dry brushes upright with the bristles pointing down. This allows water to seep into the ferrule, breaking down the glue and causing bristle shedding, which can ruin the brush's performance[6][4][3].
Don’t leave brushes soaking for too long after cleaning. While a short soak can help loosen stubborn paint, prolonged soaking can permanently bend the bristles and even crack wooden handles. Some painters mistakenly believe that longer soaking means cleaner brushes, but it actually shortens the brush’s lifespan[6][4][3].
Also, avoid resting brushes on their bristles while drying or placing them near heaters, radiators, or in direct sunlight. Heat can warp both the bristles and the handles[6][4][3].
| Drying Method | Effect on Brush Longevity | Risk Level |
|---|---|---|
| Laying flat or hanging bristles down | High longevity | Low risk |
| Standing upright (bristles up) | Moderate longevity | Moderate risk – water may seep into ferrule |
| Standing upright (bristles down) | Poor longevity | High risk – glue breakdown and bristle loss |
Taking the time to dry and reshape your brushes properly can save you money and effort in the long run. Professional muralists report that brushes last more than twice as long when dried flat and reshaped after each use. This also results in smoother paint application and fewer replacements needed[1].
Storing Brushes for Long-Term Use
Once your brushes are thoroughly dried and reshaped, proper storage becomes essential to keep them in top condition. How you store your brushes can determine whether they last for years or fall apart after just a few uses.
Best Storage Conditions
The key to storing brushes is simple: position them either vertically with the bristles pointing up or horizontally on a flat surface. This helps prevent the bristles from bending or splaying while allowing any leftover moisture to evaporate away from the ferrule, which reduces the chances of rust or mold forming[1][4]. Always store brushes in a clean, dry, and dust-free area. Avoid leaving them in direct sunlight or near heating vents, as excessive heat and UV rays can dry out bristles - whether natural or synthetic - making them brittle. A stable, room-temperature environment is ideal.
Humidity control is also important. If you live in a humid area, store brushes in an air-conditioned or well-ventilated space to prevent mold and mildew. In dry climates, keep them away from heat sources and consider adding silica gel packets to your storage containers to maintain balanced moisture levels.
For larger brush collections, keeping them dust-free is crucial. A closed cabinet or drawer works better than open shelving, where dust can easily settle on the bristles.
Using Wrappers or Original Packaging
If possible, hold onto the original packaging for your brushes. These protective sleeves are designed to maintain the bristles' shape and shield them from dust or damage during storage and transport[1]. If the packaging is unavailable, wrap your brushes in acid-free paper, parchment paper, or clean paper towels. These materials are gentle on the bristles and help them retain their natural shape.
Natural hair brushes, like those made from sable or squirrel, are especially sensitive to environmental changes. To protect these, consider using individual brush protectors or specialized cases. Wrap them carefully, ensuring there’s no unnecessary pressure on the ferrule, which could damage the bristles.
Avoid Long-Term Soaking
Never leave your brushes soaking in water or solvent for extended periods, especially overnight. Prolonged soaking can weaken the adhesive that holds the bristles in place, cause them to lose their shape, and lead to swelling or cracking of wooden handles. Metal ferrules are also at risk of rusting when exposed to moisture for too long[1][4].
| Storage Method | Best For |
|---|---|
| Vertical (bristles up) | Brushes you use regularly |
| Horizontal (flat) | Long-term storage |
| Original packaging | Premium brushes or during travel |
Taking the time to store your brushes correctly protects your investment. With proper care, your tools will always be ready for your next decorative painting project, whether that’s next week or months down the line.
Restoring Hardened Brushes
Even with the best care, brushes can sometimes harden due to dried paint or poor storage habits. Instead of tossing them out, you can restore these brushes and extend their lifespan, saving both money and the hassle of replacing them. Here are some tried-and-true methods to bring your hardened brushes back to life.
Boiling in Vinegar Method
White vinegar is a powerful ally when soap and water just won’t cut it. It’s especially effective at breaking down dried paint. To start, pour enough white vinegar into a small pot to cover just the bristles - avoid letting the vinegar touch the ferrule or handle, as it can loosen the glue holding the brush together.
Heat the vinegar until it reaches a gentle simmer, then place your brush bristles-down into the pot. Let it simmer for 10–15 minutes for moderately hardened brushes. If the brush is severely hardened, you may need to leave it for 20–30 minutes. The heat and vinegar work together to soften the paint, making it easier to remove.
Once the simmering is done, rinse the brush thoroughly under warm running water. Use your fingers or a brush comb to gently work out any loosened paint particles. The bristles should feel noticeably softer. If they’re still stiff, repeat the process as needed.
Using Conditioner for Softness
After you’ve removed the dried paint, hair conditioner can help restore the flexibility of the bristles, especially for brushes made with natural hair. Apply a small amount of conditioner to the bristles and gently work it in with your fingers.
Next, fill a container with hot water (not boiling) and submerge the conditioned brush for 10–15 minutes. The conditioner helps to rejuvenate the bristles, making them soft and pliable again.
Once the soaking is complete, rinse the brush thoroughly under warm water to remove all traces of conditioner. Any leftover residue can affect how the brush handles paint later. If the bristles are still stiff, you may need to repeat the process.
Repeating Restoration Steps
For brushes that are severely hardened, a single round of treatment might not be enough. You may need to repeat the vinegar boiling and conditioning steps several times. Between each cycle, reshape the bristles while they’re still damp. Some artists have reported success after three or four cycles, even with brushes that seemed beyond saving[1][4].
| Restoration Method | Time Required | Best For |
|---|---|---|
| Vinegar boiling | 10–30 minutes | Removing heavy paint buildup |
| Hair conditioner | 10–15 minutes | Restoring flexibility to stiff bristles |
| Combined treatment | 45–60 minutes | Severely damaged brushes |
Once your brush feels soft and flexible again, reshape the bristles one last time and lay it flat to dry completely. Never store a wet brush upright, as water can seep into the ferrule and cause long-term damage. With proper restoration and ongoing care, your brush can continue to deliver excellent performance for months or even years[1].
Caring for Specialty Decorative Brushes
Specialty brushes are precision tools that play a key role in achieving detailed decorative work. Taking proper care of them not only ensures consistent performance but also extends their lifespan.
Types of Specialty Brushes
Specialty brushes come in various shapes and designs, each tailored for specific artistic tasks:
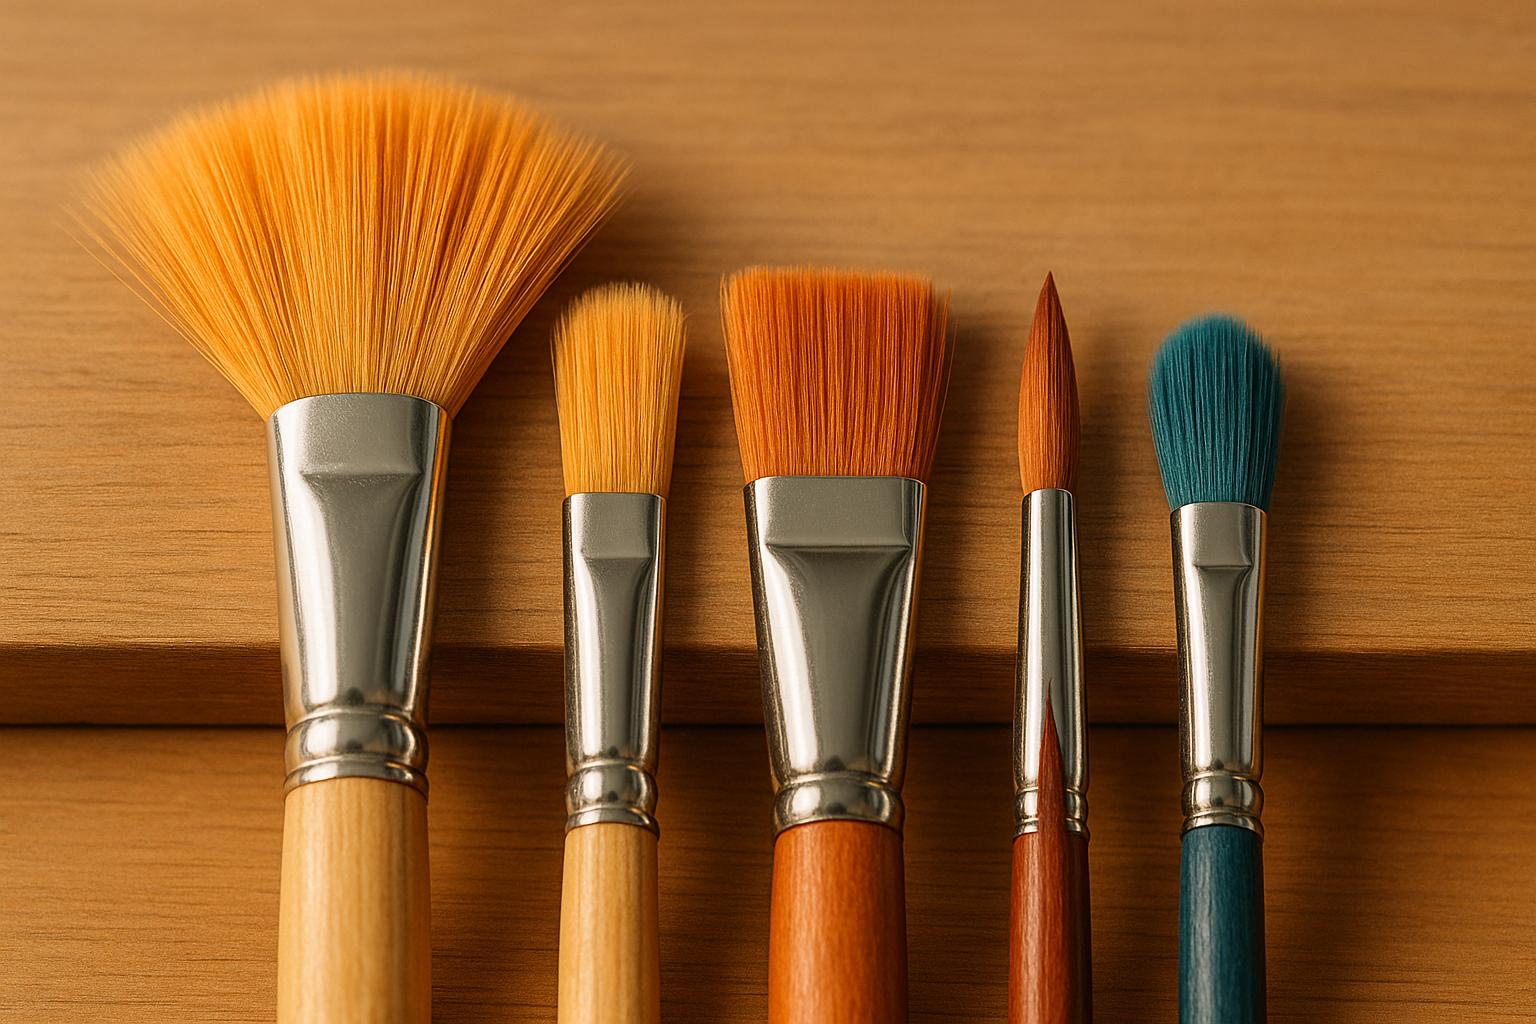
- Fan brushes: These are perfect for creating textured effects, blending colors, or painting elements like foliage. To work effectively, their splayed bristles need to maintain their fan-like shape.
- Liner brushes: With their long, thin bristles, these brushes excel at creating fine lines and intricate details. Their precision depends on maintaining a sharp, well-defined point.
- Detail brushes: Ideal for painting small decorative elements, intricate patterns, and highlights. These brushes often have fewer bristles, which makes their care even more critical.
- Stencil brushes: Built with short, densely packed bristles cut flat across the top, these brushes are designed to apply paint through stencils with minimal bleeding.
Natural hair brushes, such as those made from sable or squirrel hair, are highly valued for their ability to hold generous amounts of paint while maintaining a fine point. However, they are more delicate than synthetic brushes and require extra care to preserve their quality. These differences in materials and design influence the cleaning and maintenance practices needed for each type.
Cleaning Specialty Brushes
Cleaning specialty brushes requires attention to detail, especially around the ferrule - the metal band where the bristles meet the handle. Paint buildup in this area can compromise the brush’s performance and shorten its life.
Start by wiping off excess paint with a clean rag. Then, apply the appropriate cleaning solution - water for water-based paints or mineral spirits for oil-based paints - and gently work it into the bristles, paying close attention to the ferrule.
For natural hair brushes, avoid using harsh soaps or vigorous scrubbing, as these can strip the natural oils that keep the bristles soft and flexible. A brush comb can be particularly helpful for removing trapped paint. Use it gently, working from the ferrule toward the tip, in the direction of the bristles.
Rinse thoroughly with lukewarm water, and always reshape the bristles while they’re still wet to maintain the brush’s original form.
Protecting Specialty Brushes
Proper cleaning is just the first step - how you store your brushes is equally important. Store brushes flat or with the bristles pointing downward or horizontally to prevent water from seeping into the ferrule, which can weaken the adhesive and cause bristles to loosen. Avoid standing brushes upright while they’re still wet.
Using protective cases or dedicated brush keepers can shield your brushes from dust, damage, and accidental contamination. Many artists prefer to keep separate cases for different types of paint. If you don’t have a brush keeper, the original packaging can serve as a simple alternative.
For natural hair brushes, occasional conditioning can help maintain their softness and flexibility. Apply a small amount of conditioner to damp bristles, then rinse thoroughly. This helps prevent brittleness and extends their usability.
To minimize cross-contamination, designate specific brushes for different mediums. For instance, label or color-code storage containers to ensure oil brushes aren’t accidentally used with acrylic paints. While some pigments may stain bristles permanently, this doesn’t affect the brush’s performance as long as it’s thoroughly cleaned after each use.
Managing Your Brush Collection with Toolstash

Keeping your brush collection organized is key to successful decorative painting. But let’s face it - tracking maintenance schedules and storage locations for dozens of brushes can feel like a chore. That’s where Toolstash steps in, turning this daunting task into a smooth, efficient process with digital tools tailored for artists.
Organizing Your Brush Inventory
Toolstash’s inventory tracking system makes it easy to create a digital catalog of your brushes. Thanks to the AI Snap feature, you can simply take a photo of a brush to add it to your collection - no tedious data entry required.
The platform’s smart categorization feature organizes your brushes into logical groups. You can sort them by type (like watercolor, oil, or specialty brushes), size, or material. For instance, you might group brushes as "fan brushes", "liner brushes", or "detail brushes", with each category including specifics like cleaning instructions and storage tips. This way, you’ll always know exactly where to find the tool you need.
Need to keep track of where your brushes are stored? The location tracking tool has you covered. Whether your brushes are in a studio drawer, a travel kit, or a classroom bin, Toolstash keeps tabs on their location in real time - ideal for artists who work in multiple spaces or frequently transport their tools.
You can also attach custom notes to each brush. Record cleaning methods, conditioning dates, or performance observations, and even upload photos showing how a brush looks before and after maintenance. This helps you monitor wear and tear over time, so you’ll know when a brush needs extra attention - or when it’s time for a replacement.
On top of keeping your collection organized, Toolstash offers helpful resources for cleaning and maintaining your brushes.
DIY Support and Tool Records
Toolstash includes step-by-step DIY guides for cleaning, restoring, and storing brushes. Whether you’re dealing with stubborn paint residue, trying to revive hardened bristles with vinegar, or conditioning natural hair brushes to keep them soft, these guides make it easy to tackle common challenges.
The platform also provides comprehensive tool records, allowing you to log every cleaning and conditioning session. You can even set recurring reminders to stay on top of maintenance, which is especially handy for pricier brushes that need extra care. These detailed records not only help you extend the life of your tools but also give you insights into how often each brush is used, helping you make smarter decisions about future purchases.
For professional muralists and decorative painters, these features are game-changers. By tracking actual usage and maintenance, you can optimize your workflow and budget, ensuring your tools are always in top shape when inspiration strikes.
But Toolstash doesn’t stop at individual tool management - it also makes sharing brushes with others easier and more organized.
Tool Sharing Management
In painting communities, studios, and classrooms, brushes are often shared. Toolstash’s lending and borrowing management tools simplify this process by keeping track of loans, return dates, and the condition of each brush.
For example, if you lend a specialty brush to a colleague, Toolstash logs the transaction and sends automated reminders for its return. This system promotes accountability and ensures that your tools are treated with care.
The borrowing made easy feature works the other way around. Need a specific brush for a project? Toolstash lets you check if a friend or colleague has what you’re looking for, saving you from unnecessary purchases and fostering collaboration within your artistic circle.
All this data - inventory details, maintenance logs, and lending records - is securely stored with user authentication and encryption. This level of security is particularly valuable for professionals managing high-value brush collections or proprietary tools that represent a significant investment.
Key Points for Brush Care Success
Taking care of your brushes boils down to three main practices: cleaning them right after use, reshaping and drying them properly, and storing them in the correct way.
Start by cleaning your brushes immediately after painting. The method you use depends on the type of paint. For water-based paints, stick with warm water and mild soap, ensuring you rinse until the water runs clear. For oil-based paints, you'll need a solvent like mineral spirits or paint thinner first, followed by a thorough wash with soap and water. Don’t skip the soap - it removes residue that could harden over time and ruin your brush.
Once cleaned, focus on reshaping and drying. Gently reshape the bristles with your fingers while they’re still damp. Lay the brush flat or hang it with the bristles pointing down to dry. This prevents water from seeping into the ferrule (the metal part holding the bristles), which can weaken the brush over time.
Storage matters just as much as cleaning and drying. Never leave brushes soaking in water or solvent for long periods; this can bend the bristles and damage the ferrule. Once dry, store your brushes upright in a well-ventilated space. For natural hair brushes, avoid airtight containers, as they can trap moisture and lead to mold.
| Paint Type | Cleaning Method | Key Reminder |
|---|---|---|
| Water-based | Warm water and mild soap | Rinse until water runs clear |
| Oil-based | Solvent, then soap and water | Don’t skip the soap step |
| Natural hair brushes | Gentle soap | Avoid stripping natural oils |
To keep your brushes in top shape, consider using tools like Toolstash to manage your maintenance routine. If a brush hardens, a brush restorer or conditioner can help revive it. For tougher cases, soaking the bristles in warm vinegar can break down dried paint and restore flexibility.
Since quality brushes are an investment, regular care is crucial to avoid frequent replacements. Proper maintenance not only extends their lifespan but also ensures your painting results stay consistent.
One last tip: protect your brushes from heat! Avoid using hair dryers, direct sunlight, or any heat source to speed up drying. Heat can warp synthetic bristles and damage natural ones. Air drying at room temperature may take longer, but it’s the safest way to preserve your tools for years of use.
For stubborn paint, a brush comb can work wonders to clean bristles and help them keep their shape.
FAQs
How do I restore a paintbrush that's hardened with dried paint?
To bring a hardened paintbrush back to life, start by soaking the bristles in warm, soapy water to help loosen any dried paint. If the paint is stubborn, switch to a brush cleaner or a solvent like mineral spirits for oil-based paints. Gently work through the bristles using your fingers or a comb to remove any leftover paint. Once the brush is clean, rinse it thoroughly with water, reshape the bristles, and let it dry either flat or hanging with the bristles pointing downward. This ensures the brush keeps its shape and stays ready for future use.
How can I properly dry and reshape my brushes to make them last longer?
To keep your brushes in great shape for longer, it’s essential to dry and reshape them properly after each use. Start by gently pressing out any excess water with a clean cloth or paper towel - just be sure you’re not tugging on the bristles. Once the water is removed, use your fingers to carefully reshape the bristles back to their original form.
When it comes to drying, always store your brushes upright with the bristles pointing upward, or lay them flat on a surface. Avoid letting the bristles rest against anything while drying, as this can distort their shape. Taking these simple steps will help preserve your brushes’ quality and ensure they’re ready to tackle your next painting project.
What’s the best way to store decorative painting brushes to keep them in great condition?
To keep your decorative painting brushes in great shape, it’s important to clean them thoroughly after each use. Rinse them with warm water and use a gentle soap or brush cleaner to remove any paint residue. While the bristles are still damp, reshape them carefully to maintain their form. Never leave brushes soaking in water, as this can weaken the handle and loosen the ferrule.
When storing your brushes, either place them upright with the bristles pointing up or lay them flat to avoid bending or damaging the bristles. For long-term storage, a brush holder or wrap can help shield them from dust and accidental damage. Taking these steps will help extend the life of your brushes and ensure they perform well whenever you need them.